
 Pin it
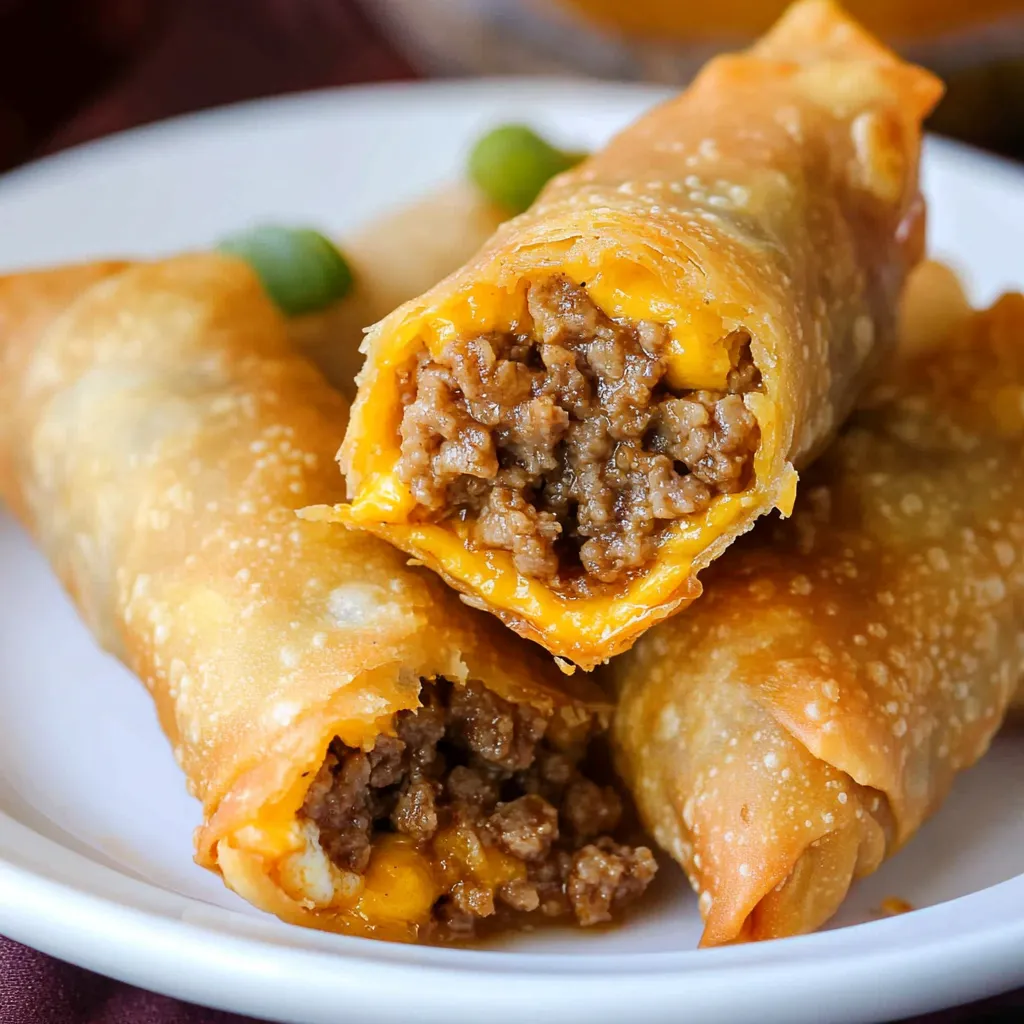
These cheeseburger egg rolls take your average burger and turn it into a fun, grab-and-go snack. Every crunchy wrap holds a tasty mix of seasoned beef, gooey cheese, and zesty pickles, making a mouth-watering combo that'll brighten up any party.
I came up with this idea during a stormy weekend when my family wanted both burgers and something with a crunch. These days, these egg rolls have become our end-of-week ritual, and everyone jumps in to help roll them together.
Key Ingredients
- Ground beef: Go for 80/20 mix to get the right amount of flavor and moisture. Pick meat that's bright red with nice fat streaks
- Onion: Vidalia or other sweet types work best for the foundation. Look for ones that feel heavy and have crisp outer layers
- Pickles: Dills add that burger zip you want. Go for the crunchy ones kept in the cooler section
- Cheddar cheese: The sharper the better for taste. Skip pre-shredded and grate it yourself for smoother melting
- Egg roll wrappers: They should be soft and bendable. Check they're not dried out or past their date
- Vegetable oil: You need something that can take the heat. Try peanut or canola if you've got them
Instructions
- Get Organized:
- Make some room on your counter for a rolling area. Put all your stuff nearby, set a small dish of water for sticking the wrappers closed, and cover a baking tray with parchment for your finished rolls. Having everything close makes the job way easier.
- Brown The Beef:
- Get your big pan going over medium heat until it's ready. Toss in your ground beef and break it into tiny bits about the size of peas with a wooden spoon. Keep an eye on it as it cooks, giving it a stir now and then until there's no pink left. This usually takes around 8 minutes to get just right.
- Cook The Onions:
- After your meat has turned brown, throw in your chopped onions. Mix them with the meat and let them get soft and see-through. They should cook until they smell good and feel tender, about 5 minutes or so.
- Mix It Up:
- Dump your cooked stuff into a big bowl and let it sit for about 5 minutes. It should be warm but not hot enough to burn you. Carefully stir in your freshly grated cheese so it starts to soften a bit without turning to mush. Mix in your chopped pickles so they're spread out evenly.
- Start Rolling:
- Put your first wrapper down like a diamond on your work area. Spoon three tablespoons of filling just under the middle, making a line across. Leave about 1.5 inches of space on both sides.
- Wrap It Up:
- Pull the bottom point up and over the filling, tucking it in tight. Fold the side points in toward the middle, then keep rolling it up snugly. Wet the last corner with water to make it stick.
- Oil Time:
- Pour three inches of vegetable oil into your sturdy pot. Heat it up to exactly 365°F, using a thermometer to be sure.
- Fry Them:
- Carefully drop 2-3 rolls into the hot oil, with the sealed edge facing down. Cook for 2-3 minutes on each side until they turn a rich golden brown. Flip them gently with tongs.
- Cool Off:
- Lift rolls out with tongs and set them on a wire rack over paper towels. Let them cool down for 3-5 minutes before you eat them.
 Pin it
My grandma always told me being patient with the oil temperature is what turns good food into amazing food. I've found this to be so true when making these egg rolls over the years.
Smart Storage
Keep uncooked rolls in the fridge with parchment paper between them for up to a day. If you want to save them longer, freeze them on a tray lined with parchment until they're hard, then move them to freezer bags.
Warming Them Up
Get that crunch back by putting fridge-stored rolls in a 350°F oven for 10 minutes. For frozen ones, cook them an extra 5 minutes. Let them sit for 2 minutes before you dig in.
Great Side Dishes
Whip up some fresh slaw for a nice crunch contrast, or serve with hot fries for that complete burger meal feeling. Having different dips lets everyone make their roll just how they like it.
 Pin it
After making these cheeseburger egg rolls countless times, they've become more than just another dish in my cookbook. They show how fun and comfort food can come together, proving that sometimes the tastiest meals come from trying something new with familiar flavors. Each time I make them brings back great memories of family get-togethers and the simple joy of sharing tasty food with people I care about.
Frequently Asked Questions
- → Can I prep them and freeze?
- For sure! Freeze uncooked ones and fry straight from frozen, just extend cooking time.
- → Which cheese melts best?
- Go with cheddar or American—they melt like a dream.
- → Can I toss in extra toppings?
- Definitely—try bacon bits, diced pickles, or chopped tomatoes!
- → Frying versus air frying—what's better?
- Frying’s crunchier, but air frying gives a lighter result.
- → What's good for dipping?
- Pair with ranch, mustard, ketchup, or burger sauce.