
 Pin it
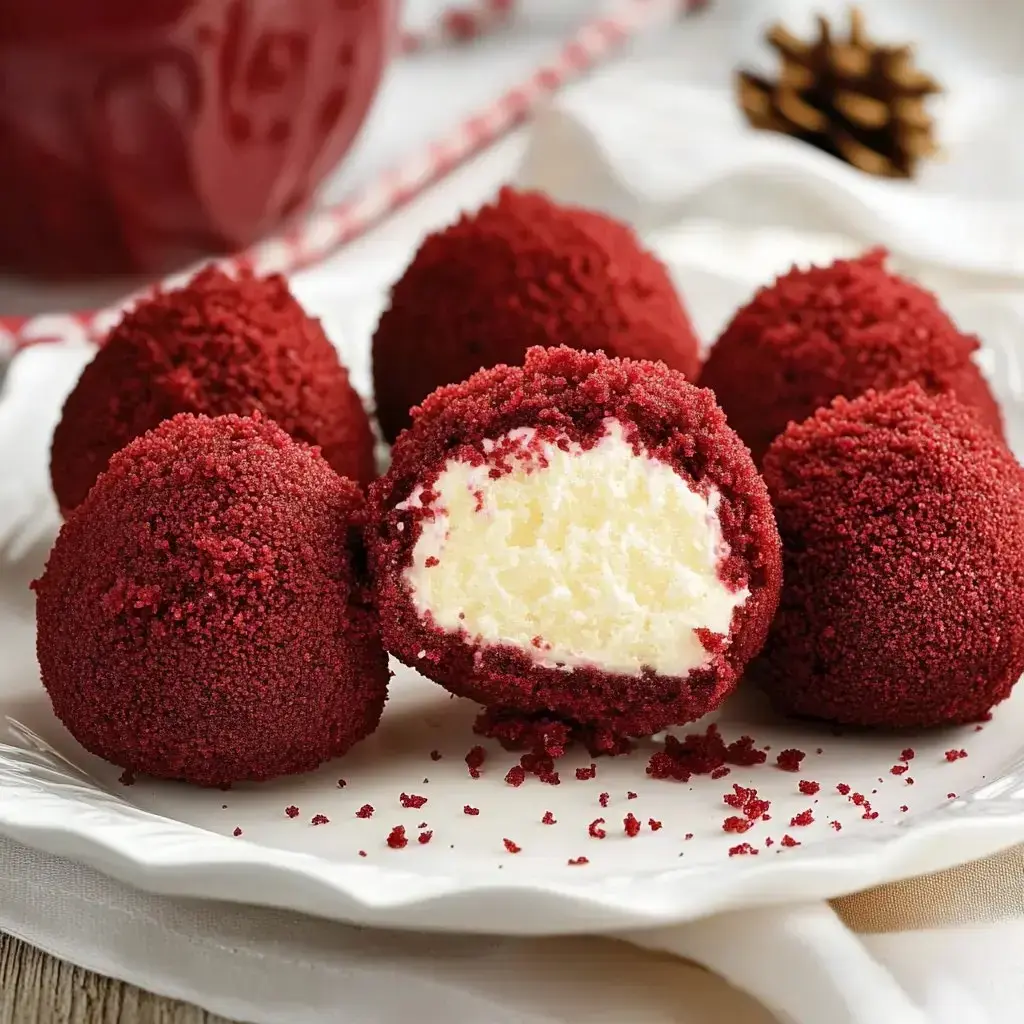
Seriously girls these Red Velvet Cheesecake Bites are unreal. I've whipped them up for ages and they always disappear so fast at hangouts. They've got that super smooth soft texture and a big red velvet punch but bite-sized and cute. Cool thing is you don't even have to use the oven. Honest these are perfect for those days when you want something fun and sweet without a bunch of work in the kitchen.
Why Folks Can't Get Enough of Them
What makes these little bites awesome? They mash up all the best things from cheesecake and red velvet cake into one treat. I like to stock my pantry with the basics you never know when you'll crave something sweet and fast. They're easy to grab for get-togethers or to pack along and since you can make them in advance they're a real help when your schedule's nuts.
All the Stuff You'll Need
- Cake Basics: Eggs, milk, and oil so your mix comes out just right.
- Extra Flavor: A little vanilla goes a long way and brings everything together.
- Sweet Things: Powdered sugar makes it all sweet, tweak it if you want them less or more sugary.
- The Butter: Make sure your butter's super soft salted or not doesn't really matter.
- For the Cake Part: Red velvet cake mix from any brand works or get wild and use vanilla or chocolate if you want a twist.
- The Cheesy Stuff: Cream cheese (full-fat is best!) should be at room temp so it mixes super well.
- Graham Time: Smash up graham crackers really fine it helps pull the filling together.
 Pin it
How to Whip Them Up Fast
- The Last Step
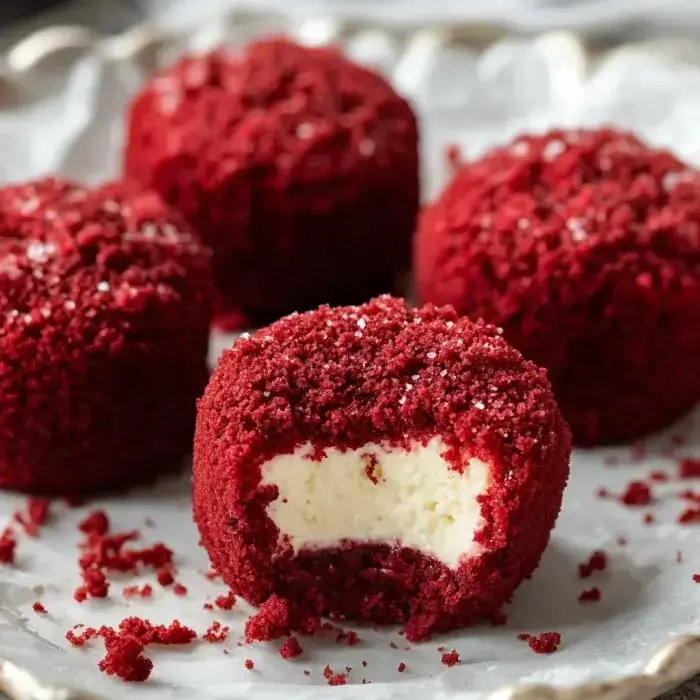
- Take every bite and roll it around in those lovely red velvet cake crumbles then let them chill in the fridge until you're ready to serve.
- Rolling It Out
- Grab scoops of the cheesecake mixture and shape them into balls. Chill them so they hold their shape.
- The Creamy Center
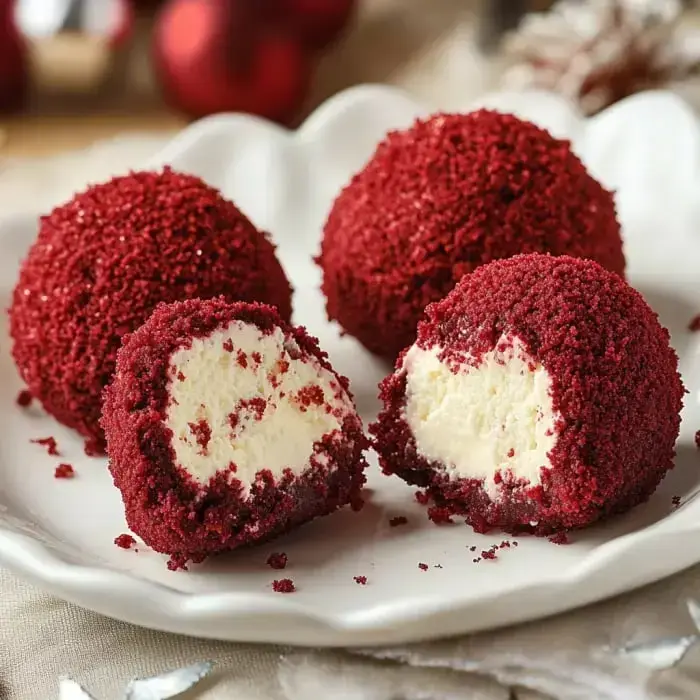
- Mix your creamy cheese, butter, vanilla, powdered sugar, and graham crackers all together until it’s dreamy smooth.
- Get the Cake Ready
- Follow the cake box instructions for red velvet. When it's cool tear it up into crumbles.
Ways to Make Them Extra Fun
If you feel like changing it up try crushed red velvet Oreos instead of cake for rolling. Switch in nuts, rainbow sprinkles, or some chocolate curls too. Little bits of lemon zest or real berries in the middle work great and if you’re bold, hide some chocolate right inside. Feeling extra? Drizzle with melty chocolate on top.
Tips on Staying Fresh
Stash your bites in something airtight and they’ll be perfect in the fridge for up to four or five days. Want to keep them even longer? Wrap them up and stick them in the freezer they’ll last a few months. Just let ’em thaw in the fridge overnight before grabbing one so they hold their cute shape.
 Pin it
Frequently Asked Questions
- → How long can I store them in the fridge?
These stay good in an airtight container in the fridge for up to 5 days. They actually taste better the next day, so they're great for prepping ahead.
- → Can they be frozen?
Yep! You can freeze them for about 3 months. Just let them thaw in the fridge overnight before eating.
- → Why is drying out the cake necessary if it’s too moist?
If the cake's too moist, it can turn gummy when mixed. Dry crumbs keep the coating crispy and the texture just right.
- → Can I switch the cake flavor?
Definitely. Chocolate, vanilla, or funfetti work just as well. Try what you like!
- → Should I refrigerate until serving?
Yes, because of the cheesy filling, keep these chilled until served. They can sit out safely for about 2 hours while being enjoyed.