
 Pin it
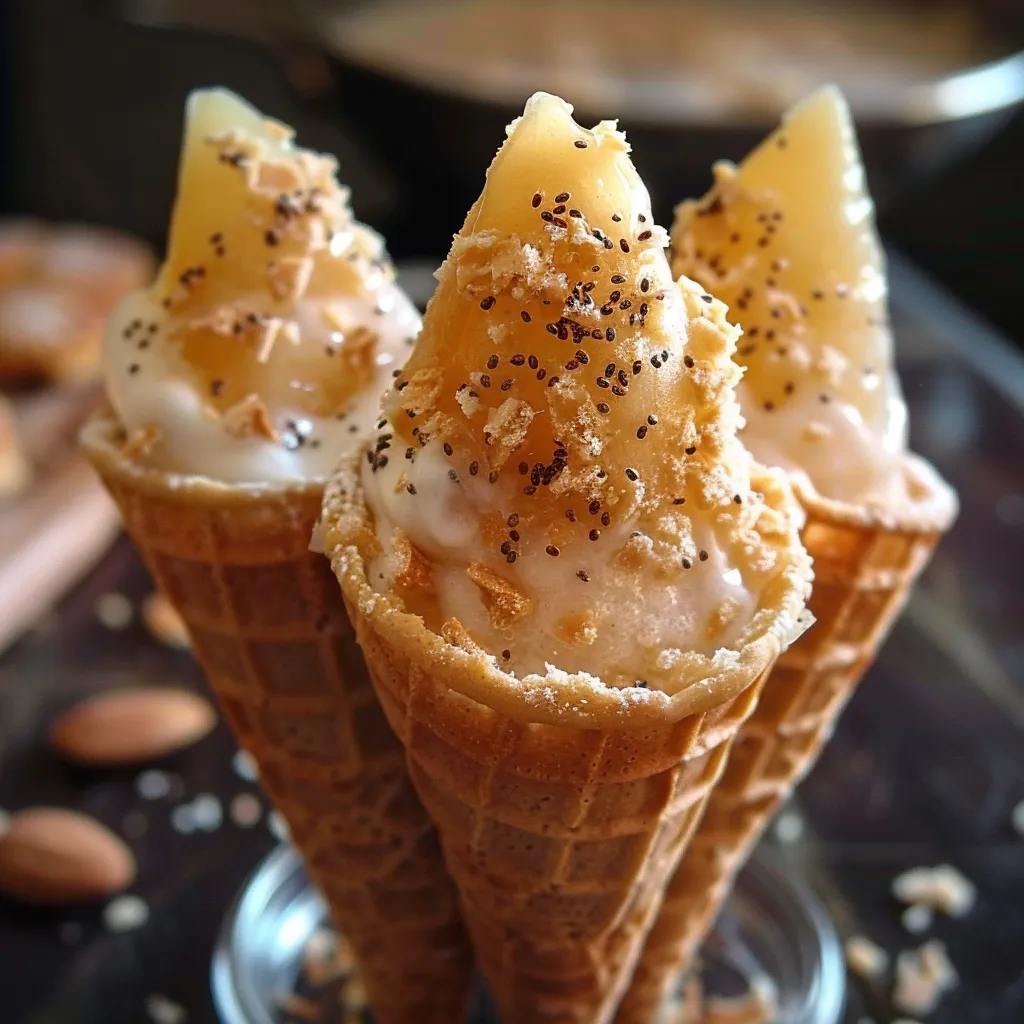
This classic maple taffy cones treat gives a beloved Quebec dessert a fun new twist you can whip up at home. You get homemade crisp waffle cones stuffed with gooey maple taffy—you'll feel like you're in a sugar shack any season you like.
The first time I made these cones for friends, everyone just stared, totally gobsmacked by how this dessert brought back all kinds of childhood memories. Now, they're my go-to for every family party.
Ingredients
For the waffle cones- Vanilla extract: makes all the flavors taste even better and brings everything together
- Cane sugar and honey: team up to make things sweet with a lovely golden color
- Coconut oil: adds a delicate crunch and a little island flavor
- Unsweetened applesauce: keeps it moist and a bit sweet without making it heavy
- Ground chia seeds: they're a natural binder—no eggs needed and a nutrition boost
- All-purpose flour: gives your cones the perfect structure so they stay crunchy
- Pure maple syrup: this is key—grab a good one for that real maple taste
- Pecans or other nuts: toss on some crunch that balances out all that sweet
- Maple butter: creamy and smooth for that final perfect bite
Step-by-Step Directions
- Make the batter:
- Let the chia seeds soak in applesauce and water after you've ground the seeds into a powder—they'll puff up into this neat gel that stands in for eggs. Mix all your flour and a tiny bit of salt in a bowl so everything's spread out nicely. Set that aside for later.
- Mix in the wet stuff:
- Add in honey, sugar, melted coconut oil, and vanilla to your chia bowl. Grab your electric mixer and whip it for about a minute. Make sure it's smooth and a little airy. Now dump in the dry stuff and fold with a wooden spoon until the batter is just mixed. Don’t overdo it.
- Waffle cone time:
- Turn on your waffle cone maker so it gets hot. Drop about two teaspoons of batter right in the center and close the lid. Cook it about three minutes until it's golden. Peek now and then since machines are different. Should be soft enough to shape but cooked enough to hold up.
- Shape the cones:
- This part has to be quick. As soon as a waffle comes out and it’s still warm, toss it on a dry towel and roll it right away around a piping tip. The towel keeps your hands from burning and lets you squeeze the cone tight. Hold it like that for a few seconds so the cone sets, then slide it off and let it cool on a rack. Keep rolling ‘til you’re out of batter.
- Start on the maple taffy:
- First, find out what temperature water boils at using your thermometer. Boil some water and see what number you get in Fahrenheit. Then add 26 degrees to that for your target syrup temperature. This step is important, so don’t skip! Pour maple syrup in a large pot and turn up the heat. Watch the temp closely.
- Turn syrup into taffy:
- Once you hit your target temp, pull the pot off the heat. Pour some syrup into a measuring cup, and let the rest chill in a little bowl for five minutes. Meanwhile, stand your cones up in a popsicle mold or cone box. Beat the syrup in the bowl hard with a wooden spoon until it turns soft and doesn’t stick to your fingers. Make small balls of this and press them into the bottom of each cone. This keeps them from leaking.
- Fill the cones:
- Stick the cones in the fridge for a quick chill before filling them. As soon as your hot syrup in the cup gets a bit thicker, gently pour it into your cone bases. If after about 25 minutes the syrup’s still too runny, warm it up and let it cook a little longer. Chill cones for two hours until the taffy sets up perfectly.
- Final touches:
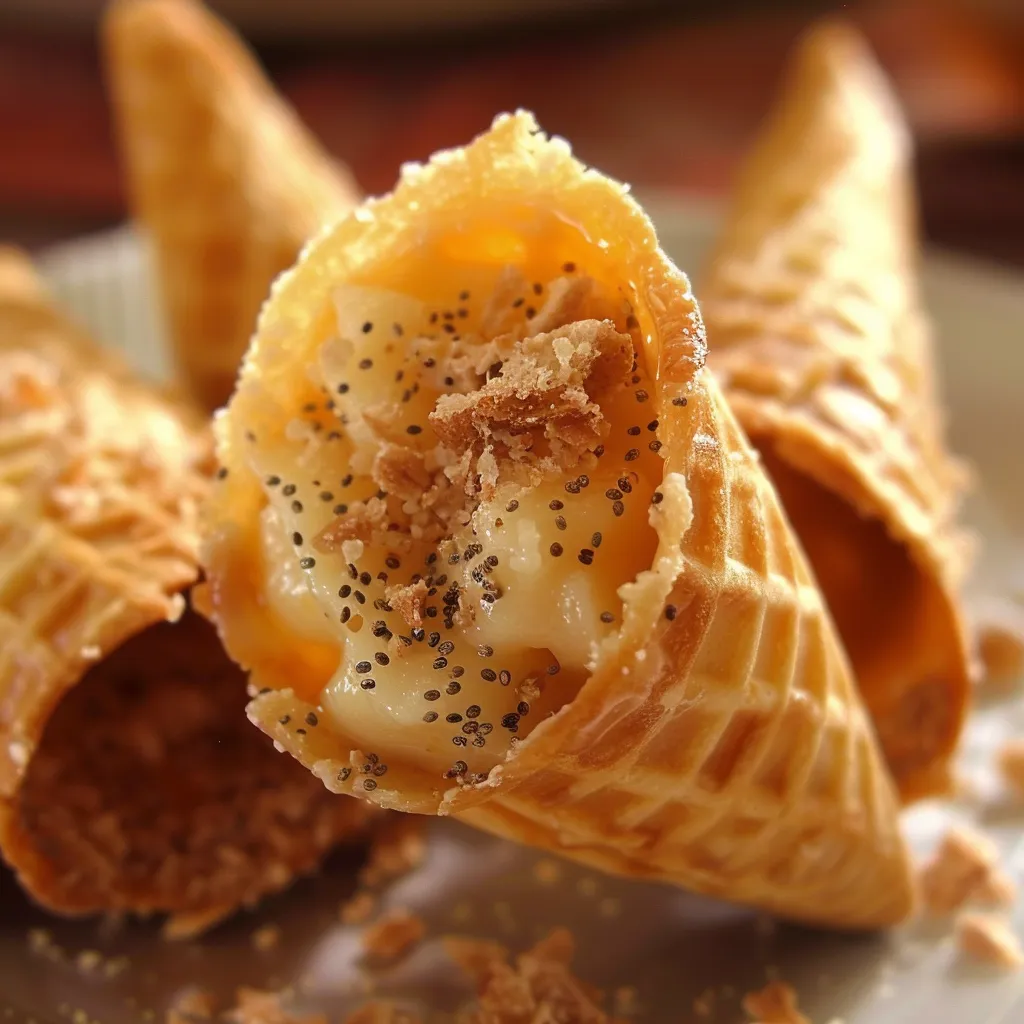
- Take the maple butter out of the fridge and let it get soft for about 15 minutes. Scoop a bit on top of each filled cone and toss a nut on there if you want. Give them a final chill until they’re all set before you enjoy them. All the tastes just come together.
Every part of Quebec does this treat its own way. Some make the taffy extra thick, others runnier. My grandma always snuck a pinch of salt in the taffy—it takes sweetness to the next level without being over the top. Trust me, that tiny step makes all the difference.
 Pin it
Storing and Shelf Life
Once you’ve made these cones, you can keep them cool in a sealed container in the fridge for up to a week. Make sure they’re totally cool before you stash them, or the cones might get soggy. Want to keep them longer? Wrap each one up in wax paper, then into a freezer bag—they’ll be good for three months. Just let them sit out for 30 minutes before serving.
Optional Swaps
There are lots of ways to tweak this for what you have or need. Swap in melted butter for coconut oil for an old-school flavor. If you want to skip gluten, use a gluten-free flour mix with a bit of xanthan gum instead of the usual stuff. You could even switch honey for maple syrup for extra maple vibes, or use agave syrup for a plant-based option. It might feel a little different, but it’ll taste great either way.
The Story Behind Maple Taffy
Maple taffy goes way back in Quebec’s food history. Indigenous folks taught the first settlers how to gather and boil down maple sap. The old-school way is to pour it on snow at sugar shacks when spring rolls around. This cone version is just a new way to keep the good times going year-round. Every bite connects you with traditions that get handed down through families.
Pro Tips
- Set up all your molds and gear before baking—the waffle cones get hard super fast
- Pick a dark grade A maple syrup for the biggest, boldest flavor
- To get that crunchy cone snap, wait until the waffle is nice and golden before shaping
Frequently Asked Questions
- → How to get the perfect maple taffy?
Note the boiling water temperature first, then add 26°F to get the target temperature for the maple syrup. This keeps the texture just right.
- → Can cones be made ahead?
Absolutely! Prepare the cones early and store them in a sealed container to stay crunchy before adding the taffy.
- → How to stop taffy from leaking out?
Sprinkle maple sugar at the bottom, and chill the cones before pouring in hot taffy to make it set quicker.
- → Can I use syrup other than maple?
Sure, other syrups work too. But you'll miss out on that maple flavor magic.
- → How long do the cones last?
Store in the fridge for up to a week, or freeze them for longer freshness.