
 Pin it
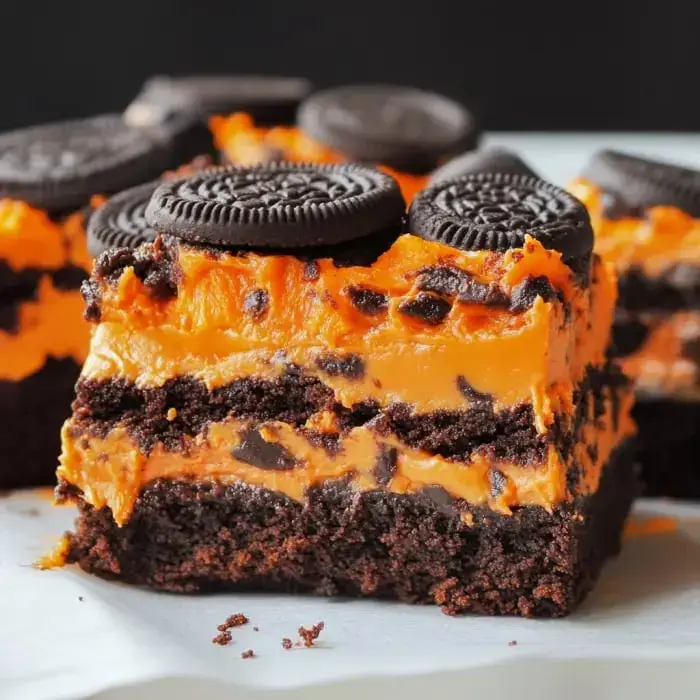
Stacked Oreo Halloween brownies are a cool choice for any October get-together. Picture fudgy brownies with colorful orange and chocolatey swirls, plus crunchy Halloween cookies tucked inside. You get a whole lot of fun in every bite—layers that are gooey, sweet, and loaded with spooky vibes. Ready to check out what goes into these outrageously delicious treats?
INGREDIENTS
- Orange food coloring gel: Pops your frosting with a bold holiday glow.
- 1 can of White or Vanilla frosting: Whips up to a creamy layer that’s super smooth.
- 1 can of Milk chocolate frosting: Spreads on top for a dreamy, chocolate finish.
- 1 Package of Oreo's (orange cream): Gives you the snap and bright color for Halloween flair.
- 1/3 cup milk: Keeps your batter easy to mix and extra moist.
- 1/3 cup oil: Makes the brownies soft all the way through.
- 2 eggs: Brings the batter together and bumps up the richness.
- 1 Brownie Mix: Kicks things off with deep chocolate flavor.
INSTRUCTIONS
- Step 8:
- Slice your brownies into good-sized pieces, around 3x2 inches. Grab one and dig into those gooey layers right away.
- Step 7:
- Take the chilled pan out. Pile the milk chocolate frosting over the orange. Break up a few Oreos and toss them on top for fun.
- Step 6:
- When they’re totally cool, spread your orange frosting on in an even coat. Pop the whole pan in the fridge for about half an hour so the frosting gets nice and firm.
- Step 5:
- While your brownies are cooling down, grab a mixing bowl and stir together the vanilla or white frosting with the orange filling from about 10 Oreos. Drop in a teaspoon of orange food gel and mix until you get a bright color you love.
- Step 4:
- Bake for about 25 to 30 minutes. You’ll know it’s done when a toothpick comes back clean. Pull the pan out and let everything cool right in there.
- Step 3:
- Dollop your batter into the lined pan and smooth it out. Now cover the top with Oreos, pressing them in gently.
- Step 2:
- Place brownie mix, eggs, oil, and milk in your mixer. Whip everything up medium speed with a whisk until it’s lump-free and glossy.
- Step 1:
- Switch your oven on to 350°F. Line a 9x9 pan with parchment so you can lift the brownies out later.
Serving and Storage Tips
- Keep your brownies a little cold so the layers don't get messy. If you like things super soft, let them warm up a bit before eating.
- Cut them into mini squares for easy sharing and pile them onto a tray decorated for Halloween.
- Put any leftovers in a sealed container in the fridge for three days, or stash them in the freezer for two months. Just let frozen brownies thaw in the fridge.
Tips from Well-Known Chefs
- Duff Goldman always lines his baking dish with parchment so brownies pop out easy every time.
- Christina Tosi swears by a quick chill in the fridge so the frosting hardens a little and you get clean cuts.
VARIATIONS
- Switch standard Oreos for peanut butter ones or toss some peanut butter between the layers for extra flavor.
- Add a handful of chocolate chips right in the batter if you’re craving gooey bites.
- Change up the frosting colors to fit whatever you’re celebrating—red and green turn them into Christmas brownies.