
 Pin it
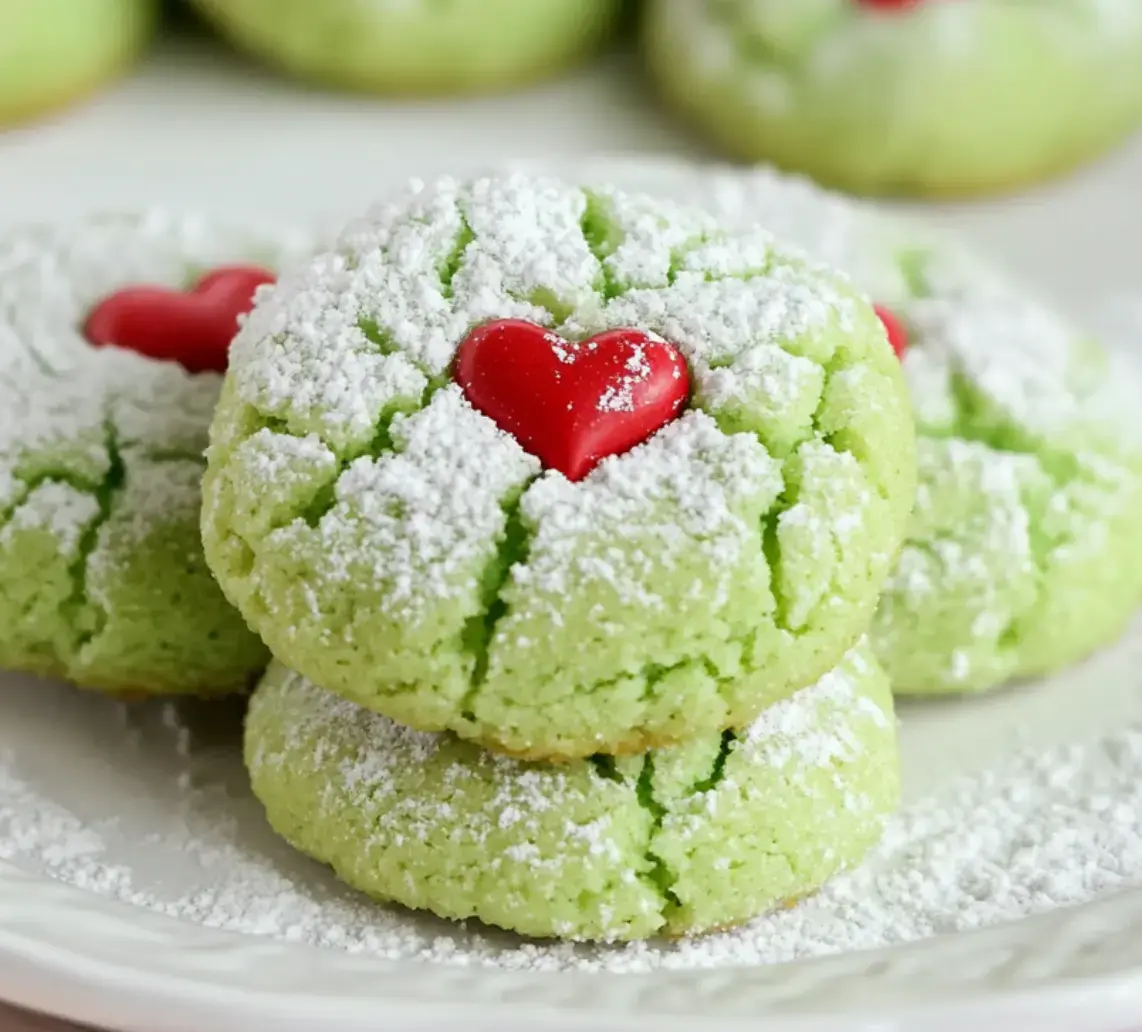
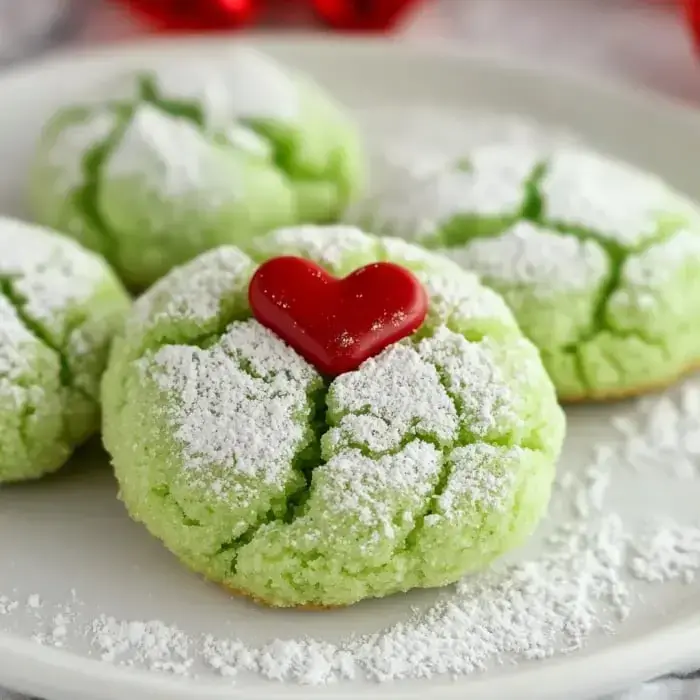
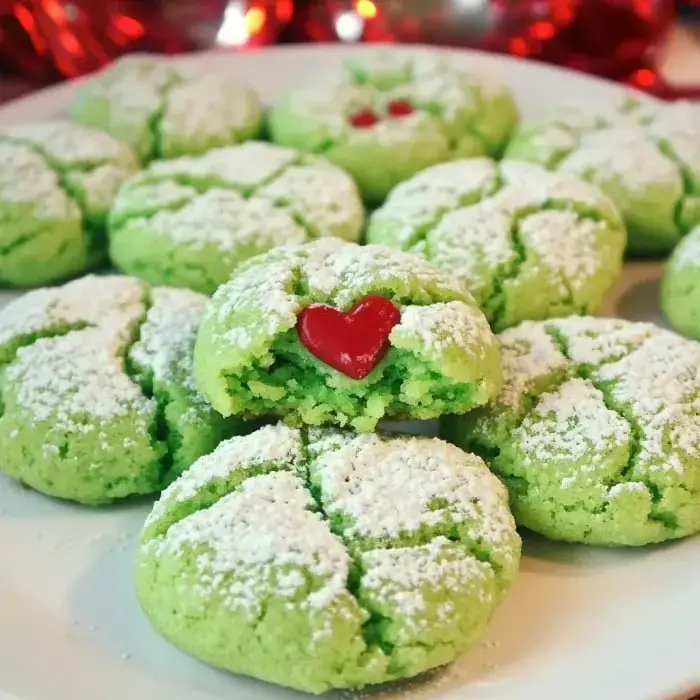
Whip up these cute Grinch crinkle cookies for the holidays. They're bright green and have a little red heart up top—straight out of the classic tale. They're super simple and a blast for kids. Awesome for a movie marathon or any holiday get-together.
Why You'll Love Making These
These treats look wild and taste even better. Kids flip when they see those green goodies with red hearts on them. They're a hit at Christmas bashes or while you're watching the Grinch. They come together quick and people always ask where you learned to make them.
What Goes In
- Plain Flour: 2 1/2 cups
- Baking Powder: 2 scoops
- Pinch of Salt
- White Sugar: 1 cup
- Large Eggs: 2
- Softened Butter: 1 stick
- Vanilla: 1 spoonful
- Peppermint Flavor: 1/2 spoonful
- Green Food Dye: Several drops
- Extra Sugar: For coating
- Red Heart Candies: Tiny ones
How You Put It All Together
- Give Them Time to Cool:
- Hold off 2 minutes. Slide cookies over to rack to finish cooling.
- Bake Those Cookies:
- Let them bake for around 8 minutes. Edges should just turn a bit golden.
- Stick Hearts on:
- Place a red heart right on top of each cookie.
- Lay Out on Tray:
- Put balls on lined pan, leave space between. Flatten slightly.
- Roll in Sugar:
- Coat dough balls fully with sugar.
- Add That Grinch Green:
- Mix food color in until it’s bright green like the Grinch.
- Finish the Dough:
- Combine dry stuff into wet slowly. Don’t overmix or cookies get tough.
- Wet Ingredients Time:
- Toss in eggs, peppermint, and vanilla. Stir until blended.
- Cream Butter & Sugar:
- Beat together butter and sugar until it gets light and fluffy—should take a few minutes.
- Dry Mix First:
- Mix up salt, baking powder, and flour in a bowl with a spoon.
- Oven Prep:
- Get oven hot at 375°. Line the baking sheet with paper.
 Pin it
What Makes Them Awesome
They're not just any green cookie—they're legit Grinch cookies. They look awesome on your Christmas spread. Super minty and sweet. Kids go nuts coloring the dough and sticking hearts up on top.
All About The Main Ingredients
Using real butter makes everything extra rich. The peppermint gives a real holiday vibe—don't miss it. Pick a food color that's super bright just like the Grinch. Make sure to push the hearts in while the cookies are warm so they really stay put.
Switch It Up
Short on time? Grab cake mix, color it green. Want more mint pop? Drop in a bit more peppermint. Some people roll their cookies in powdered sugar so those white cracks really shine. Feel free to try any heart candy you like.
Tips for Baking
Skipping the paper on your pan is a no-go—these will really stick. Keep your dough balls even so everything cooks the same. Press hearts in so they hold but don’t mash them in too far. Check on them at the end because they’re easy to burn. Let them cool a little or they’ll crumble when you move them.
Keep Them Tasting Good
Stash in a sealed container—they stay fresh for about 5 days on your counter. Want to keep longer? Freeze them up to 3 months. Let them warm up to room temp before you dig in. Put parchment between layers so hearts don’t stick together. Don’t refrigerate—they’ll just get hard.
 Pin it
Frequently Asked Questions
- → Can I prep dough ahead?
Absolutely! Whip up your dough and keep it in the fridge for up to three days. Wrap it tight so it stays fresh. Before rolling the dough into balls, let it sit for about 20 minutes—makes it easier to handle. Some like to double the recipe for extra convenience. Want super fresh ones? Chill the dough overnight, then bake in the morning. Chilling actually works in your favor—it keeps the cookies shaped nicely and gives them that perfect crackle.
- → How do I keep them soft longer?
Keep an eye on bake time—pull them out when the edges are firm but the center looks soft. They keep baking on the hot tray! Let them rest there for 5 minutes, then cool fully on a wire rack. Afterward, store in a sealed container with a piece of bread to keep them soft. If you stack them, layer wax paper in between. Always let cookies cool completely before sealing, or they’ll turn soggy. For extra soft cookies, some folks mix a bit of pudding powder into the dough. And don’t overbake—overcooking equals dry cookies!
- → Freeze-friendly?
Totally freezer-friendly! Roll dough into balls but skip the sugar coating first. Freeze them on a tray, then toss into a bag—they last about 3 months. When ready, let the dough balls thaw a bit, sugar-coat, then bake. Want to freeze baked ones? Cool them down completely first, stack with wax paper between layers, then pop in a box for freezing. If you’re adding hearts, know the colors might bleed when thawing—adding them after freezing could help. For the best texture, thaw in the fridge overnight.
- → Any creative tweaks?
Oh, so many! Give them a zesty kick with lemon gleams—it’s refreshing. Try swapping out vanilla for peppermint or almond extract—perfect seasonal twists. Roll them in colored sugar for sparkle or change up the colors entirely. Red for Valentine’s, orange for Halloween, and so on. Switch the heart candies for something else—think stars, eggs, or shapes that match the celebrations. Keep the wet-to-dry ratio steady when switching extracts. Some people even throw in white chocolate pieces for something extra sweet.
- → Can they go gluten-free?
Yes! Swap regular flour for a cup-for-cup gluten-free option, like King Arthur’s or Bob’s Red Mill. If your mix doesn’t include xanthan gum, pop in about 1/4 teaspoon. GF dough might need just a touch more flour and a little resting time to get the smoothest texture—about 30 minutes should do it. They tend to spread wider during baking, so give them some space. Also, double-check candy and food coloring ingredients—gluten can sneak in anywhere! Texture might be a little different but still absolutely delicious.
Conclusion
Into cookie decorating? Try jazzing up classic sugar cookies or go for spicy gingerbread characters for that cozy holiday aroma in your kitchen.