
 Pin it
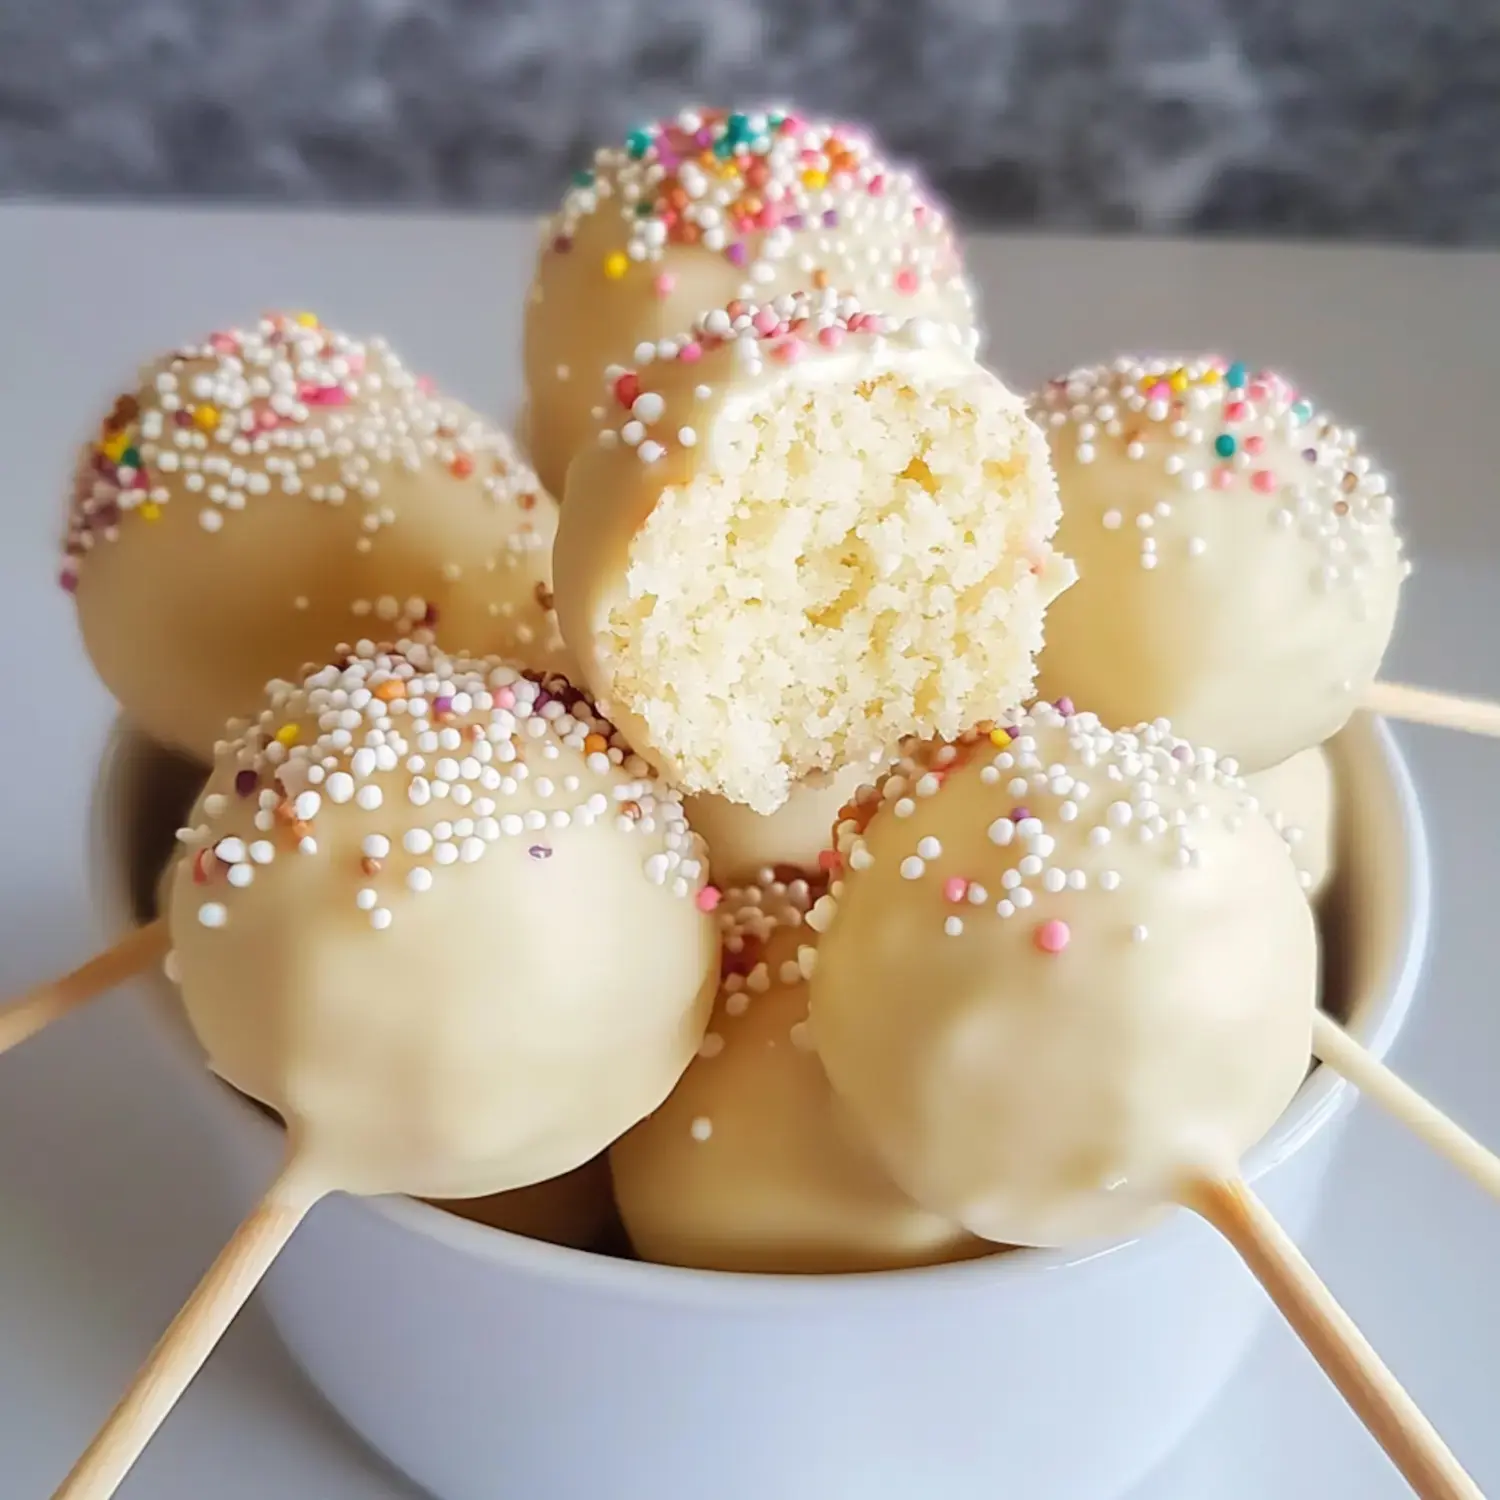
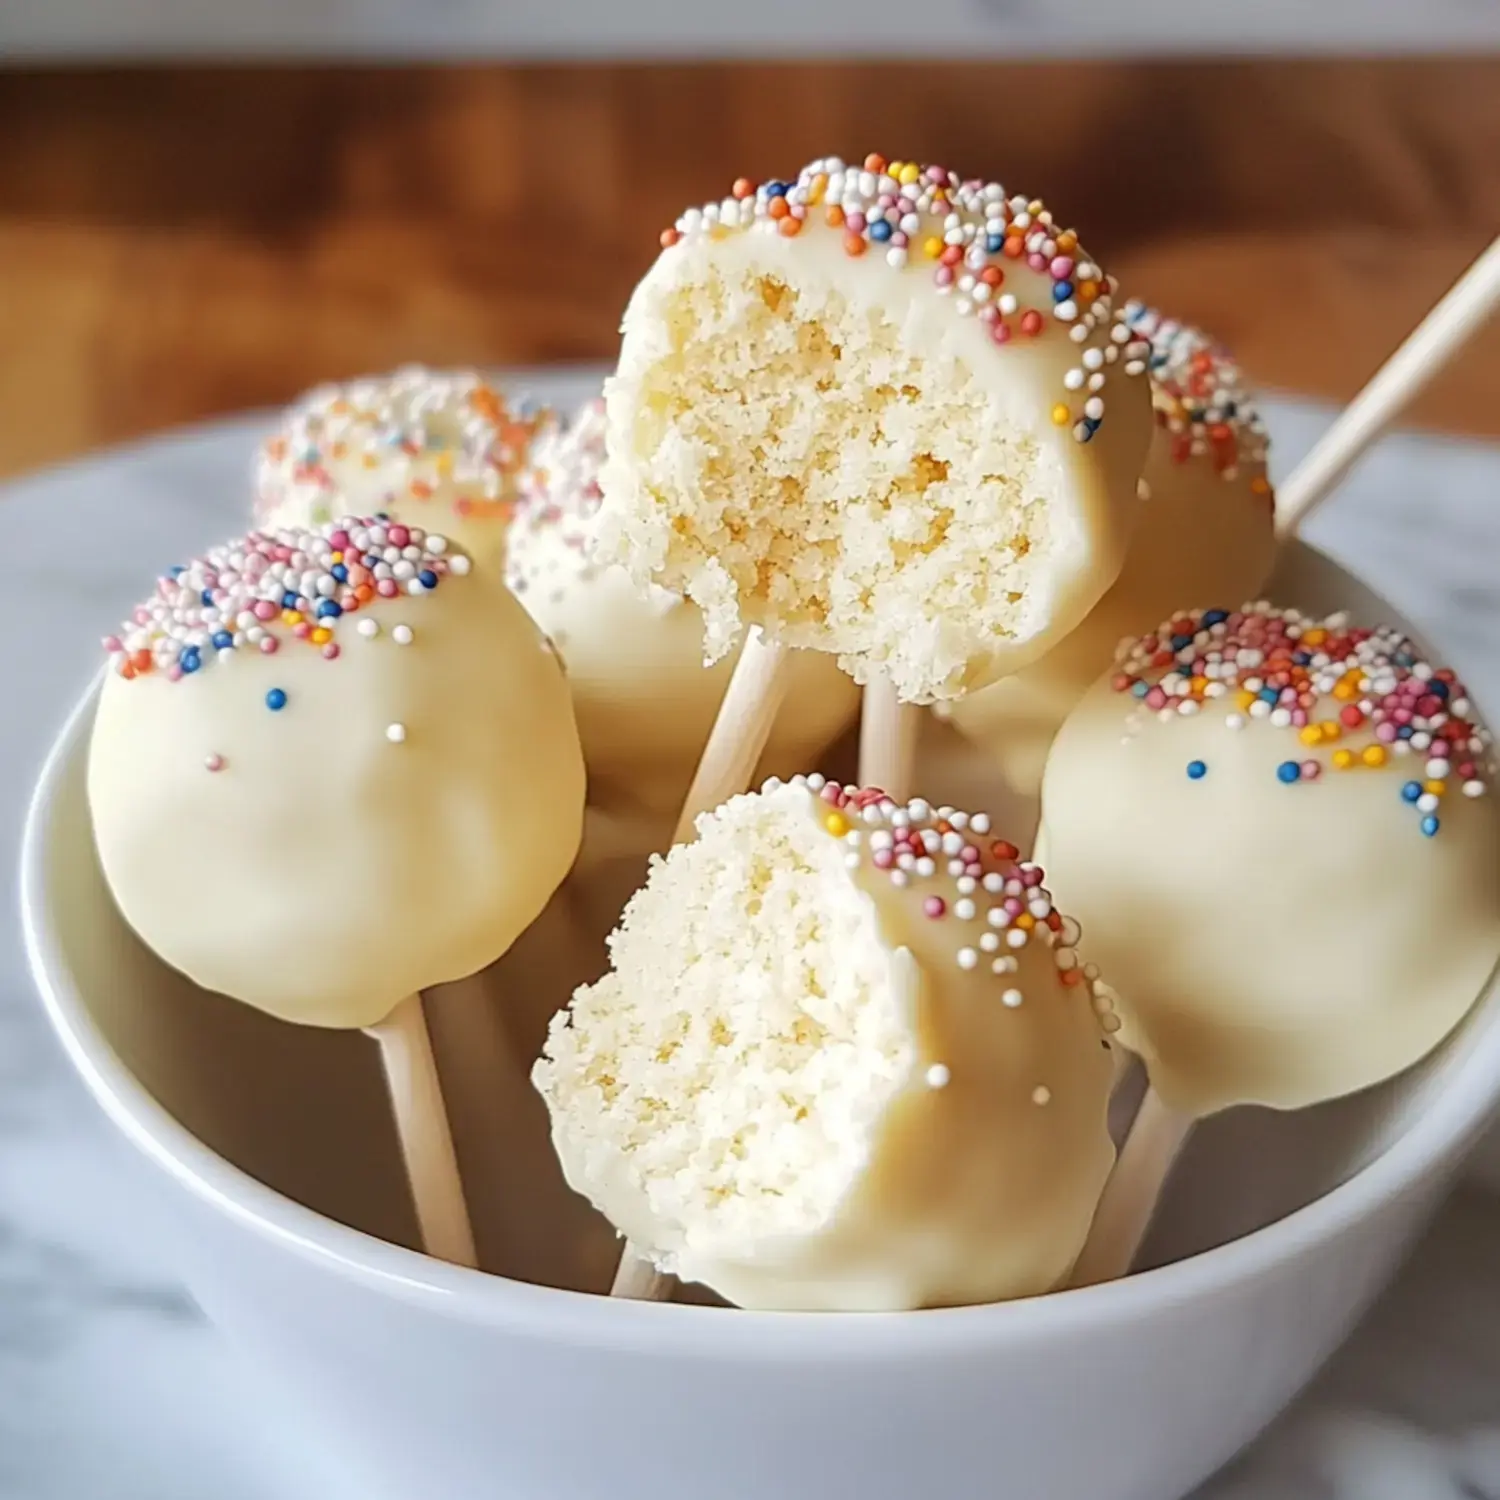
After testing dozens of cake pop versions in my kitchen, I'm super excited to reveal my no-fail technique. These adorable treats mix crumbled cake with smooth frosting, shaped into cute little balls, then dunked in glossy chocolate. My steps show you exactly how to whip up these crowd favorites, whether you're cooking for a get-together or just want something sweet for yourself.
The Secret Behind These Delightful Bites
You'll absolutely adore how flexible these goodies are. I've created them using boxed cake mix when time's tight and my grandma's special cake formula for important events. The real wonder starts when that fluffy cake blends with creamy frosting and gets covered in a thin, crunchy chocolate layer. Complete joy in every mouthful.
Things You'll Need From Your Pantry
- Cake: Any vanilla cake will do perfectly here. I typically grab my go-to white cake formula but store-bought mix works fine too.
- Frosting: My handmade buttercream tops everything with actual butter, sugar powder and genuine vanilla.
- Chocolate Melts: These are what I count on for that flawless outer shell that hardens beautifully.
- Sprinkles: Choose whatever kinds make you happy to give these pops your personal touch.
- Vegetable Oil: A tiny bit helps loosen standard chocolate if candy melts aren't available.
- Cake Pop Sticks: Available at craft shops, you'll need these for the traditional pop look.
Creating Your Tasty Cake Pops
- Getting Started
- Cook your cake and wait for it to cool totally. Then break it into tiny bits in your largest mixing container.
- The Enjoyable Step
- Add most of your frosting. Begin with a little bit, you can put in extra until it feels perfect.
- Form Your Spheres
- Take tablespoon-sized amounts and roll them in your hands. Toss them in the freezer for 10 minutes, then roll again to make them smoother. Return to freezer for half an hour.
- Working With Chocolate
- Warm your chocolate in small intervals, mixing thoroughly between each. A deep mug works wonderfully for dipping.
- Bringing Everything Together
- Dip your stick into melted chocolate, stick it into a cake ball, then submerge the whole thing. Tap gently to even the coating.
- Finishing Touches
- Shake on your sprinkles while chocolate stays wet then place them upright in foam blocks or cups filled with uncooked rice.
My Top Baking Tips
What really makes a difference is starting with minimal frosting. Believe me, adding more beats dealing with mushy cake pops. Keep your chocolate warm and flowing and those cake balls super cold. Let them dry standing up for that professional bakery appearance.
Storing Your Goodies
Store these cute treats in a sealed container and they'll remain tasty at room temperature for 3 days. Want them to stay good longer? Put them in the fridge for seven days. If you're planning in advance, you can freeze the uncoated cake balls up to 3 months.
Why These Stand Out
My approach creates those dreamy cake pops with just the right moisture level and the sleekest coating. Once you get these basic techniques down, you'll create treats that look like they came from an expensive shop. Nobody who tries them can believe you made them yourself.
Add Your Personal Touch
This is when your imagination can run wild. I sometimes add food coloring drops to fit party colors or mix in smashed Oreos for some crunch. You can decorate them countless ways from simple chocolate drizzles to fancy sparkly sugar.
Display Suggestions
During my food service years I found out display matters so much. Try setting your cake pops in a cute vase with bright tissue paper or placing them in old-fashioned teacups filled with sugar. They look amazing wrapped in clear plastic with ribbons when giving as gifts.
My Clever Shortcuts
Don't rush when rolling those cake balls, doing it twice gives you perfectly round shapes. When your chocolate starts getting too thick, just warm it again briefly. I always handle small groups of balls while keeping the rest cool so they stay firm for dipping.
Great For Any Party
Through the years I've baked these yummy bites for tons of birthday celebrations, baby parties and weddings. There's something wonderful about these tiny desserts that brings happiness to everyone. After making them once, you'll fall in love with the happiness they bring to every event.
 Pin it
Frequently Asked Questions
- → Why put extra oil in cake mix?
- Adding a bit more oil makes the cake softer and helps it hold together better when mixed with frosting for rolling.
- → Why shape the balls twice?
- Chilling and reshaping makes smoother, rounder balls, which gives them a polished look once coated in chocolate.
- → Why are candy melts better?
- They melt thinner, harden faster, and don't need additional oil, making them much easier for coating than regular chocolate.
- → Can I prep these early?
- Totally! Roll the balls and freeze them for up to six weeks. Once dipped, store in the fridge and they'll last about a week.
- → Why dip sticks in chocolate first?
- The chocolate acts like glue, keeping the stick firmly in place and preventing the cake ball from slipping off.