
 Pin it
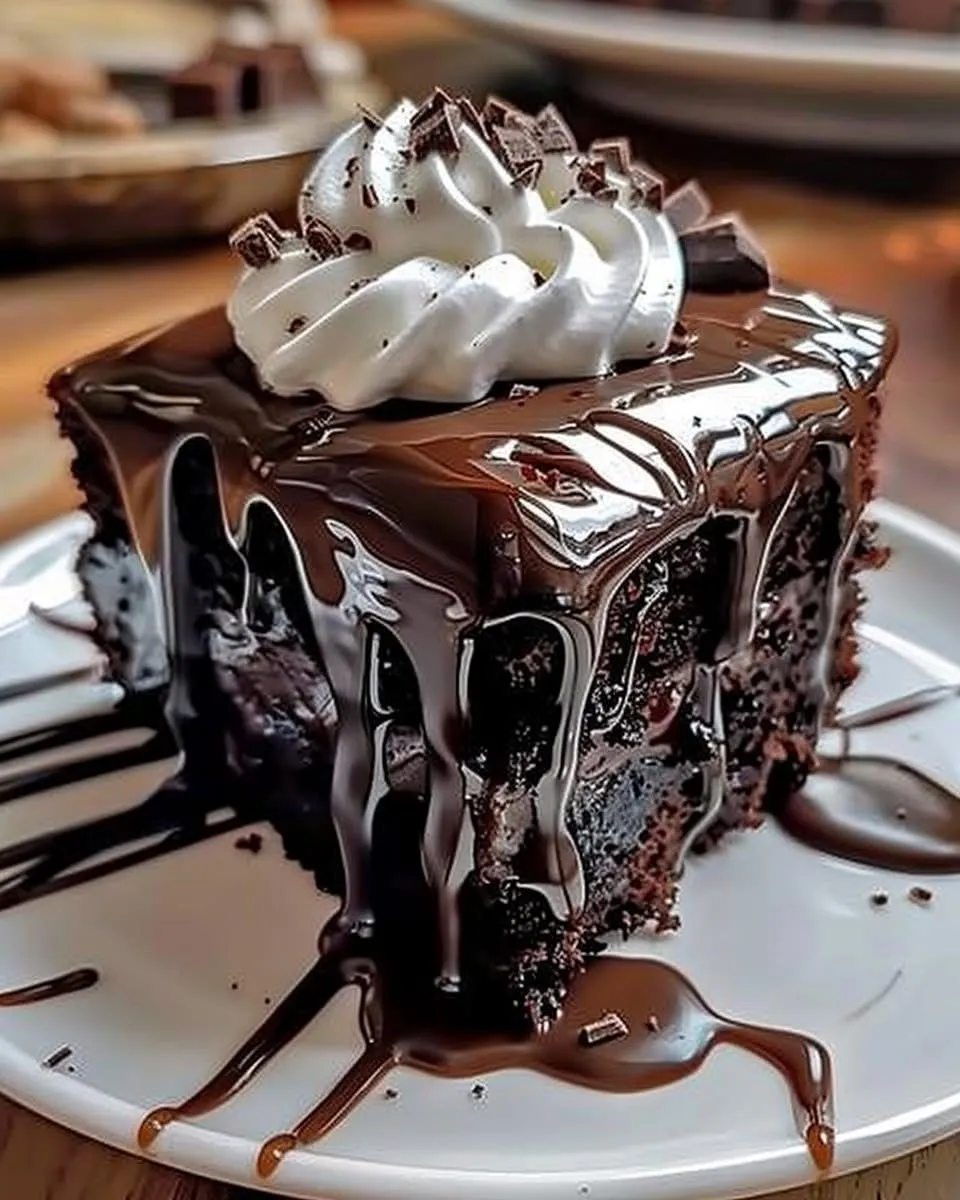
This rich chocolate cake turns basic pantry items into something extraordinary that'll have everyone asking for more. The key ingredient? Boiling water! It brings out the chocolate's intensity and creates a super moist texture that won't dry out for days.
I whipped this cake up during my daughter's birthday crisis when the store cake flopped just hours before guests arrived. One bite and her smile told me we'd never need store-bought again.
Ingredients
- All purpose flour: Gives just the right structure without getting tough
- Granulated sugar: Cuts the cocoa bitterness and helps keep everything moist
- Unsweetened cocoa powder: Brings that deep chocolate goodness; Dutch processed makes the color even richer
- Baking powder and baking soda: Team up for the perfect lift
- Salt: Boosts every flavor, especially the chocolate
- Large eggs: Hold everything together and add richness
- Whole milk: Adds needed fat for moisture; don't go below 2%
- Vegetable oil: Keeps your cake soft for days after baking
- Vanilla extract: Complements the chocolate; stick with pure stuff if possible
- Boiling water: Wakes up the cocoa for stronger flavor
- Unsalted butter (for frosting): Lets you manage how salty things get
- Powdered sugar: Makes your frosting smooth as silk
- Milk: Adjusts the frosting to spread perfectly
Step-by-Step Instructions
- Prepare Your Workspace:
- Heat your oven to 350°F and get two 9 inch round pans ready by coating them with butter and a light dusting of flour or cocoa. I always add parchment circles on the bottom for easy removal.
- Mix Dry Ingredients:
- Stir flour, sugar, cocoa, baking powder, baking soda, and salt together in a big bowl until they're fully combined with no cocoa clumps. This makes sure your cake rises evenly.
- Incorporate Wet Ingredients:
- Throw in eggs, milk, oil, and vanilla with your dry mix and beat everything with a mixer on medium for about 2 minutes. Don't worry if the batter seems thick now.
- Add Boiling Water:
- Stir in boiling water on low speed. This is the game-changer that brings out the cocoa flavor and makes the batter quite thin. That runny consistency is exactly what you want.
- Bake To Perfection:
- Pour equal amounts of batter into your pans and bake for 30 to 35 minutes. You'll know they're done when a toothpick comes out with just a few moist crumbs stuck to it.
- Cooling Phase:
- Let cakes sit in their pans for 10 minutes, then flip them onto cooling racks. They need to cool completely before frosting, so wait at least an hour.
- Create Silky Frosting:
- Whip the softened butter until it's fluffy, about 3-4 minutes. Add powdered sugar and cocoa bit by bit, mixing in some milk and vanilla as you go. Keep beating until everything's light and airy, around 5 minutes.
- Frost Your Masterpiece:
- Put one cool cake layer on your plate and spread frosting over it. Place the second layer on top and cover the whole cake with frosting, starting from the top and working down the sides.
My grandma always snuck a tiny bit of espresso powder into the dry mix, though it wasn't in the original recipe. You won't taste coffee at all, but it somehow makes the chocolate taste way better than anything else can.
Storage Solutions
This cake stays way more moist than most homemade ones. Keep it in an airtight container on your counter for up to 3 days. Want it to last longer? Pop it in the fridge for up to a week, but let it come to room temp before eating for the best flavor and feel. If you haven't frosted the layers yet, wrap them tight in plastic and foil, and they'll freeze nicely for up to 3 months.
Worthy Variations
This simple recipe works as a starting point for tons of different cakes. Try adding raspberry jam between the layers for a fruity kick. Mix in a spoonful of instant espresso powder for a mocha flavor. Switch the vanilla in your frosting to peppermint during Christmas time. For grown-up parties, splash each layer with coffee liqueur before you frost it.
Serving Suggestions
The cake tastes great by itself, but becomes something special with the right sides. Add a scoop of vanilla ice cream for that hot-cold magic. Toss on some fresh berries to cut through the richness. For fancy occasions, sprinkle some edible gold dust or chocolate curls on top. Want a cozy treat? Pop your slice in the microwave for 10 seconds before eating.
Frequently Asked Questions
- → Can I use other types of flour?
Sure! Switch to cake flour for a fluffier cake or a gluten-free option if you need it. Just know the texture may change slightly.
- → How do I stop the layers from sticking?
Give the pans a generous coat of butter or oil, dust them with flour, and pop in parchment paper to avoid sticking.
- → Is there a way to make it eggless?
Yep, you can! Try swaps like unsweetened applesauce or flaxseed mixed with water for a no-egg version.
- → What’s the best way to store leftovers?
Keep it fresh by sealing it in an airtight container. It’ll last two days on the counter or a week in the fridge.
- → Can I freeze the layers in advance?
Definitely. Wrap each cooled layer tightly using plastic wrap and foil. Freeze for up to three months, and thaw before decorating.