
 Pin it
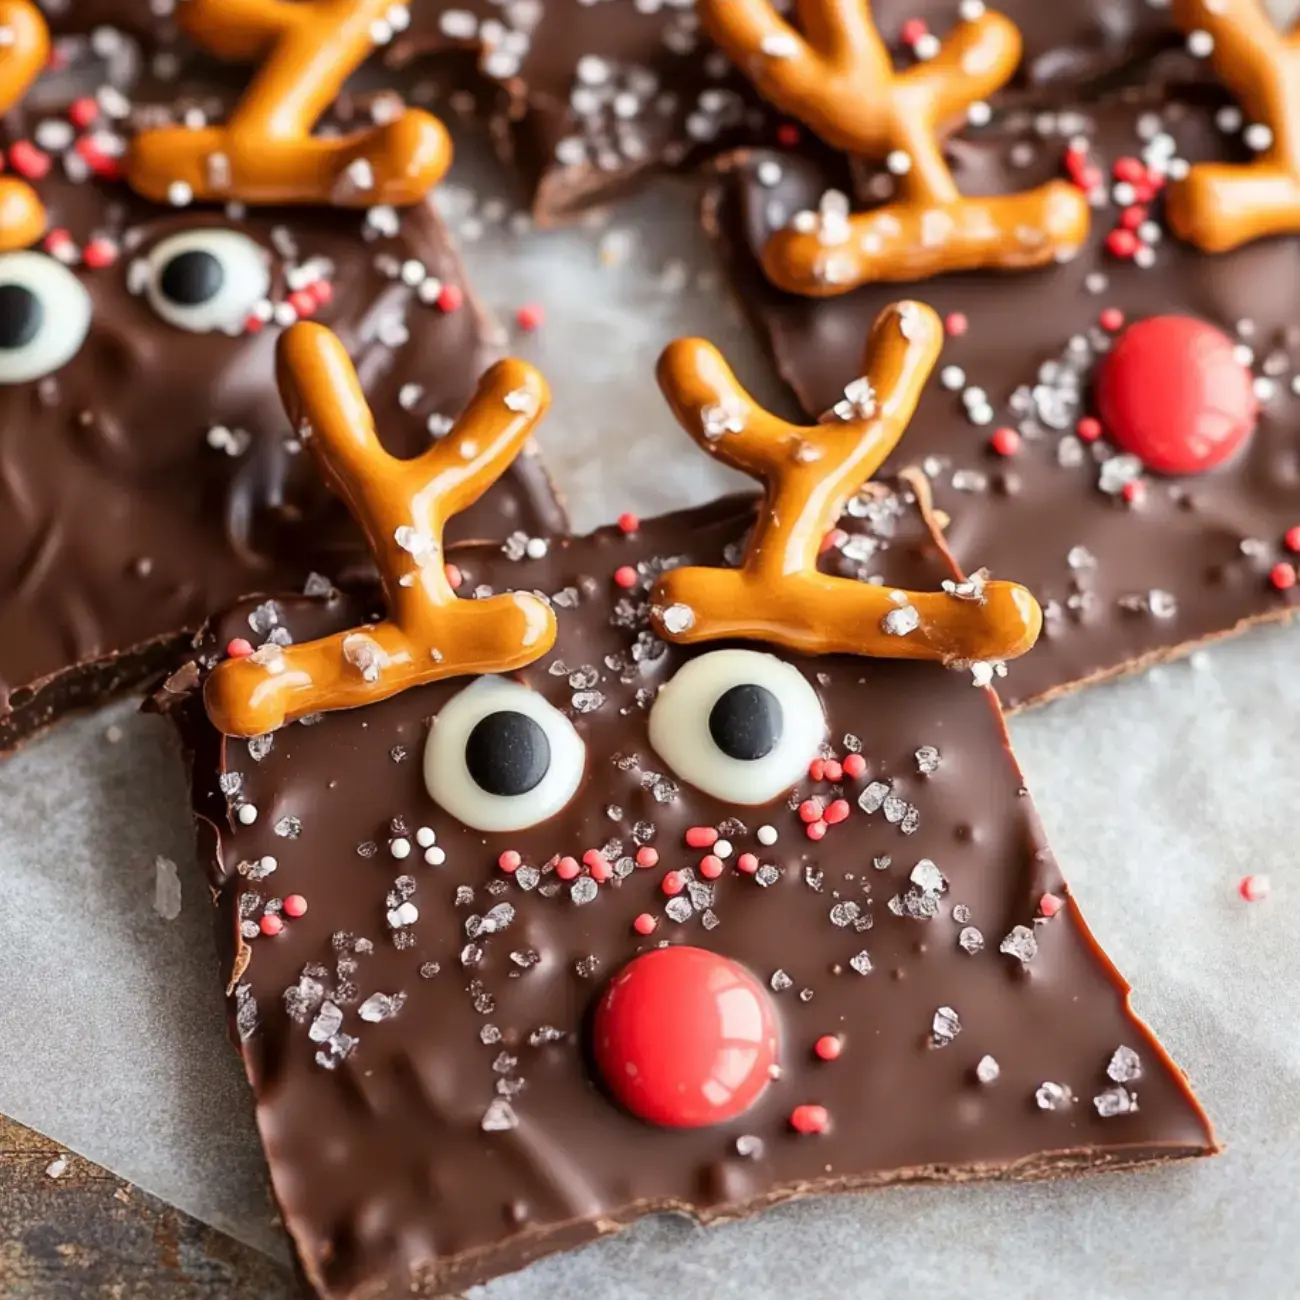
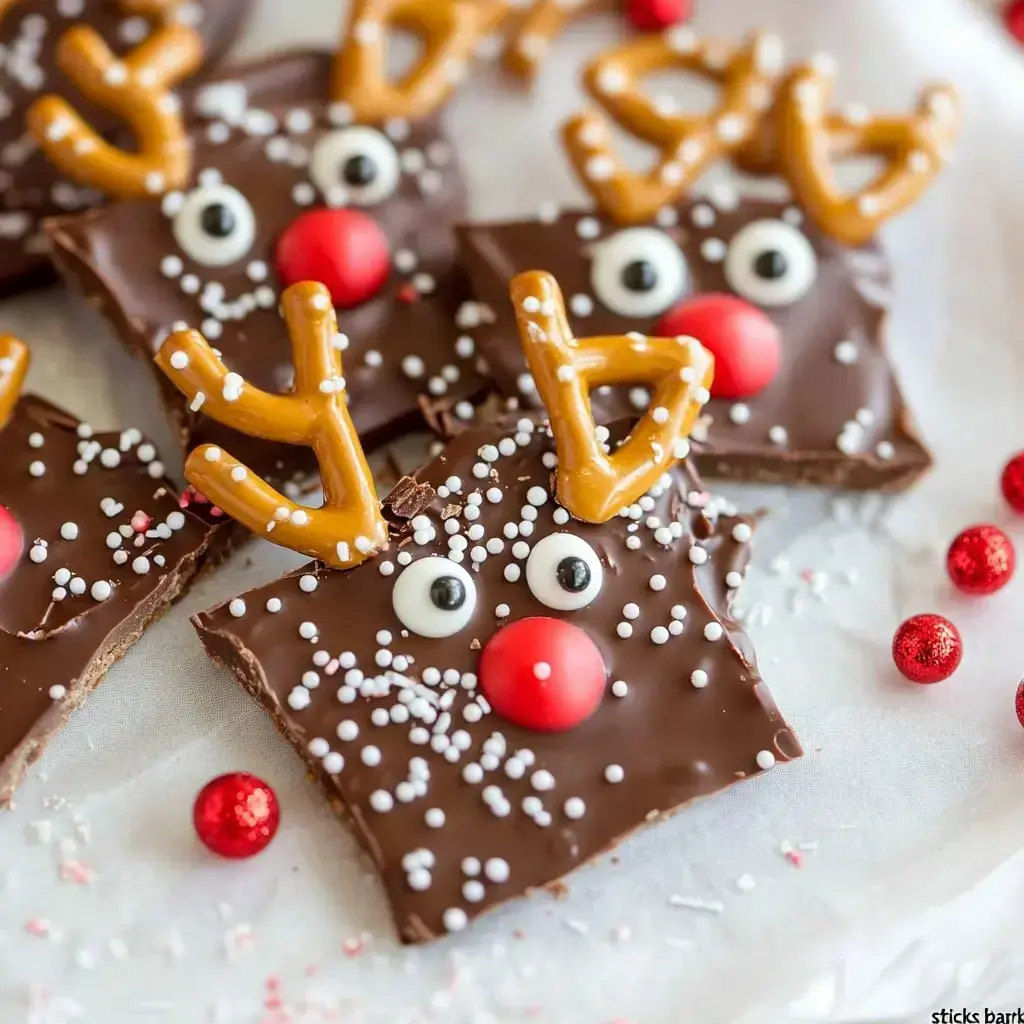
I can't wait to tell you about my Chocolate Reindeer Bark! Making these cute treats has become one of our favorite holiday activities with the kids. There's something magical about how smooth chocolate works with crunchy pretzels and those adorable candy faces - it brings so much happiness to our home during the holidays.
The Magic Behind These Treats
My favorite thing about Reindeer Bark is how fast and easy it comes together. You'll get hooked on the sweet-salty mix and seeing kids smile when they spot those sweet reindeer designs makes everything worthwhile. It's also a fantastic handmade present that keeps well for several months.
Ingredients List
- Meltable chocolate candy melts: Go for top-notch chocolate wafers to get smooth melting and the best outcome.
- Pretzels: Go with complete pretzels to snap into "antler" shapes; steer clear of too-salty varieties.
- Clear sprinkles: Gives your bark some shine and interesting texture.
- Candy eyes: Makes the fun reindeer face; just make sure they're food-safe and the right size for your design.
- Red candy balls: Pick tiny red candies for the reindeer nose; small M&Ms work great.
Step-By-Step Creation
- Melt the Chocolate
- Put chocolate candy melts in a bowl safe for microwaving. Warm in short 15-30 second bursts, mixing between each to stop burning, until it's all smooth and melted.
- Spread and Shape
- Drop the melted chocolate onto a baking sheet covered with parchment paper. Use a spatula to smooth it out about 1/4-inch thick.
- Decorate
- While the chocolate's still warm, push in broken pretzel bits, candy eyes, and red candy balls to create reindeer faces. Top it off with a dash of clear sprinkles.
- Chill and Set
- Put the baking sheet in your fridge. Let the chocolate get completely cold and firm before you touch it.
- Break into Pieces
- After it hardens, snap the chocolate into bark chunks with dry hands or cut with a sharp knife to keep edges neat and avoid smudging the design.
Helpful Tricks
Always pick great quality chocolate wafers or throw in some coconut oil to regular chocolate for way better melting. I've found sticking it right in the fridge after decorating keeps everything in place. And when breaking it apart, go with a super sharp knife to keep those cute decorations intact.
Storage Secrets
Your bark will stay good up to three months when kept in a sealed container at room temp. If you're making gift packages, those see-through cellophane bags tied with pretty ribbons look amazing. Just remember to store away from heat so it doesn't melt.
Fun Variations
We sometimes switch things up for other holidays with different candy colors. It's super fun trying new combos like white chocolate topped with crushed peppermint or dark chocolate with roasted nuts. You can really go wild with ideas!
Common Mistakes
The main thing to avoid is cooking the chocolate too long - it gets lumpy real fast. Don't waste time when adding your decorations before the chocolate hardens and always use parchment paper to make cleanup a breeze.
Kids Love Making These
Creating this bark with children brings so much fun. I let them design their own reindeer faces and they get super creative! Just watch the little ones around the warm chocolate and everyone will have an awesome time.
Ways To Enjoy
We love munching on our Reindeer Bark with hot cocoa during snug winter nights. It pairs wonderfully with other holiday snacks like cookies and gingerbread. That mix of sweet and salty makes it tough to stop at just one piece!
 Pin it
Frequently Asked Questions
- → Why use candy melts instead of chocolate bars?
- Candy melts are designed to melt easily and set up nicely. If you go with regular chocolate, mix in some coconut oil to make it melt better.
- → Why should we use parchment paper?
- It keeps the bark from sticking and makes it easier to handle while it’s still soft.
- → How do I store leftover bark?
- Keep it sealed in an airtight container at room temperature for three months, or chill it if it’s warm.
- → What’s the point of using dry hands?
- Moisture can mess up the candy’s color or texture, so dry hands are best for handling.
- → Why do you melt chocolate in short bursts?
- It stops the chocolate from burning and helps it melt smoothly, little by little.