
 Pin it
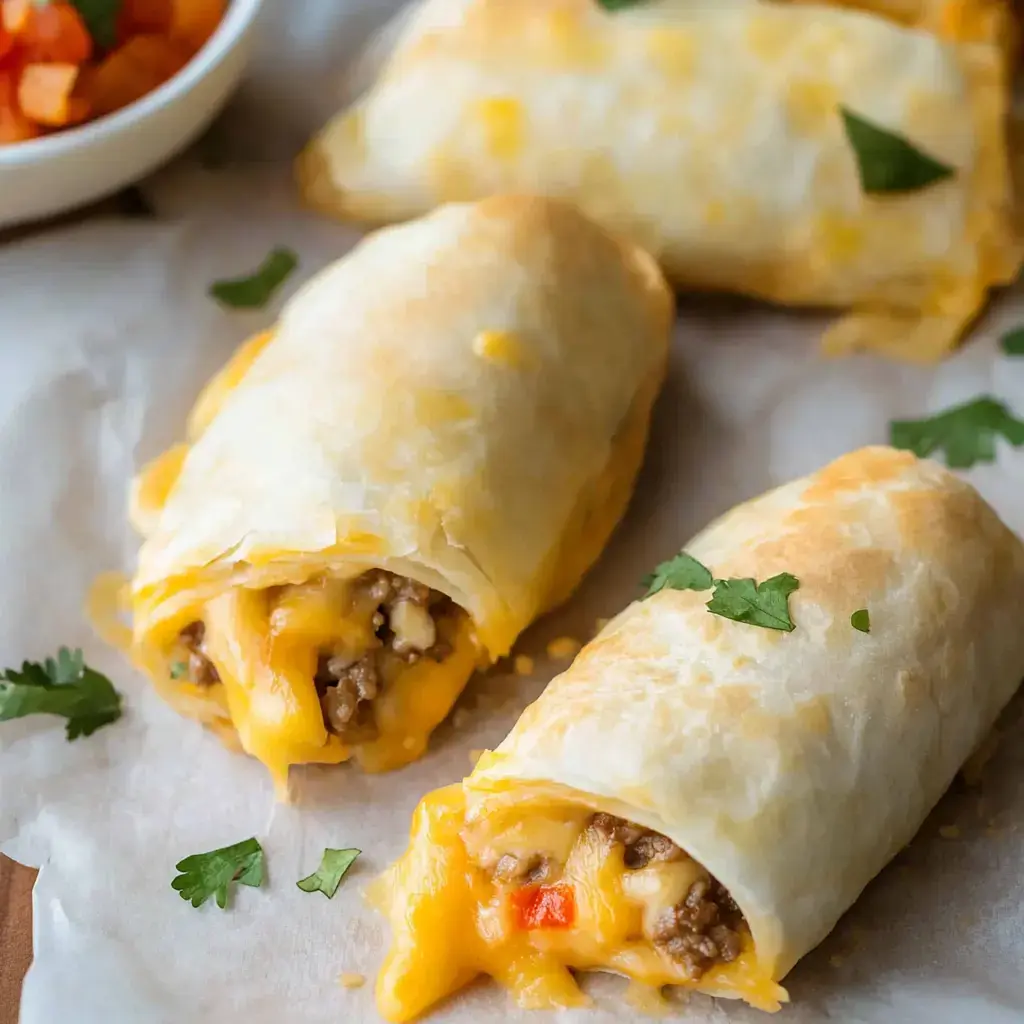
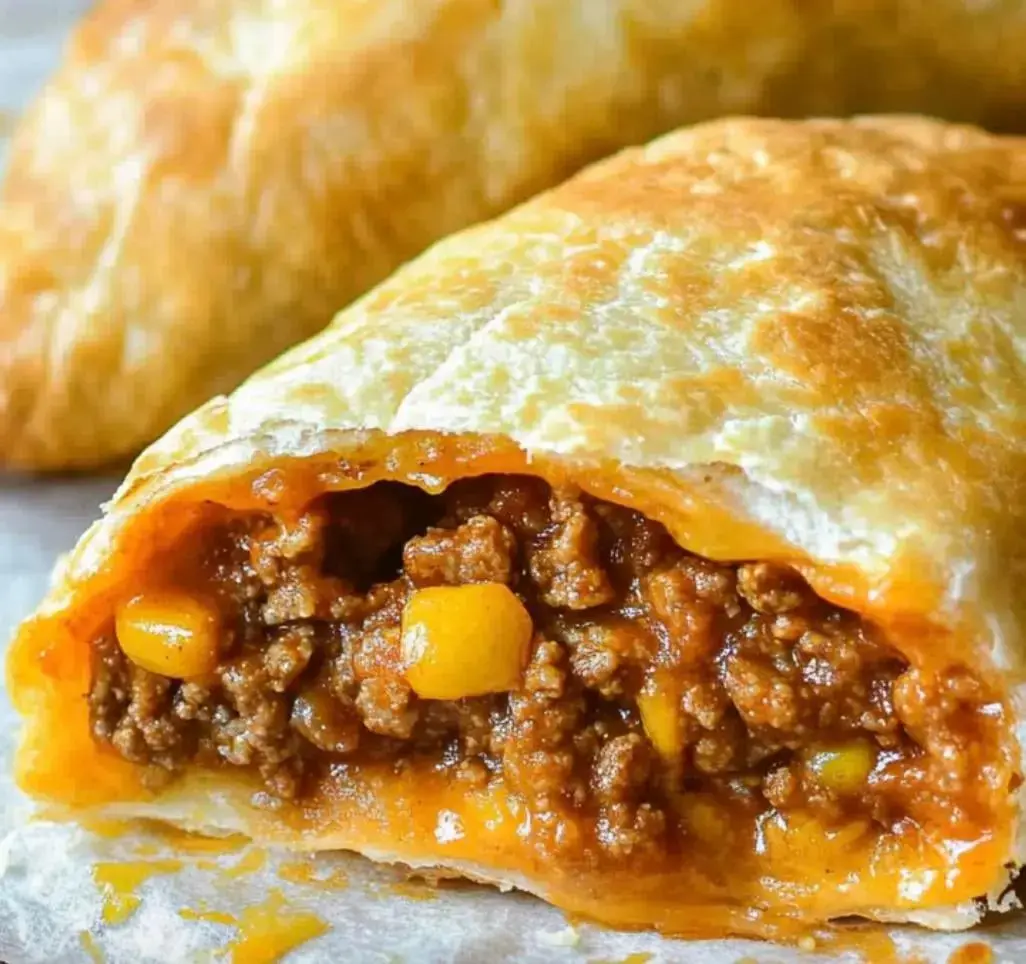
Try these crispy taco pockets—just melty cheese and beef tucked into toasted tortillas. Basically, it’s like if your favorite taco met a handheld hot pocket. Easy to throw together and they taste awesome.
Why You'll Love This
These are a hit—little kids and adults can't get enough. Pick your favorite cheese, spice ’em up or keep it chill. No falling-apart mess like tacos. Fix them in advance and just heat up when you’re hungry.
What You'll Grab
- Shredded Cheese: Cheddar is classic
- Sour Cream: For topping
- Flour Tortillas: The soft kind
- Ground Beef: Regular works great
- Taco Seasoning: One store packet
- Butter: Melts to make it golden
- Cream Cheese: Soft style
- Salsa: Go with your favorite
 Pin it
Step-By-Step Guide
- See if they’re hot:
- Slice one through the middle so you know inside’s steaming. You want to eat them warm so jump in now.
- Add your favorite toppings:
- Spoon on cold sour cream, fresh salsa, or some diced tomatoes. Use whatever you’re in the mood for.
- Bake them:
- Let them cook for 15–20 minutes. Peek at 15—once they're nicely golden and crunchy, you’re all set. Need longer? Let ’em go a couple more minutes.
- Brush butter on:
- Soften butter in the microwave (about half a minute). Use a brush to cover every taco pocket. Don’t skip spots!
- Roll ‘em up tight:
- Fold the bottom of your tortilla over the filling, tuck the sides in, and roll to the top. Put the seam underneath on your pan. Repeat for all.
- Build the pockets:
- Put out all your tortillas. Spread a good scoop of the cheese and salsa spread in the middle. Pile on beef. Top with plenty of cheddar.
- Stir up the cheese mix:
- Grab a bowl. Mix cream cheese until creamy, break up those lumps. Add salsa—about 3–4 spoonfuls. Stir until it looks smooth and pink-ish.
- Season the beef:
- Move beef back to the pan. Pour the taco seasoning and water in (check your packet for the water amount). Stir well, and let it bubble for 5 minutes till thick.
- Brown the beef:
- Plop the beef into your hot pan. Break it up as it cooks. After 8–10 minutes, when it’s not pink, tip off the fat with a strainer.
- Prep your area:
- Start your oven at 350°. Grab a big skillet and cover a baking tray with foil to make life easier.
Better Tastes Start Here
Use 80/20 beef for the best balance and less grease. Snag tortillas that are soft—peek at the expiry date to be sure. Skip the bagged shredded cheese, buy a block and grate for super gooey melts. Let your cream cheese warm up at room temp for half an hour—makes mixing way easier.
Rolling ‘Em Just Right
Toss tortillas in the microwave with a damp napkin for 20 seconds for easier folding. Scoop your filling about 2 inches from the edge. Go with 3 scoops beef and 2 of cheese mix—any more and they’ll split. Fold the bottom up tight, sides in about an inch, then roll up evenly. If they pop open on the ends, stick in a toothpick till they're done baking.
Switch It Up
If you want more heat, toss in some chopped jalapenos. Want more veggies? Cook onions and peppers right in with the beef. Drain and rinse black beans before mixing them in. Pepper jack cheese is a fun swap for cheddar. If you don’t like tomatoes, just leave them out of the cheese mix for a milder bite.
 Pin it
Kitchen Hacks to Try
Double the meat batch, freeze what you don’t use for a fast snack next week. Line baking pans with foil so cleanup takes seconds. Shred cheese while your beef is sizzling. Leftover fillings? They make killer nachos tomorrow. Use really soft butter so brushing’s quick. If cheese melts out, that’s just more crispy goodness.
How to Store and Warm Up
Wait 30 minutes before chilling them, so the steam doesn’t make them soggy. Wrap each one with foil, bag up in a zip bag—they’ll stay crisp for 4 days. Warm up at 350° right in the foil for about 15–20 minutes. Want them extra crunchy? Ditch the foil for the last 5 minutes. Don’t zap in the microwave—they’ll turn limp. Freeze if you want, just seal well and eat within 2 months. Heat frozen ones for 25–30 minutes.
Frequently Asked Questions
- → Can I skip the meat in these?
Of course! You’ve got options like 2 cans of mashed beans, 1 package of veggie crumbles, or a couple cups of cooked lentils. Add some corn or diced peppers to bulk it up. Use taco spices—2 tablespoons per can of beans is good. Just make sure your mix isn’t too wet, or your pockets might get soggy. Heat it all up, taste, and adjust the seasoning as you like!
- → Can I prep these ahead of time?
Sure thing. Cook the filling and stuff the pockets the day before. Wrap each one in plastic, then tuck them all in a sealed container in the fridge. When it’s time to bake, take them out, unwrap, and put them on a pan. Add 5-7 minutes to the baking time since they’ll be cold. Brush with a little oil if they look dry. Super handy for busy days or hosting guests!
- → Can I use corn tortillas instead?
Yep! To keep them from tearing, wrap them in damp paper towels and microwave for 30 seconds first. They’re smaller, so you’ll make around 12 pockets instead of 8. Brush both sides with oil before filling, and don’t overstuff—corn tortillas break easier. They crisp up really quickly, so keep a close eye on them in the oven!
- → How do I make sure they stay crispy?
They’re best eaten right out of the oven, super crunchy and fresh! If you need to reheat, skip the microwave—it’ll soften them. Use a 350°F oven instead, placing them right on the rack or on a pan for 5-7 minutes. For a couple of pockets, a toaster oven works great. Brush them with a touch of oil before heating for extra crunch. Cover with foil if they brown too fast but aren’t hot inside.
- → What toppings go well with these?
Create a toppings spread with diced tomatoes, shredded lettuce, onions, black olives, avocado or guac, sour cream, extra cheese, cilantro, lime wedges, and pickled jalapeños. For parties, chopping everything small makes it easier to eat. Bonus tip: Use squeeze bottles for sour cream or guac—less mess and fun for kids!
Conclusion
If you love these taco pockets, your next must-try is a loaded nacho platter with the same cheesy, flavorful beef. Or switch it up with beef enchiladas for a different twist—all using ingredients you already have on hand. Quick, familiar, and oh-so-delicious!