
 Pin it
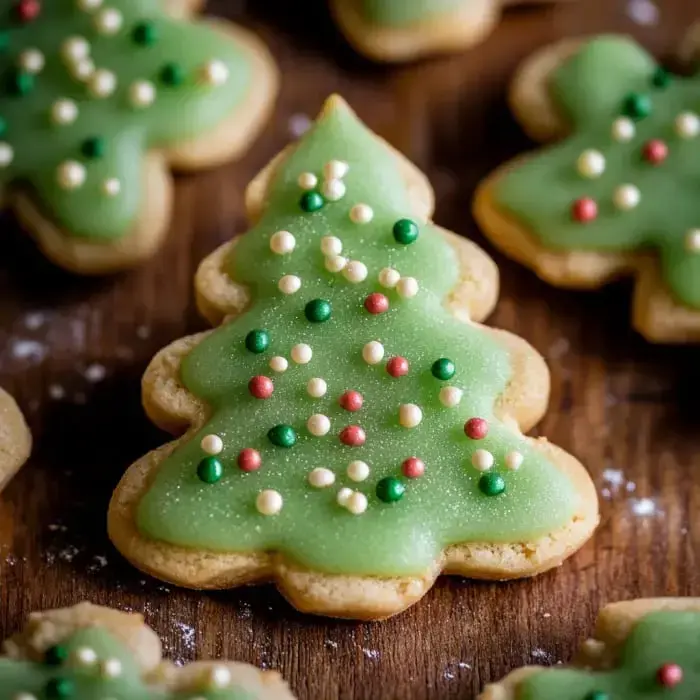
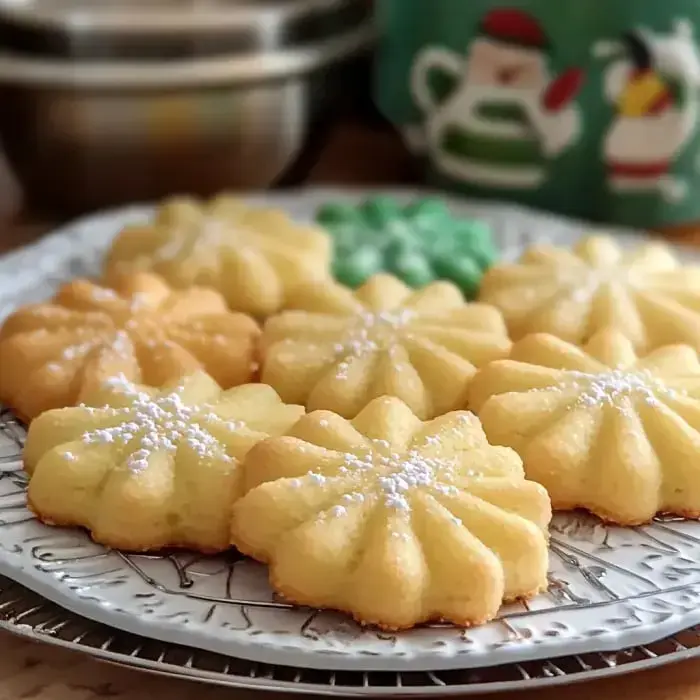
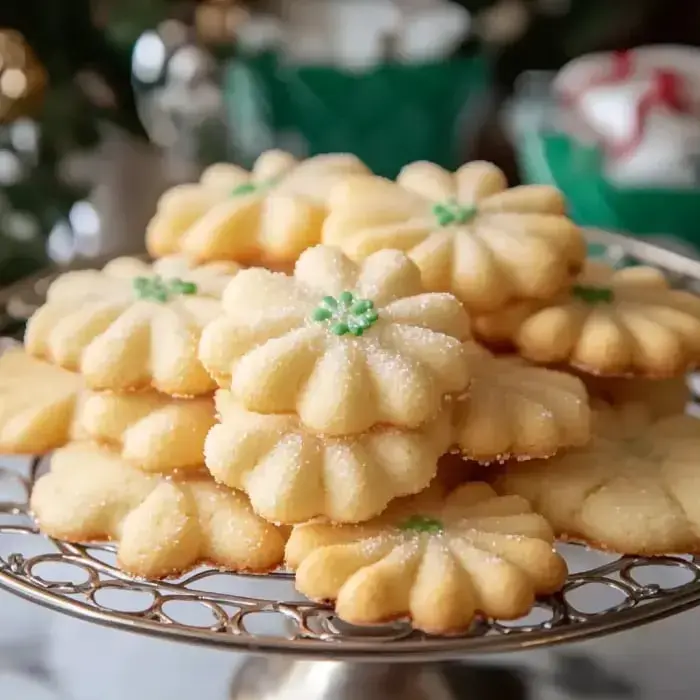
Whip up these eye-catching Spritz Cookies for any celebration. A cookie press makes shaping super fun. The cookies turn out super soft and rich, with hints of almond and vanilla. Toss in some food coloring and festive sprinkles to make them pop.
Why Try This
They're a breeze but look like you spent hours. Perfect for sharing or adding to treat trays. Stay crisp just enough while still melt-in-your-mouth. Get creative with colors and shapes for any party. Kids go wild for picking designs and helping out.
What You'll Need
- Cookie Press: Lets you make lots of shapes
- Sprinkles: Toss a few on top
- Food Color: Use some if you want to jazz them up
- Flour: 2 cups regular stuff
- Almond Extract: 1/4 small spoon
- Vanilla: Use a spoonful
- Egg: 1 large one
- Salt: Just a pinch
- Sugar: 2/3 cup white
- Butter: 1 cup, soft but not runny
How You Do It
- Let them cool:
- After baking, leave cookies on the pan a bit, then slide to a rack to finish cooling.
- Bake cookies:
- Pop in the oven for 8 minutes. Edges should barely start turning gold. Don't overdo it.
- Add sprinkles:
- Sprinkle now if you're using them, so they'll stick while baking.
- Squeeze cookies:
- Push dough straight onto the cookie sheet using the cookie press. No parchment needed. Leave a gap between each.
- Fill that press:
- Spoon dough into your cookie press, then pick a fun shape.
- Mix in flour:
- Slowly stir in flour. Don't overbeat or your cookies get tough.
- Add color:
- If you want colored dough, drop in food coloring now. Mix so color is even.
- Pour in the wet stuff:
- Add egg, vanilla, almond extract, beat till it's smooth.
- Mix the creamy stuff:
- Whip butter, sugar, and salt for about 3 minutes, till you see it's fluffy and pale.
- Preheat oven:
- Heat it up to 350°. Skip greasing the pans so the dough holds its shape.
 Pin it
What Sets Them Apart
Using a cookie press gives you cool shapes like stars and trees. Every cookie looks like a tiny masterpiece. They're sweet and have a rich buttery flavor. Get kids involved—picking shapes and colors is half the fun. Your cookie trays will stand out at any event.
Best Tips for Dough
Don't let your butter melt—just let it soften. Cream butter and sugar really well for that tender bite. Always use the almond extract, it gives a nice twist. Finished dough should feel plush but not sticky. No chilling needed—use dough right away.
Try Different Styles
Split the dough up to try more than one color. Red for flowers, green for trees—or switch it up however you like. Change up the cookie press shape for each batch. Some folks even blend two colors for stripes. Mess around and see what you come up with.
Decorating Ideas
Stick on sprinkles before putting them in the oven—they'll stay on better. If you're adding icing, wait till they're all the way cool. Want the sparkles to stay? Brush a little corn syrup on top. Don't overload the decorations or they'll just fall off.
How to Store
Let the cookies cool totally before packing up. Keep in a tin with a tight lid. They'll be good for a week—if you don't eat them first. Freezing? Layer them with parchment in a box. They'll stay tasty in the freezer up to 3 months. Bonus: they look great packed as gifts.
 Pin it
Frequently Asked Questions
- → How do I keep them fresh?
Put them in a container with a secure lid, like a tin or jar. They stay crunchy for up to a week on the counter. Stack them with wax paper in between to keep them neat. Want them to last longer? Pop them in the freezer for up to 3 months.
Quick tips: Always let them cool first. Store them separately from other cookies to avoid mixing up flavors. If they get a bit soft, place them in a warm oven (300°F) for a few minutes to crisp up. Metal tins are better than plastic for keeping them fresh.
- → Can I use different flavors?
Absolutely! Toss in a teaspoon of orange or lemon zest, or just a couple of drops of flavor oil since it’s stronger. Fun options: mint for the holidays, orange for cozy fall days, lemon for springtime. Sprinkle a little cinnamon for a warm twist.
For chocolate, swap out a bit of flour with cocoa powder. Avoid adding liquids—they’ll mess up the dough’s texture. No matter the flavor, that buttery taste will still shine through.
- → Why skip parchment paper?
The dough sticks to the pan easier without it, which is what you need when pressing shapes. Parchment makes them slide and lose their designs. A clean, room-temp pan works best, and some even chill their pans beforehand.
If shapes aren’t sticking, your pan might be too greasy or warm. Wash it quickly, dry it well, and try again. No need to grease—sounds odd, but it works! They’ll pop off the tray once baked.
- → How can I make them gluten-free?
Grab a gluten-free flour mix that works as an all-in-one replacement (look for one with xanthan gum). You may need to chill the dough a little longer since GF flour acts differently during baking. Shapes may not be as crisp, but they’ll still taste great.
Top brands to try? Bob’s Red Mill or King Arthur. The cookies might spread a bit more, so leave good gaps between them. Keep an eye on the oven—they’ll brown faster than the wheat ones.
- → What’s the trick to not overbake?
Keep an eye on the edges! They’re done when bottoms just start to turn light gold and the tops stay pale. Check them around 7 minutes. It’s better to pull them a bit underdone—they’ll finish cooking on the tray while cooling.
Every pan bakes differently, so watch that first batch closely. Let trays cool completely between uses, or the cookies spread too much. If they’re browning too fast, drop your oven’s heat by 25°F.
Conclusion
Fan of these? You might like traditional butter cookies too—same flavor, just round. Or for a richer option, go for some shortbread. They’re all simple to make but look impressive!