
 Pin it
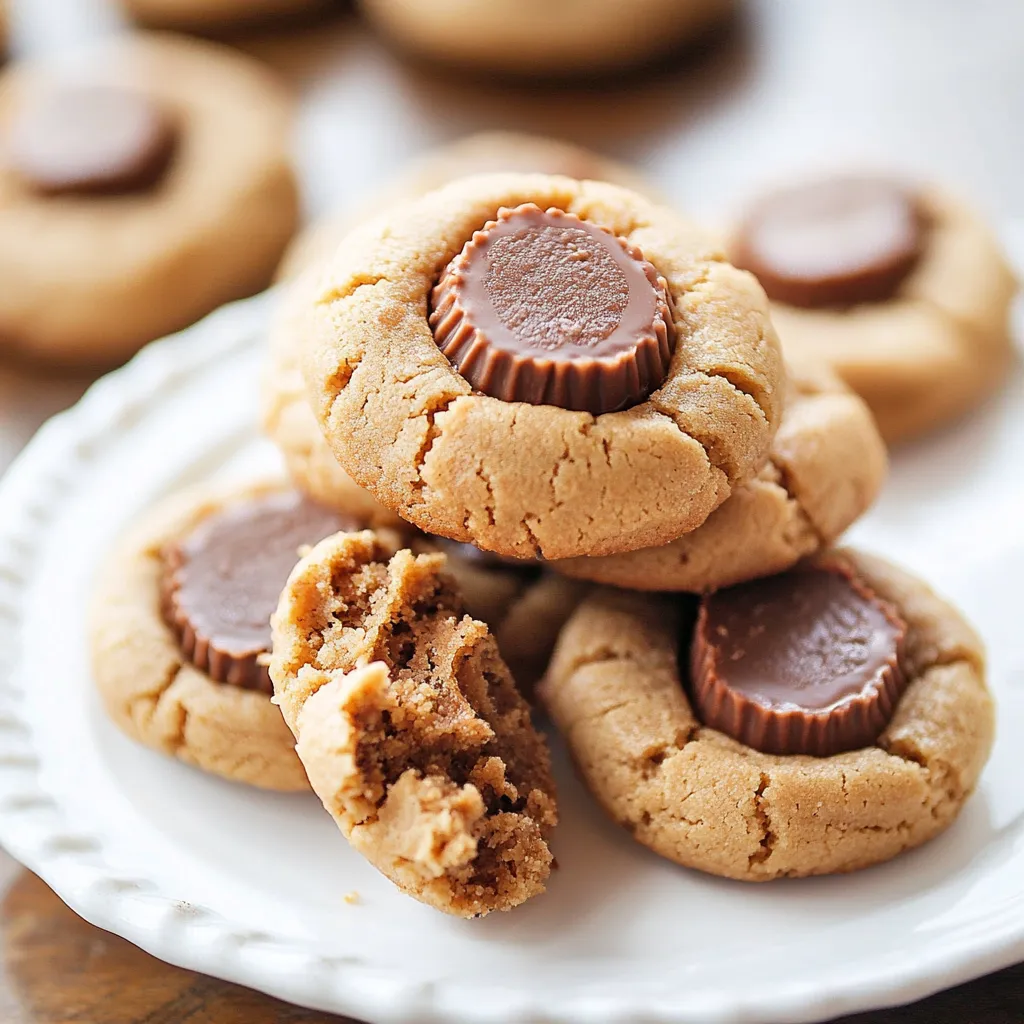
Chocolate and peanut butter come together in these decadent cookies, featuring gooey centers that'll make your mouth water. These homemade goodies turn the well-loved peanut butter cup into a warm, fresh-baked treat that's won over everyone from grandkids to grandparents in my family.
These cookies have become our family's most demanded sweet treat at every get-together. I've watched kids, parents, and grandparents all fall head over heels for that magical combo of soft cookie outside and melty goodness inside.
Choosing Your Ingredients
- All-purpose flour: Gives your cookies their backbone. Go for unbleached for better taste and steer clear of self-rising types
- Creamy peanut butter: Pick natural kinds without added sugar for real flavor. Make sure to stir it well before you measure
- Unsalted butter: Must be soft but not melty. You'll know it's right when your finger leaves a small dent when pressed
- Mini peanut butter cups: Keep them in the fridge until you need them. They'll be much easier to unwrap when cold
- Brown sugar: Look for soft, moist brown sugar that adds richness and caramel hints. Break it up if it's lumpy
- Vanilla extract: The real stuff brings out the best in both the peanut butter and chocolate flavors
Baking Perfect Treats
- Get Everything Ready:
- Heat your oven to 350°F (175°C). Grab two mixing bowls - one for wet stuff, one for dry. Cover your baking sheets with parchment. Setting up first makes everything go smoothly. Put all your tools and ingredients in the order you'll use them, and make sure cold things warm up to room temp before mixing.
- Mix the Dry Stuff:
- Combine 1¾ cups flour, ½ teaspoon baking soda, and ¼ teaspoon salt with a whisk until everything's mixed well. Use soft, complete movements so you don't end up with clumps of bitter baking soda. Whisking also puts air in the flour, making your cookies lighter. Break up any lumps you spot.
- Make the Base:
- Beat ½ cup soft butter until it looks light and fluffy, about 2 minutes on medium. Slowly add your sugars and keep beating until the mix turns pale and airy, around 3 minutes more. This step is super important for getting that perfect cookie texture.
- Add Wet Ingredients:
- Put in one egg, one teaspoon vanilla, and two tablespoons milk one after another, mixing well each time. Your batter should look smooth and even. Don't rush this part. Make sure each ingredient disappears into the mix before adding the next one.
- Finish the Dough:
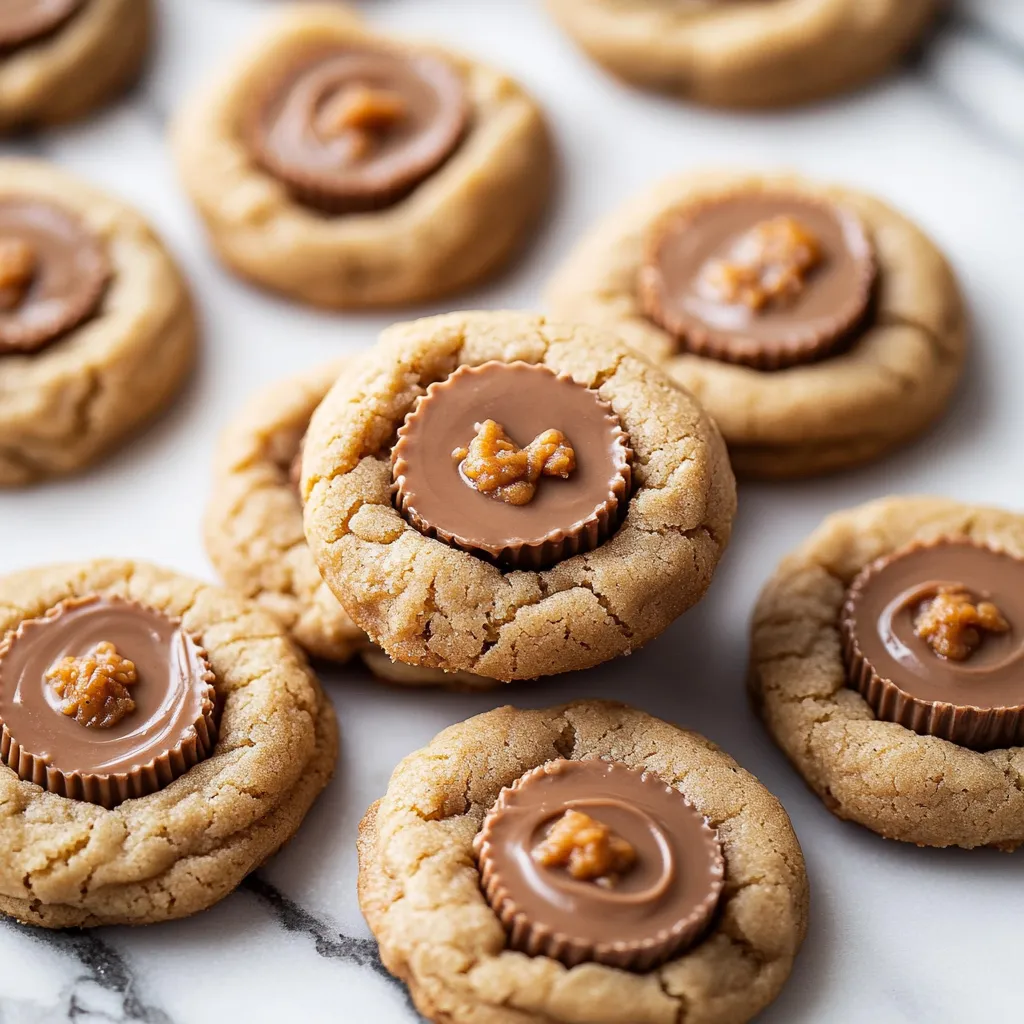
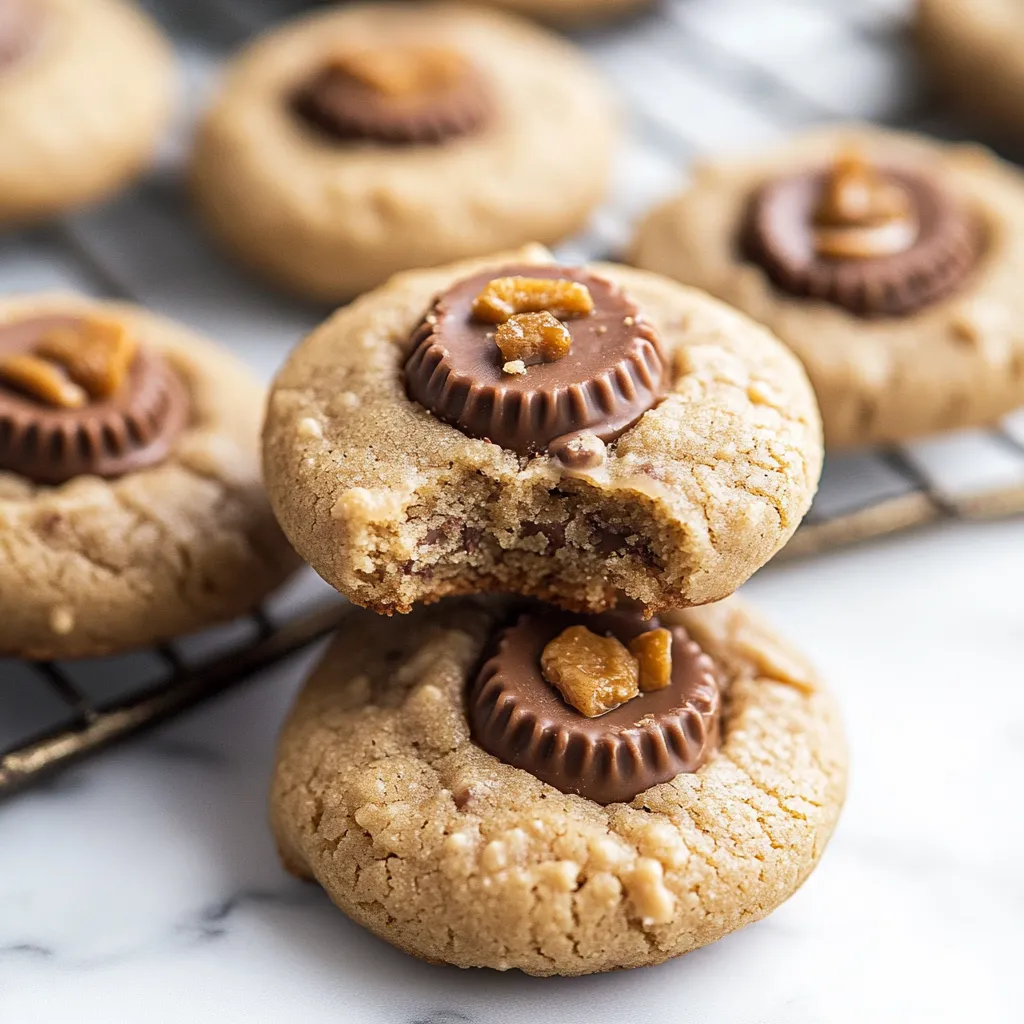
- Slowly add your dry mix to the wet ingredients, stirring just until they come together. Roll the dough into 1½-inch balls and make a dent in each. Put a cold peanut butter cup in each dent, then carefully wrap the dough all around it.
- Bake Them Right:
- Put cookies two inches apart on your prepared sheets. Bake for 10-12 minutes until the edges turn slightly golden but the middles still look soft. Let them cool on the sheets for 5 minutes before moving to cooling racks.
 Pin it
My grandma always told me to cool the dough for at least an hour in the fridge before baking. This little trick lets the flavors get even better and stops the cookies from spreading too much in the oven.
Ways To Serve
Put these treats on a wooden board for family gatherings or stack them on a fancy tiered plate for parties. They go great with cold milk, hot coffee, or warm hot chocolate. For something extra special, warm them up a bit and top with a scoop of vanilla ice cream.
Mix It Up
Try switching things up by using dark chocolate peanut butter cups if you love intense chocolate. Want more texture? Throw some chopped peanuts into the dough. During Christmas or other holidays, roll the warm cookies in colored sugar or drizzle chocolate on top. If you like mint, swap the peanut butter cups for peppermint patties.
Keeping Them Fresh
After they cool, put your cookies in a sealed container at room temp for up to 5 days. Put parchment between layers so they don't stick together. You can freeze baked cookies for up to 3 months and just let them thaw on the counter. Pop them in the microwave for a few seconds to make them taste fresh-baked again.
 Pin it
These cookies show what's best about home baking. They're crafted with care, build lasting family stories, and put smiles on everyone's faces. They might seem basic, but their power to bring happiness makes them truly extraordinary.
Frequently Asked Questions
- → Can I switch to crunchy peanut butter?
- You can, but creamy makes a smoother cookie dough texture.
- → Why's milk added to the mix?
- It softens the dough and gives a tender texture.
- → Can I store these in the freezer?
- Absolutely, just keep them in an airtight container for up to 3 months.
- → When should the chocolate cups be added?
- Pop them in right after baking while the cookies are still hot.
- → Why bake them in mini muffin pans?
- It gives the perfect shape to hold the chocolate cups.