
 Pin it
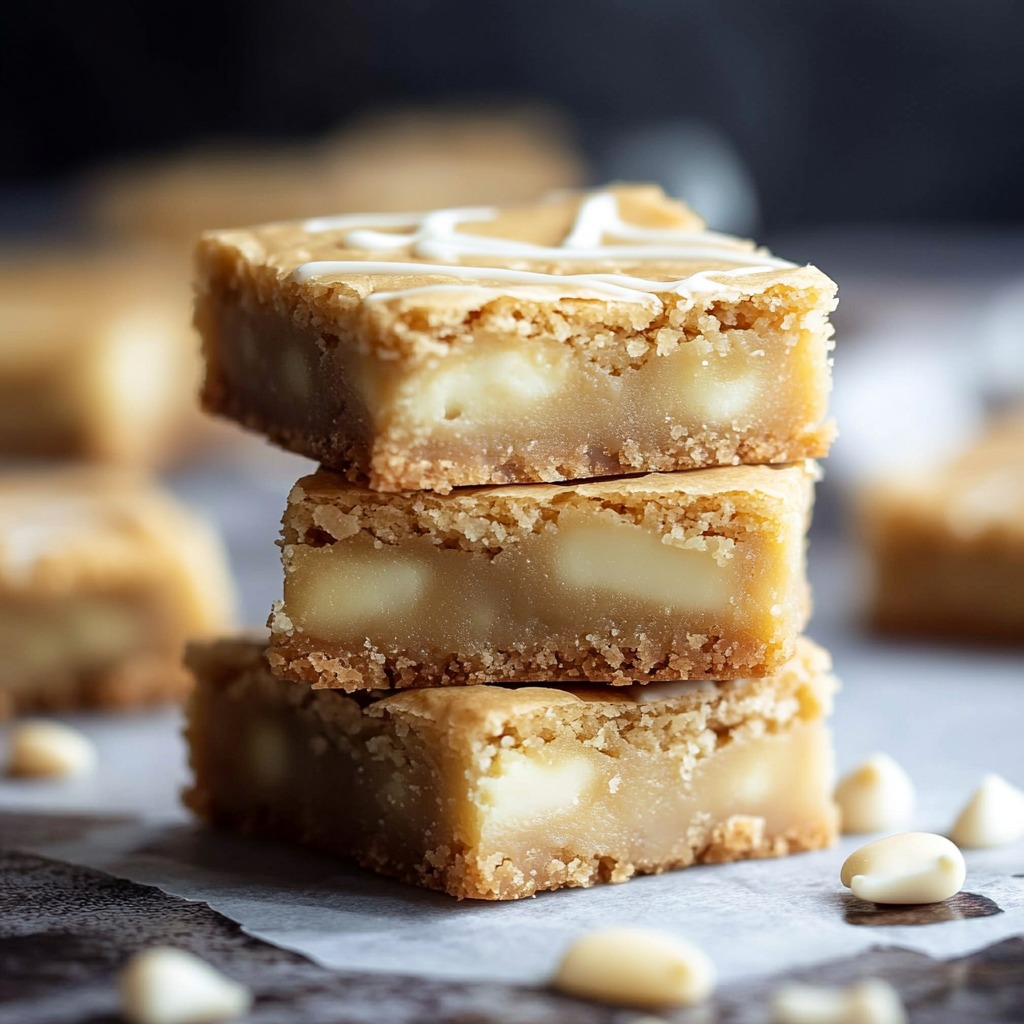
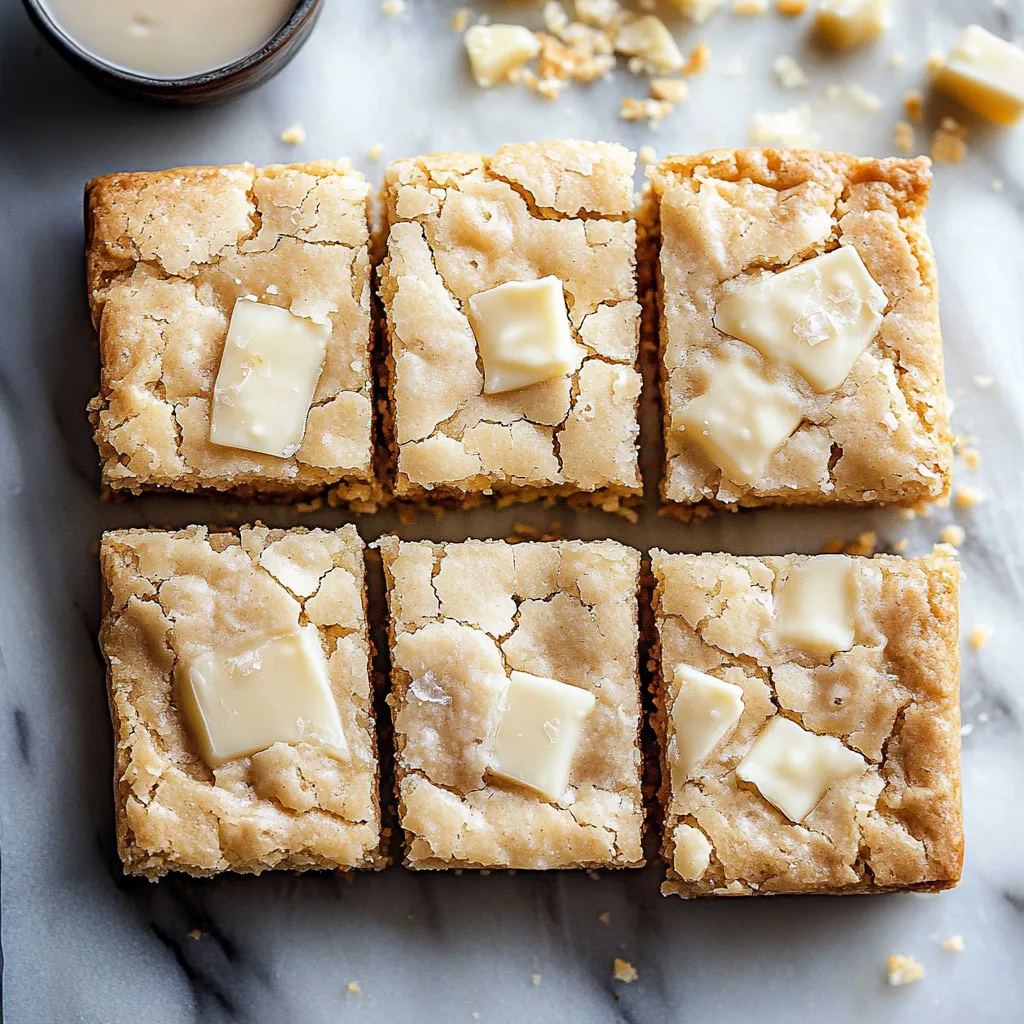
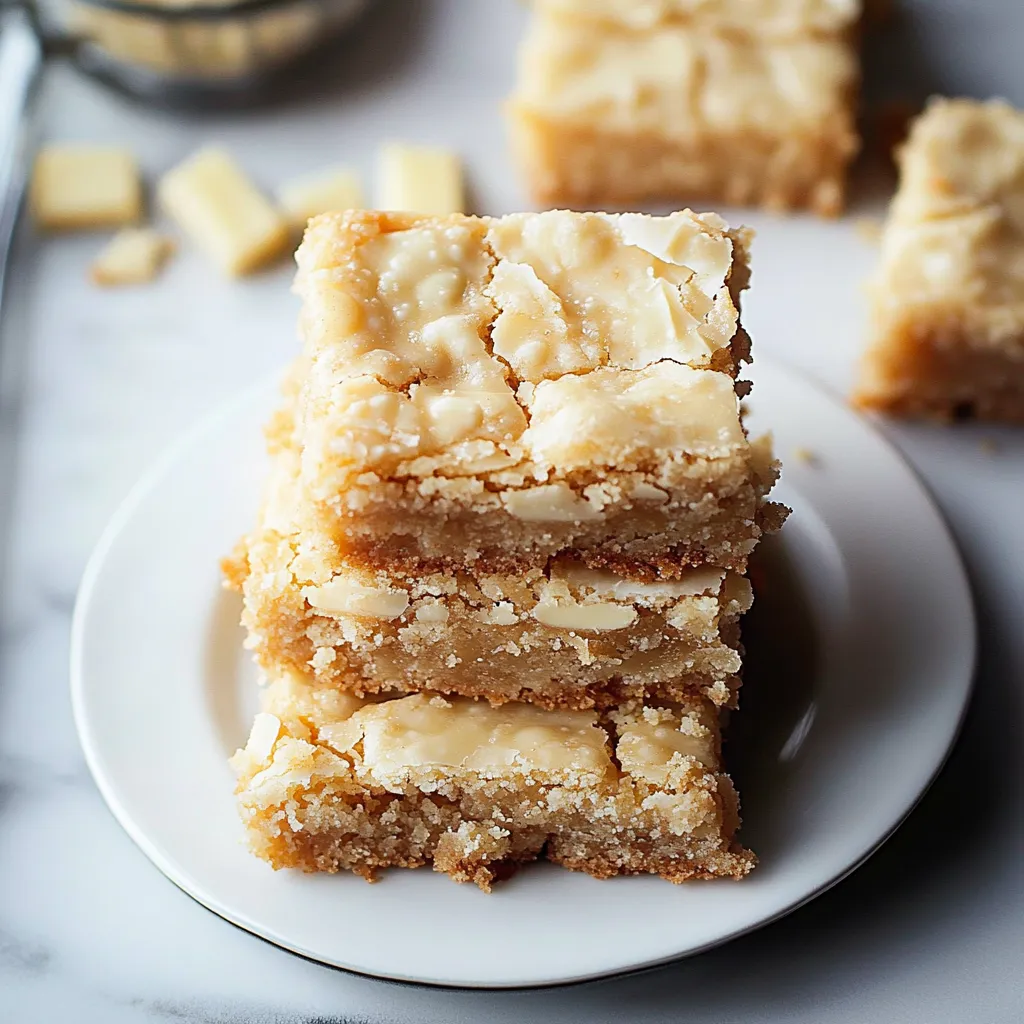
These Buttery White Chocolate Blondies turn everyday cupboard items into soft, gooey squares you'll fall in love with. Their golden exterior, soft middle, and chunks of melting white chocolate make them a wonderful switch from regular brownies.
I've tweaked this recipe many times, and I've found that getting the butter just right and mixing everything carefully makes all the difference.
Key Ingredients Breakdown
- Light brown sugar: Gives that amazing chew factor
- Quality butter: Try to grab European if you can
- Fresh eggs: They work better not cold from the fridge
- All-purpose flour: Go for unbleached if possible
- White chocolate: Don't skimp on fake chips
- Sea salt: Brings out that yummy butterscotch flavor
Easy-to-Follow Preparation Steps
- Butter Preparation:
- Melt it gently. Let it cool down. Mind the temp. Feel the texture. Have it ready.
- Sugar Mixture:
- Stir it well. Get rid of clumps. Use your whisk thoroughly. Look at how it feels. Don't go overboard.
- Flour Addition:
- Put it in bit by bit. Fold it softly. Just mix until it comes together. Check how thick it is. Don't mix too much.
- Pan Preparation:
- Put the lining in right. Make sure it hangs over. Spread the mix evenly. Make the top flat. Don't forget the edges.
- Baking Process:
- Keep an eye on it. Watch the sides. Check the middle part. Look for little cracks. Let it cool right.
 Pin it
I came up with this recipe when I was trying to create blondies with the perfect chew and just enough sweetness.
Smart Heat Control
After making so many batches, I now know that watching temperatures is super important. Your butter can't be hot or it'll dissolve the sugar, and your oven needs to stay steady for that perfect chewy texture. I always let my eggs sit on the counter for a while before I use them.
Plan-Ahead Tips
You can easily make these blondies before you need them. I usually bake mine a day early because they honestly taste better after sitting overnight when all the flavors mingle together. When I'm hosting, I cut them up ahead of time and stack them in containers with parchment between the layers.
Keeping Them Fresh
They'll stay good on your counter for a few days if stored right. I put mine in an airtight box with parchment sheets between layers. If you want them to last longer, wrap each square in plastic and freeze them. That way you can grab just one or two whenever you want.
Ways To Serve Them
These taste amazing just on their own but they're extra special slightly warmed up with a scoop of vanilla ice cream. For parties, I cut them smaller and arrange them alongside brownies and cookies to give people options.
Mix It Up Ideas
I've tried lots of versions over time. Try adding some toasted nuts for crunch or butterscotch chips to bring out that caramel taste even more. For fancy occasions, I sometimes pour melted dark chocolate over the top after they've cooled.
Fixing Common Problems
If you notice the edges getting too brown too fast, cover them loosely with foil for the rest of the baking time. If the middle seems too soft, don't worry - they firm up while cooling. Always wait until they're completely cool before cutting if you want nice clean squares.
 Pin it
These White Chocolate Blondies have become the treat I'm known for bringing to get-togethers. That mix of buttery, chewy goodness and rich white chocolate creates something really special that everyone from kids to grandparents loves. Whether it's just an afternoon snack or part of a fancy dessert spread, people always ask for more.
Frequently Asked Questions
- → Why cool the melted butter?
- Cooling the butter prevents the eggs from cooking and helps create a chewy, rich texture.
- → Can I use other chocolate chips?
- Absolutely! Try milk, dark, or even butterscotch chips for a fun twist.
- → Why should blondies cool before cutting?
- Cooling helps with setting and makes cutting them clean and easy without falling apart.
- → How do they get crackly tops?
- The crackles happen when sugar rises during baking, forming a thin crust like on brownies.
- → Can this recipe be doubled?
- Yes, use a 9x13 pan and bake 5-10 extra minutes for best results.