 Pin it
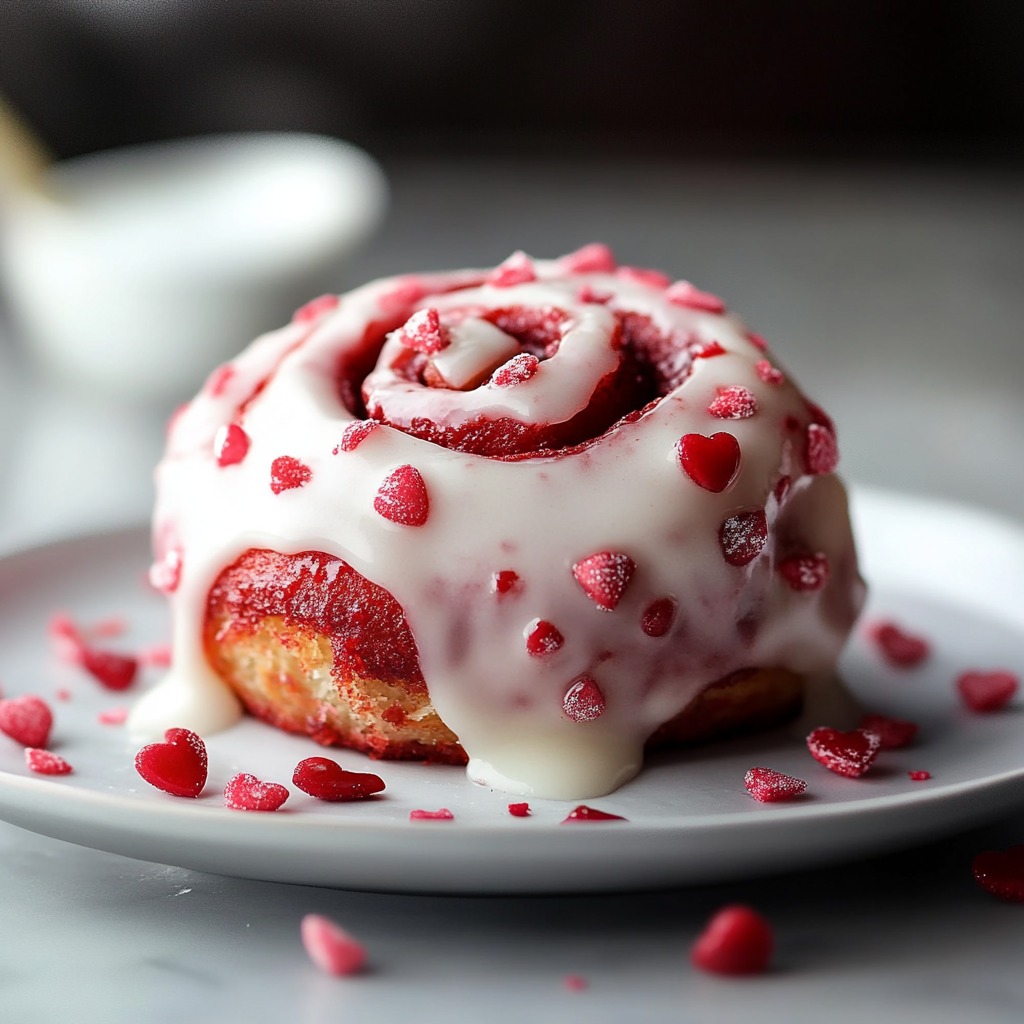
Take a bite of these gorgeously swirled treats that blend the deep chocolate undertones of red velvet with warm cinnamon spices, all drizzled with a creamy cheese topping. These bright crimson rolls don't just look amazing—they'll fill your home with such mouth-watering smells that waiting for them to finish baking will test your patience.
I tried many different amounts of cocoa and cinnamon before landing on the combo that makes these rolls so memorable. Now my kids ask for them whenever we've got something to celebrate, and their festive red color makes them a hit for Valentine's breakfast.
Complete Ingredients Breakdown
- Active dry yeast (2¼ teaspoons): make sure it's not expired for proper dough rising
- All-purpose flour (4 cups): go for unbleached if you can for better results
- Cocoa powder (2 tablespoons): pick natural unsweetened for authentic flavor
- Red gel food coloring (2 teaspoons): gels work way better than liquid for bold color
- Cream cheese (4 ounces): use full-fat at room temp for the creamiest topping
- Brown sugar (1 cup, packed): either light or dark brown works great for the filling
- Ground cinnamon (3 tablespoons): get the freshest you can find for maximum aroma
Crafting Your Stunning Red Velvet Rolls
- Step 1: Starting Your Dough
- Heat your milk to exactly 110°F and check with a thermometer since this really affects how your yeast works. Mix with yeast and a bit of sugar, then wait for foamy bubbles that show your yeast is working. Blend all dry stuff well so the cocoa gets mixed in evenly for consistent color.
- Step 2: Mastering the Dough
- Combine your wet stuff with the bubbly yeast mix, then slowly add your dry ingredients. Watch how the dough changes as you mix it should pull away from the sides but still feel a bit sticky. Keep kneading until it feels smooth and stretchy, about 8-10 minutes by hand or 5-6 minutes with a mixer.
- Step 3: The First Rise
- Pop your dough in a lightly oiled bowl, flip it once to coat it. Cover with a damp cloth and let it sit somewhere warm until it doubles, usually around 90 minutes. You'll know it's ready when you poke it with two fingers and the dents stay put.
- Step 4: Creating Beautiful Swirls
- Roll the dough into a big rectangle with straight corners for even rolls. Spread filling all the way to the edges except leave a half-inch strip on one long side bare for sealing. Roll it up tightly from the long side, pinch the edge to seal it. Try using dental floss without flavor for the cleanest cuts.
- Step 5: The Final Rise and Bake
- Put your rolls in a buttered pan, leaving room for them to grow. Let them rise until they're puffy and touching, about 45 minutes. Bake at 350°F until they hit an inside temp of 190°F, roughly 25-30 minutes.
 Pin it
My grandma taught me to check if dough is the right temp by touching it with my knuckle. It should feel just warm, like the inside of your wrist. This tiny trick really helps get the perfect rise every time.
Handling Yeast Successfully
How well your dough rises depends a lot on warmth and where you put it. During cold months, make a cozy spot by turning your oven on briefly, then off, and putting the dough inside with the door shut.
Getting Even Filling Coverage
Getting that filling spread just right makes those perfect swirls happen. I grab an offset spatula to make sure every bite has the same tasty mix of cinnamon sugar and dough.
Overnight Preparation Tricks
You can shape these rolls completely, then stick them in the fridge overnight. Just let them sit out for about 30 minutes before the final rise and baking.
 Pin it
After making these rolls countless times, I've learned you can't rush good things. Taking your time with proper rising and careful rolling gives you rolls that are soft, flavorful, and beautiful to look at. Whenever I bring these out and see people's eyes light up at first taste, I'm reminded why homemade goodies beat store-bought every single time.
Frequently Asked Questions
- → Can I prep these the day before?
- Sure, assemble them and refrigerate just before the last rise. Let them sit out to warm up before baking.
- → Why is my dough not rising?
- Check that your yeast is still alive and your milk is warm—not hot. Cold liquid or expired yeast can stop rising.
- → Are these rolls freezer-friendly?
- Yep! Just freeze without frosting and use within 2 months. Thaw overnight and warm before glazing.
- → What happens if I don’t have food coloring?
- You can leave the coloring out; the rolls will taste the same but won’t have the classic red velvet hue.
- → How should I keep leftover rolls fresh?
- Store frosted ones in a sealed container in the fridge for up to 5 days. Warm slightly before eating.
