
 Pin it
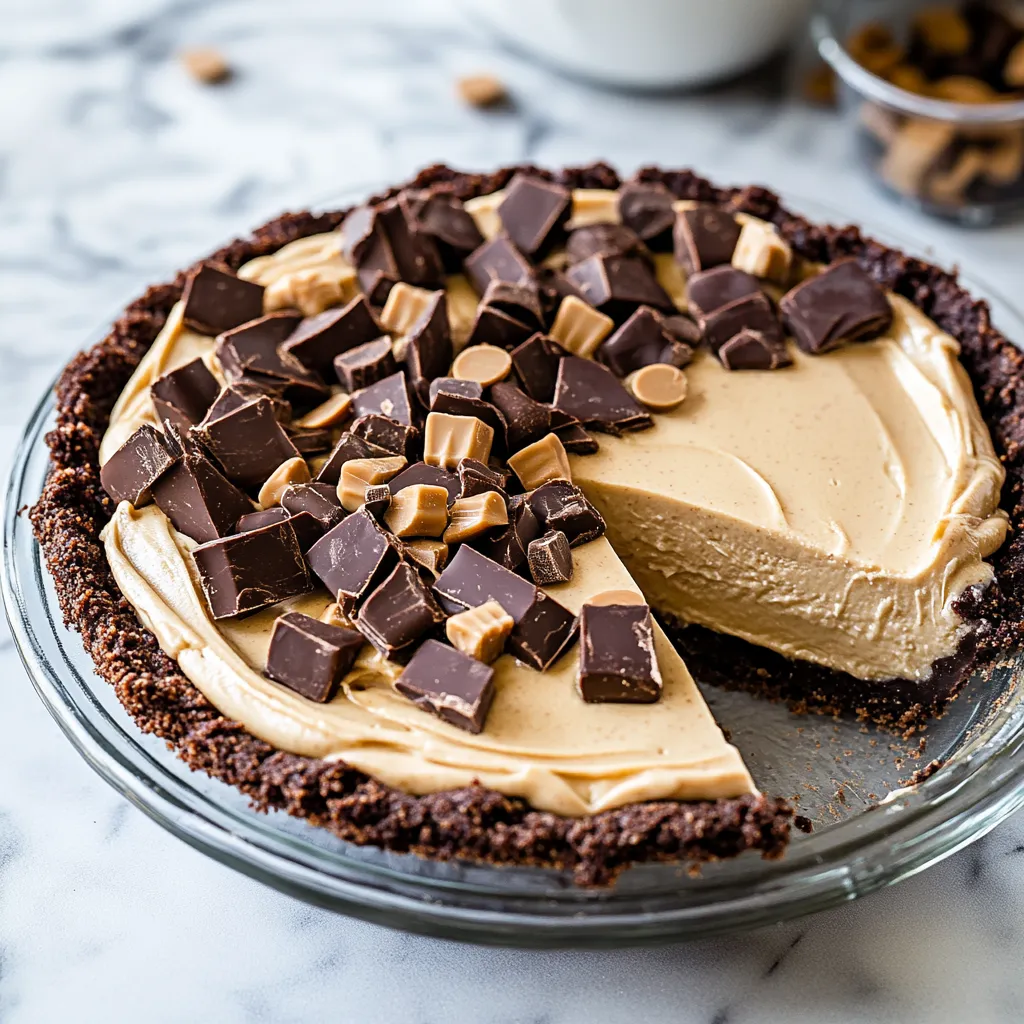
This velvety peanut butter dessert needs zero oven time, making it a hit all year round. The smooth, rich filling paired with the crispy Oreo base creates an amazing contrast that makes me think of fancy peanut butter cups for grown-ups.
I first whipped this up for my daughter's party and it was gone in minutes. Now I always make two at once. It's become the number one dessert request at family get-togethers, especially during hot summer cookouts when nobody wants to heat up the kitchen.
Key Components
- Oreos: Standard ones work best - not double-stuffed - they break down into the right texture
- Cream Cheese: Use the full-fat kind at room temp for the smoothest results
- Peanut Butter: Stick with Skippy or Jif types for better consistency
- Heavy Cream: Keep it super cold until you're ready to whip it
- Powdered Sugar: Blends in completely without any gritty feeling
- Vanilla Extract: Enhances the peanut butter and makes it pop
 Pin it
Step-by-Step Guide
- Step 1:
- Leave cream cheese on the counter for at least 2 hours - if it's not totally soft, you'll get lumps.
- Step 2:
- When breaking down the Oreos, don't go too far - you want fine crumbs but not dust.
- Step 3:
- Add butter to the crumbs bit by bit until the mix looks like damp sand.
- Step 4:
- Pack the crust down firmly with a measuring cup bottom, focusing on the corner where sides meet bottom.
- Step 5:
- Let the crust get cold and firm to keep it from falling apart when filling goes in.
- Step 6:
- Whip your cream in a cold bowl until it starts forming peaks, then add sugar and keep going until peaks stand up.
- Step 7:
- Start by beating just the cream cheese until it's completely lump-free.
- Step 8:
- Mix in peanut butter slowly, scraping the bowl frequently.
- Step 9:
- Add the whipped cream using gentle movements to keep it fluffy.
- Step 10:
- Cool it thoroughly for clean-cut slices.
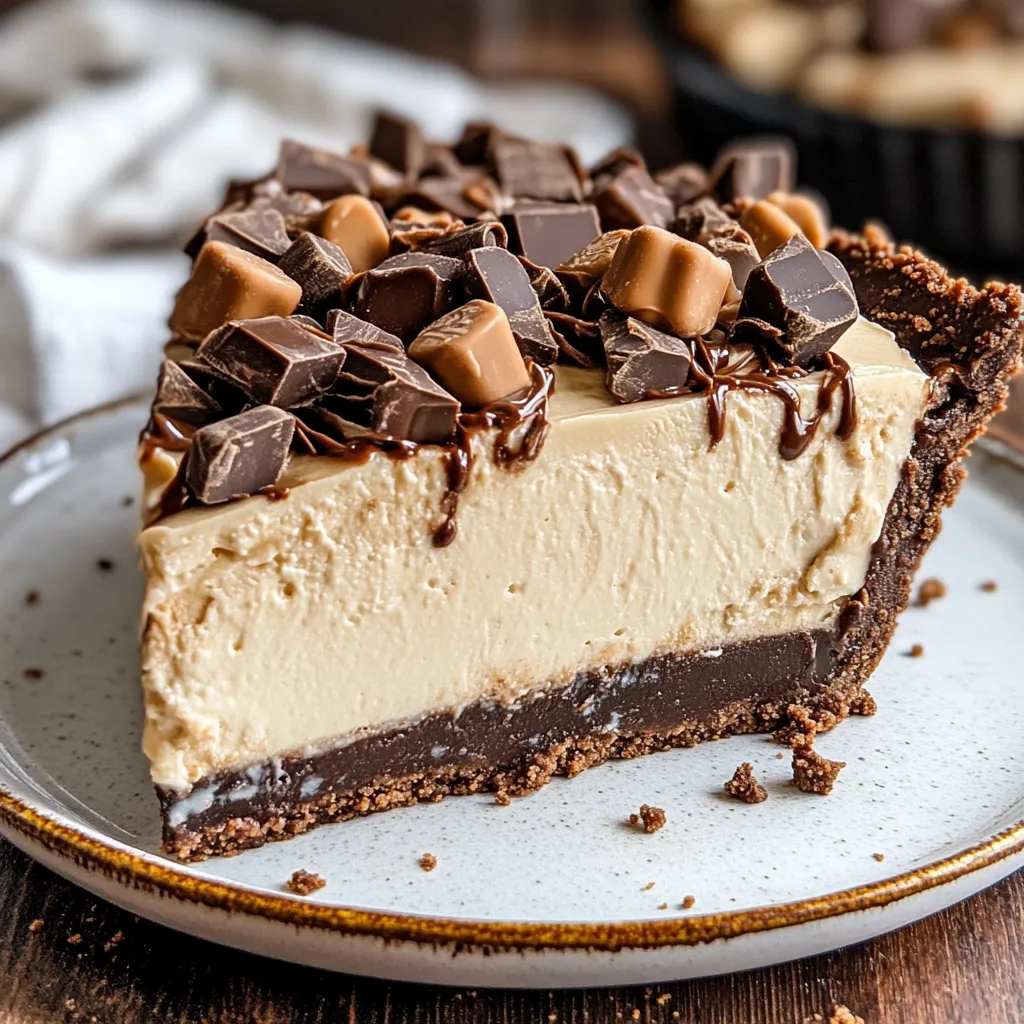
We found out that slightly frozen pieces taste incredible on hot days. My grandson now calls it his "peanut butter ice cream pie" and it's his top birthday dessert choice.
Fantastic for Parties
Making this treat beforehand takes all the pressure off when hosting. The filling stays firm for hours, and the base keeps its satisfying crunch.
Weather-Based Variations
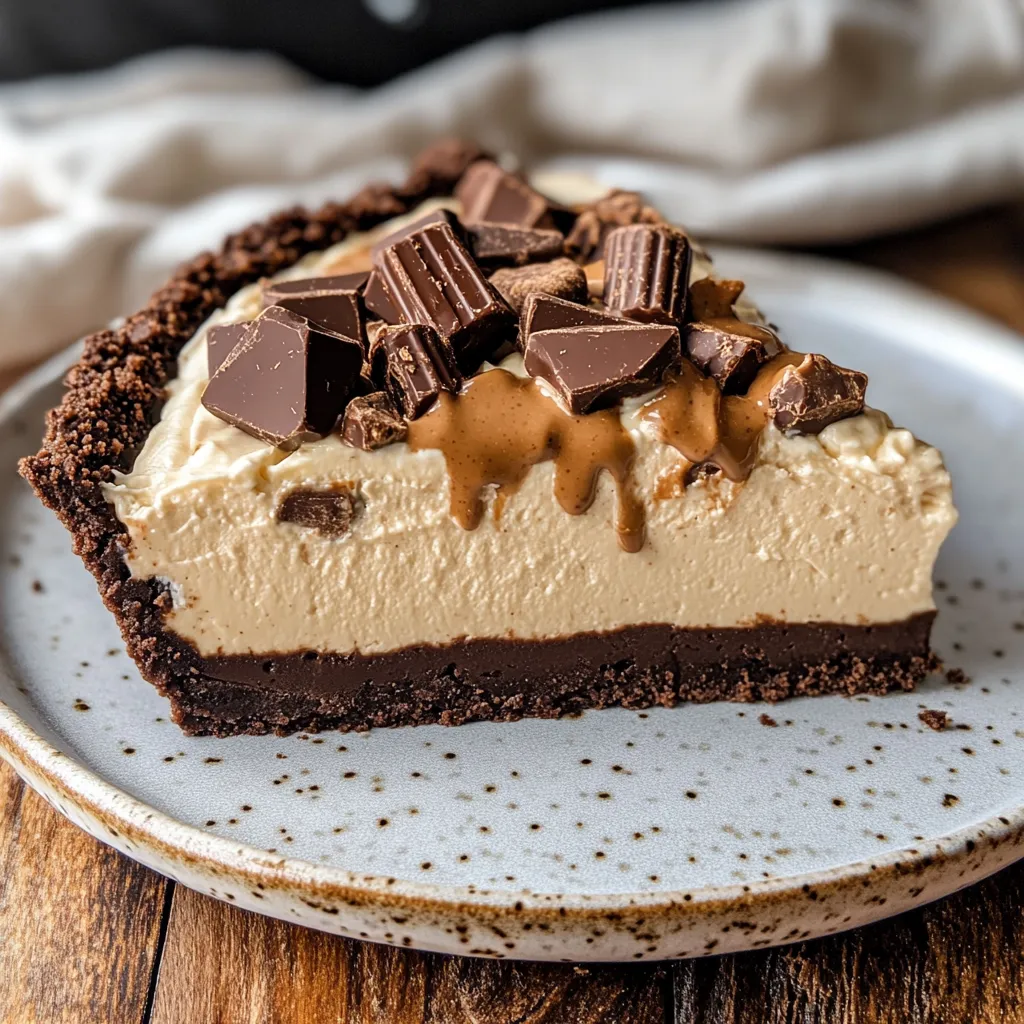
In summer, try the frozen version with chocolate sauce drizzled on top, while in colder months, warm butterscotch and chopped nuts make a cozy topping.
 Pin it
Do-Ahead Wonder
This dessert actually gets better after spending a day in the fridge as the flavors blend together and the texture becomes just right.
This no-bake peanut butter treat has turned into my go-to dessert, the one everyone expects me to show up with. It's so easy and reliable for any occasion, and the creamy richness guarantees clean plates and happy faces every single time.
Frequently Asked Questions
- → Can I prepare this pie in advance?
- Yes, assemble it up to 3 days prior and keep in the fridge, or freeze for a month.
- → Why does cream cheese need to be softened?
- Softened cream cheese mixes in easily, without clumps in the filling.
- → Is crunchy peanut butter okay to use?
- For silky results, it's better to stick with creamy peanut butter.
- → What can replace chocolate graham crackers for the crust?
- Oreo cookies or Chocolate Teddy Grahams make good substitutes.
- → Is there a way to make this without peanut butter?
- You sure can! Almond butter works well if you follow the adjusted instructions in the notes.