
 Pin it
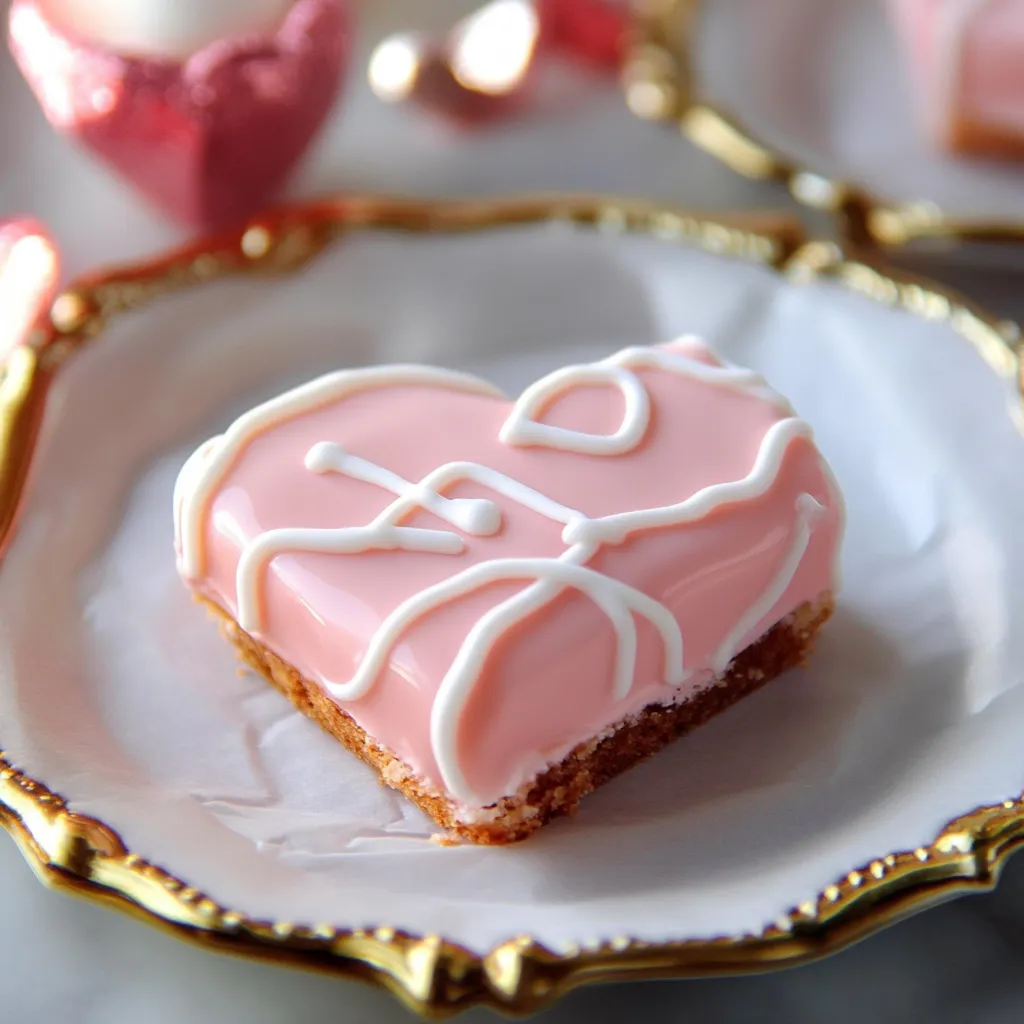
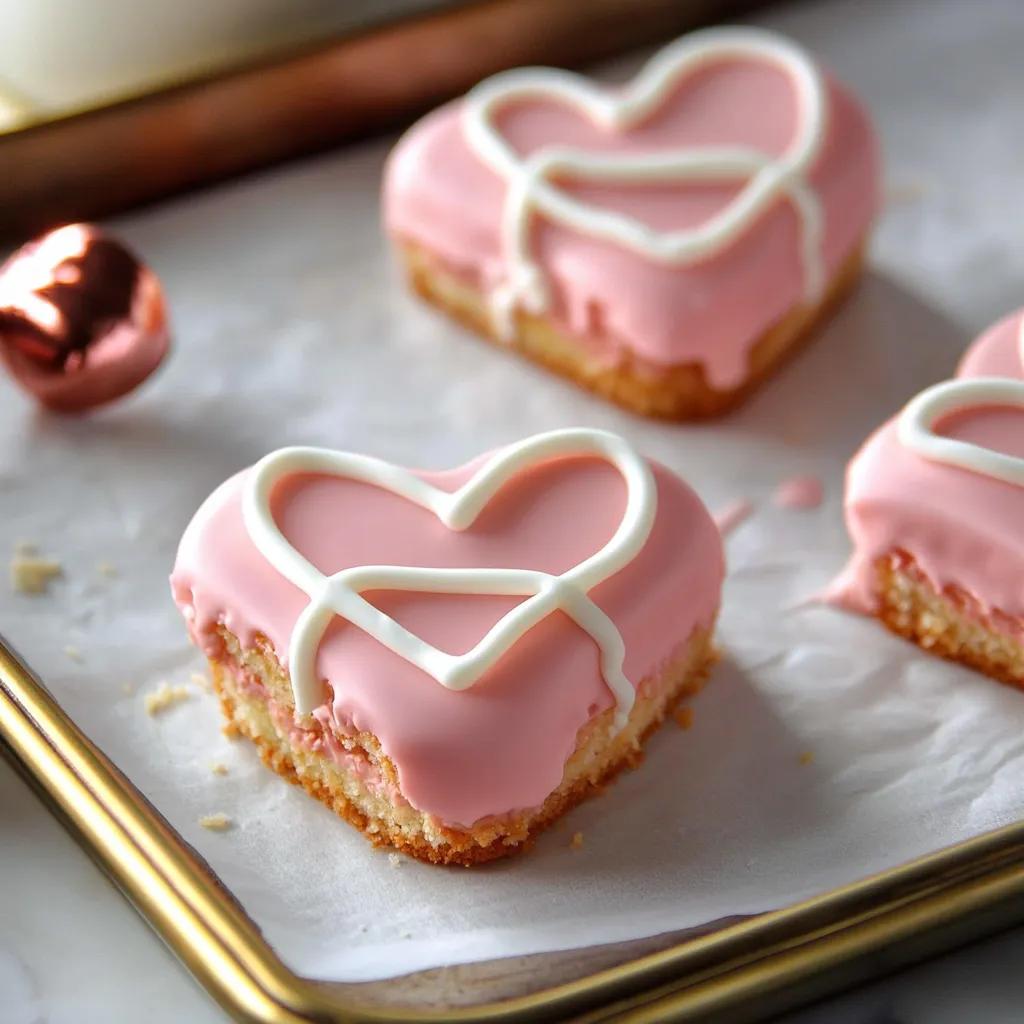
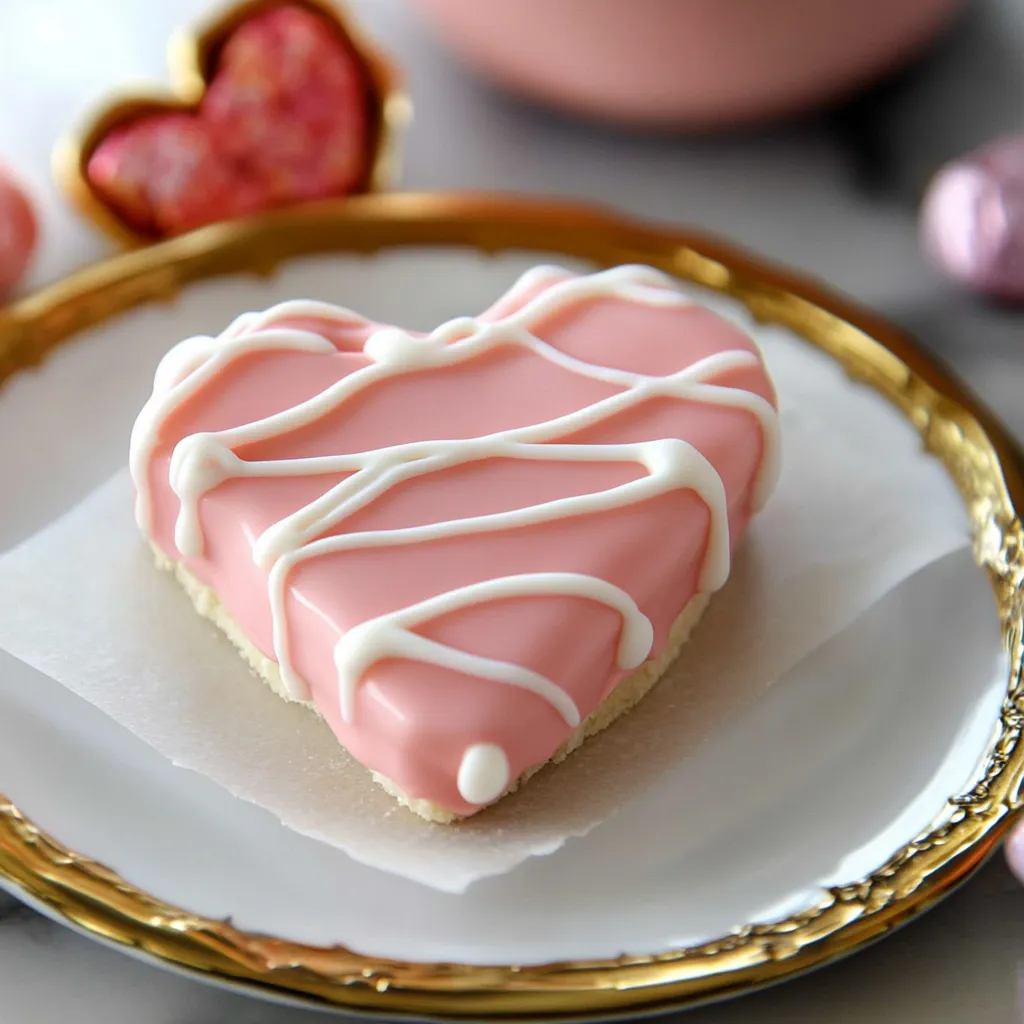
Whip up some nostalgic wonder with these DIY heart-shaped treats. Each mouthful delivers soft vanilla cake wrapped around a pillowy marshmallow middle, all covered in a delightful pink candy shell - making them just right for your Valentine's celebrations.
These adorable cakes will take you back to childhood favorites while letting you make them yourself with love. The fun of baking and sharing them adds even more meaning to the whole experience.
Must-Have Ingredients
- All-purpose flour (2 cups): Makes the soft cake structure
- Granulated sugar (1½ cups): Gives just enough sweetness
- Unsalted butter (1 cup): Adds moisture and richness
- Large eggs (4): Provides stability and flavor
- Buttermilk (1 cup): Keeps the cake incredibly soft
- Pure vanilla extract (2 teaspoons): Boosts the taste
- Baking powder (2 teaspoons): Helps it rise properly
- Fine sea salt (½ teaspoon): Cuts through sweetness
- Marshmallow fluff (7 oz): Gives that fluffy center feeling
- Unsalted butter (1 cup): Makes the filling creamy
- Powdered sugar (2 cups): Adds sweetness and texture
- Pure vanilla extract (1 teaspoon): Gives the filling taste
- Fine sea salt (pinch): Brings out all the flavors
- Pink candy melts (24 oz): Creates the outer shell
- White candy melts (4 oz): Used for pretty patterns
- Coconut oil (2 tablespoons): Makes coating easier to work with
Baking Directions
- Get the Cake Ready:
- Put parchment in your pan. Whip butter till light, slowly add sugar. Mix in eggs one by one. Switch between adding flour mix and buttermilk. Push out any bubbles.
- Bake it Right:
- Pour the mix into pan, level it out. Bake until it turns golden and doesn't jiggle.
- Whip up the Filling:
- Beat butter until creamy. Slowly blend in fluff and sugar. Add vanilla and salt, mix till super fluffy.
- Finish with Coating:
- Dunk the frozen cake sandwiches in pink coating. Add white drizzles on top.
 Pin it
Keeping an eye on both temperature and timing will get you the right feel in these old-school snacks. Every part builds on the last to give you treats that look like they came from a bakery.
Ways to Serve
Show them off on layered stands with berries and mint leaves. Make fancy place settings at parties by matching them with handmade notes. Set them up in heart shapes to create eye-catching displays.
Mix It Up
Switch to almond or rose flavor instead of vanilla. Put fruit flavor in the filling. Pick different colors for coating. Throw in a layer of ganache if you're into chocolate.
How to Keep Them Fresh
Store in sealed containers with parchment between each layer. They'll stay good for 2 days on the counter or a week in the fridge. You can freeze the uncoated cakes for up to a month.
These Valentine's snacks bring happiness both when you're making them and when you're giving them away. Seeing someone smile after trying your homemade version makes all the work worth it.
 Pin it
Frequently Asked Questions
- → Can I make these early?
- Definitely! Seal them in an airtight container for a few days, or pop them in the freezer for long-term storage.
- → Why should ingredients be room temperature?
- It helps them blend together smoothly, making the cake softer and more even.
- → Can I use other candy melt colors?
- Go ahead! Pick colors that fit your event or celebration.
- → Why freeze the cakes before coating?
- It firms them up so they’re easier to dip and hold together better.
- → Can I try other shapes?
- Absolutely! Hearts are fun, but stars, rounds, or any other shape work great too!