
 Pin it
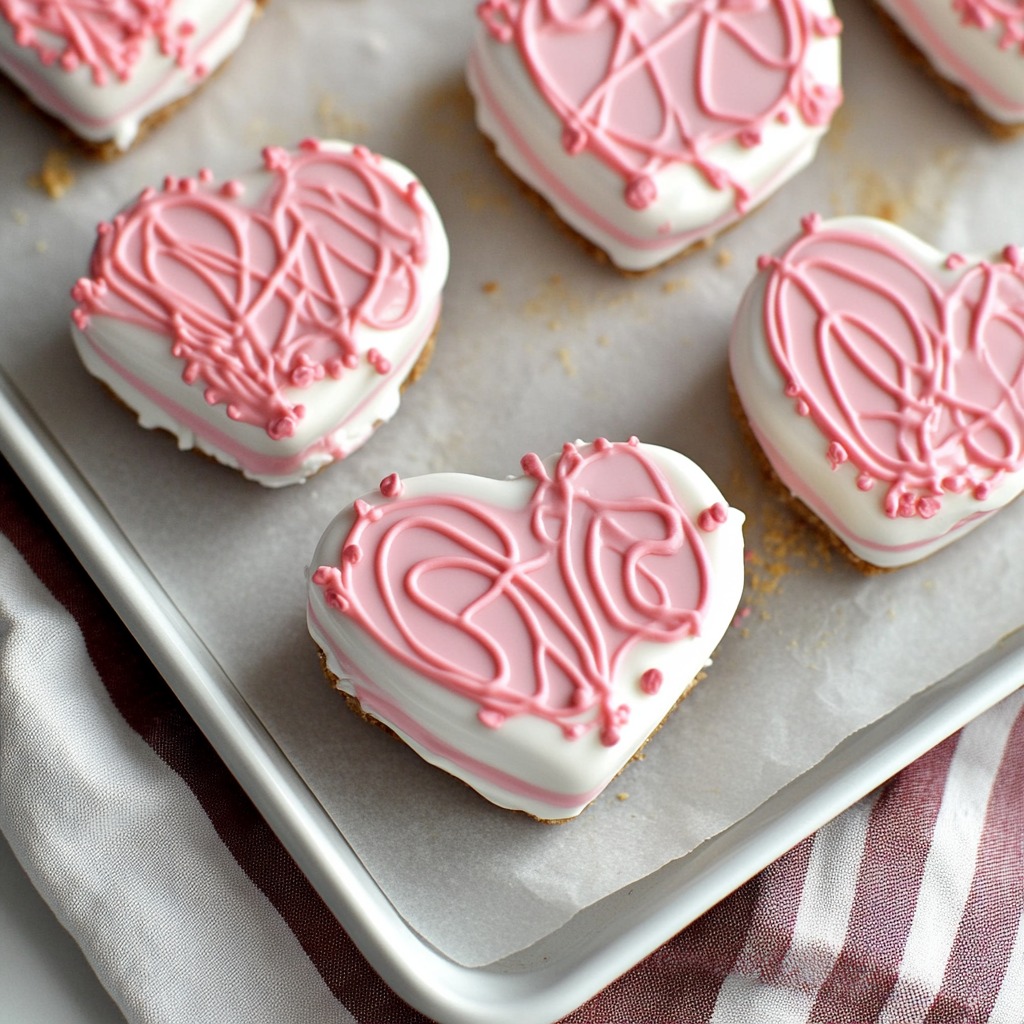
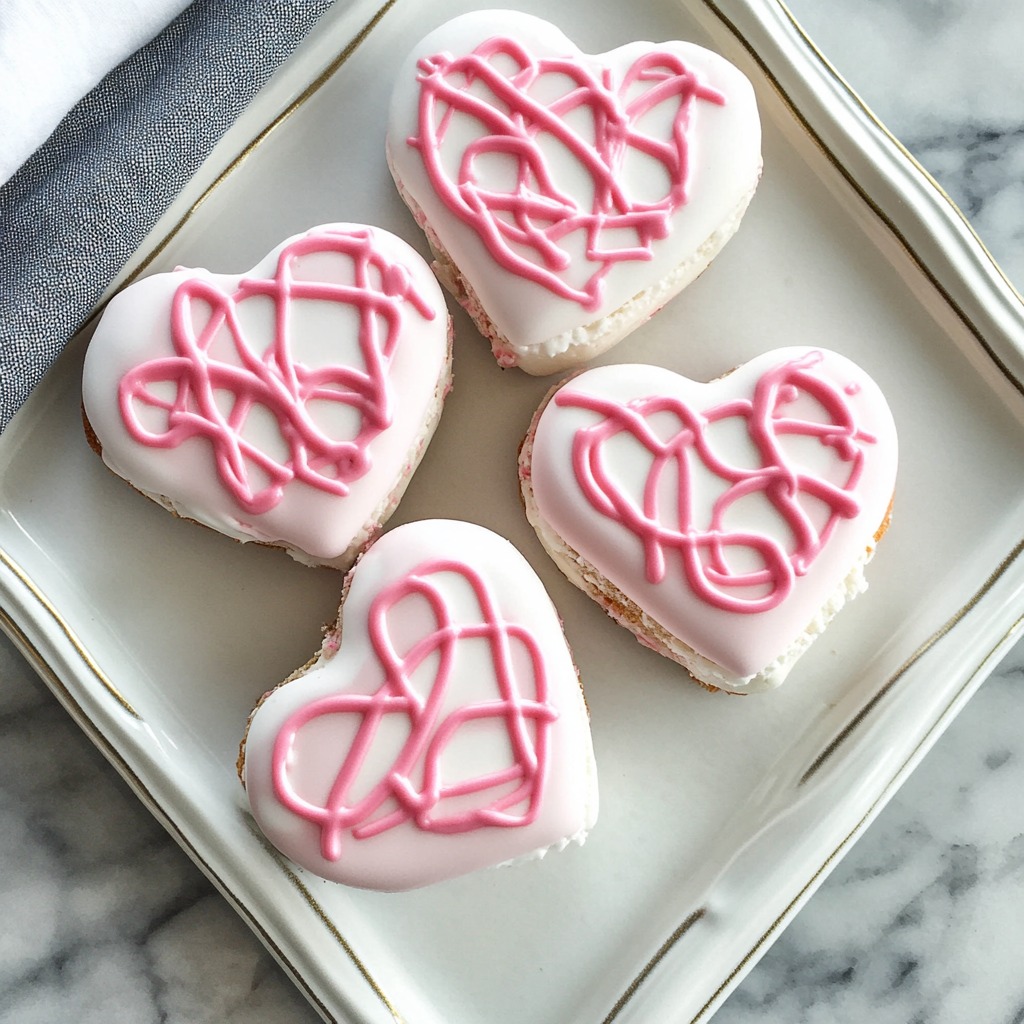
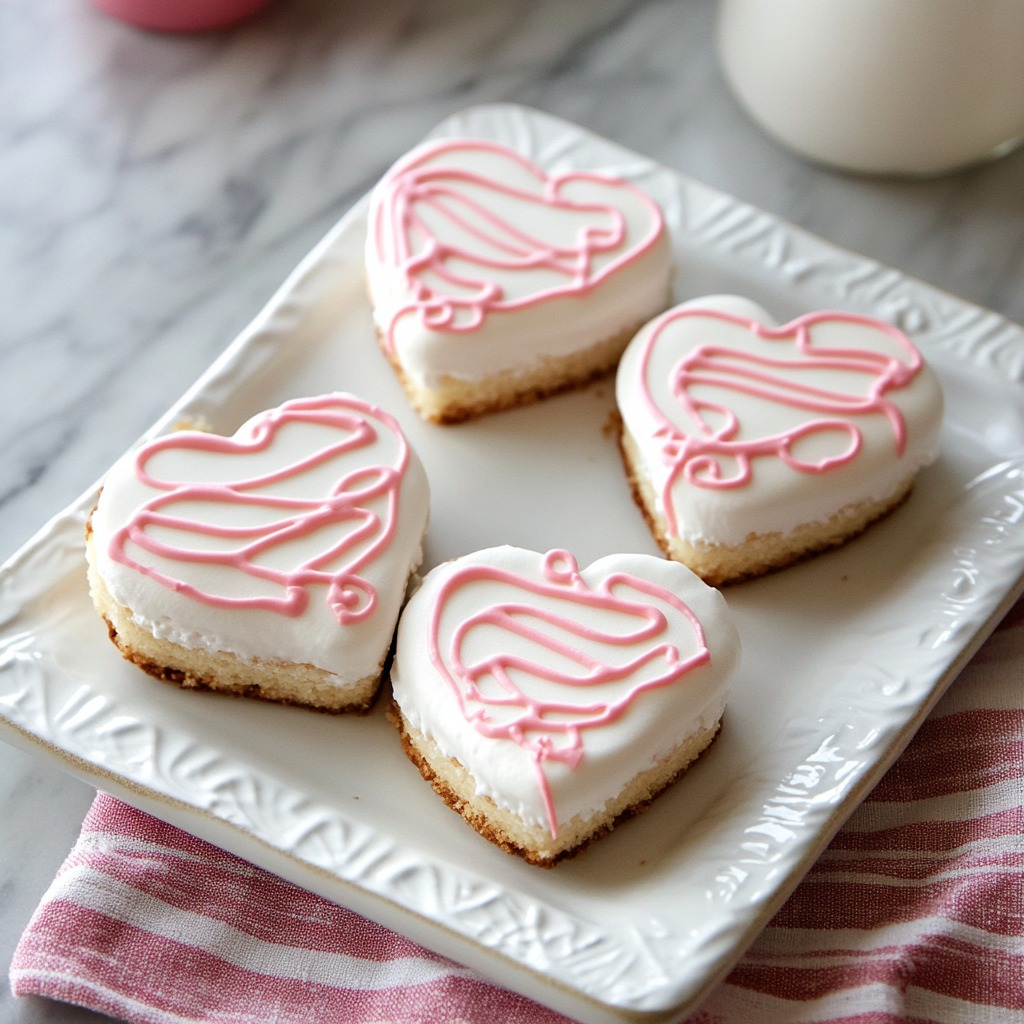
Childhood favorites come to life in these homemade heart-shaped snack cakes. Soft vanilla cake surrounds fluffy marshmallow filling, all covered in a crisp pink coating that breaks perfectly with each bite. Make these yourself and enjoy the perks of knowing exactly what goes into your favorite sweet treat while reliving those childhood memories.
When I first whipped these up with my kid, she was shocked we could make her store favorites right in our kitchen. It's now our Valentine's tradition, and we've got our own little production line going with specific tasks for each of us.
Key Ingredients Breakdown
- White cake mix (1 box): gives you that classic snack cake foundation
- Sour cream (1 cup): keeps everything moist and soft for days
- Marshmallow creme (7 ounces): delivers that iconic cloud-like center
- Almond bark (32 ounces): creates a flawless outer shell
- Eggs and butter at room temp: vital for smooth blending
- Pink gel food coloring: won't mess up your melted coating
Crafting Your Snack Cake Treats
- Step 1: Baking Your Base
- First, heat your oven to 350°F exactly. Put parchment in your pans with some hanging over the sides for easy grabbing later. Mix your cake mix, sugar, and wet stuff just until combined. Throw in flour and sour cream at the end, stirring until your batter looks glossy. Spread it thin in the pans—thinner layers make these treats taste more like the real deal.
- Step 2: Whipping Up The Filling
- Whip marshmallow creme with butter until it's super fluffy, about 3 minutes worth. Add powdered sugar bit by bit, waiting until each scoop disappears. Mix in vanilla and salt, then adjust with cream until it's smooth enough to pipe but firm enough to hold its shape.
- Step 3: Putting It All Together
- Once cake layers cool, start cutting hearts from the outside in to get as many as possible. Pipe filling in circles on half your hearts, leaving a little space around the edge. Put the other hearts on top and press down gently so filling reaches the sides. Pop them in the freezer until they're solid.
- Step 4: Coating Magic
- Melt almond bark in short microwave bursts, stirring often. Add some shortening for extra shine and smoothness. Keep some white for decorating, then color the rest pink. Let it cool a bit—hot coating will turn your filling to soup.
- Step 5: Finishing Touches
- Dunk each frozen cake completely, let extra coating drip off, and place on parchment paper. After they set, drizzle the white coating in zigzags across the top.
 Pin it
My mom always taught me to check if coating is ready by dipping a spoon back—it should firm up in about 30 seconds for the best results.
Assembly Know-How
Watch your temperatures for easier assembly. Cold cake cuts clean, room temp filling spreads nicely, and frozen cakes make dipping a breeze.
Coating Tricks
Getting that perfect coating comes down to timing and temp. Too hot and it'll be runny and see-through, too cold and you'll get lumps. You want it flowing like warm honey for best results.
Keeping Them Fresh
These treats stay good on the counter for up to a week in an airtight container. That outer coating works like a seal to keep everything inside moist and tasty.
 Pin it
Through many years of making these treats, I've found that taking your time and watching temperatures makes all the difference. Guests always can't believe they're not store-bought. There's something extra sweet about bringing back childhood flavors while making fresh memories that makes this treat so worth the effort.
Frequently Asked Questions
- → Can I prepare these in advance?
- Yep! You can keep them at room temperature in a sealed container for up to 5 days or refrigerate for 2 weeks.
- → Why freeze the cakes before coating?
- This makes them sturdier and keeps them from breaking while covering them with the warm almond bark.
- → Can regular chocolate replace almond bark?
- You could, but almond bark sets faster and is more reliable when left out compared to normal chocolate.
- → Why use gel food coloring instead of liquid?
- Liquid coloring adds water, which can ruin the almond bark by making it clumpy. Gel works without any issues!
- → Can I freeze the finished cakes?
- Absolutely! Layer them with wax paper in an airtight container, and they’ll keep for up to 2 months in the freezer.