 Pin it
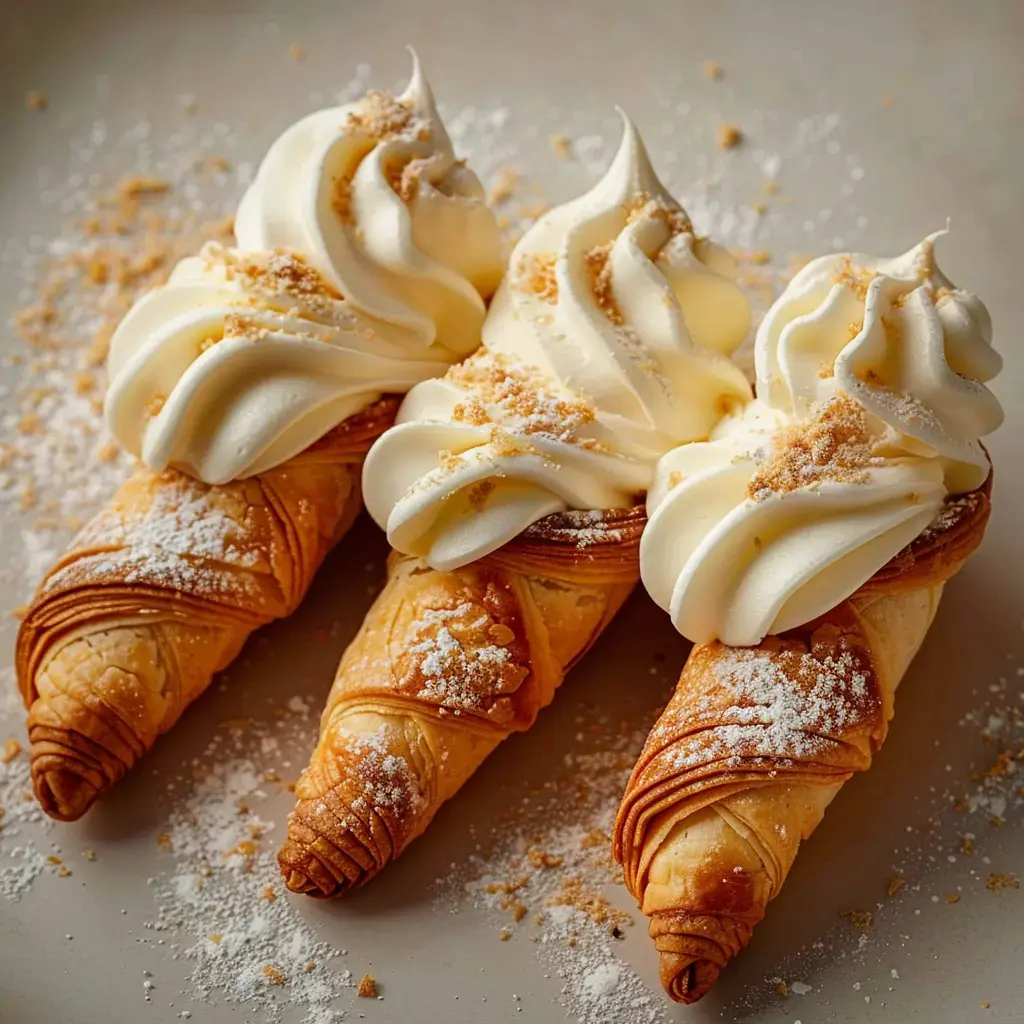
Folks at my bakery can't get enough of my flaky cream-filled cones. I first whipped them up while trying to find a fun way to serve my homemade custard cream. When customers bite into that crispy pastry shell filled with smooth vanilla cream, they just melt with joy. These treats have totally taken over my display case!
The hidden joy factor
What makes these cones special is definitely how the textures play together. In my kitchen, I always make sure the puff pastry stays super crispy to balance out my silky smooth custard filling. I often jazz them up with a drizzle of melted chocolate or some seasonal fruit sauce for extra flair.
My go-to components
- For the cones: Quality all-butter puff pastry
- For my signature filling:
- 500 ml full-fat milk from my neighborhood farm
- 100 g light brown sugar
- 4 farm-fresh egg yolks
- 50 g cornstarch
- 1 Madagascar vanilla pod
- 50 g lightly salted butter
The cone wizardry
- Getting started
- I warm up my oven to 200°C and cut the pastry into 3 cm strips on my work surface with a light dusting of flour.
- Gentle shaping
- I wrap the strips around my cone molds, making sure the pastry overlaps so it won't split open while baking.
- Baking to perfection
- I arrange my cones on a baking sheet lined with parchment and let them turn golden for 15-20 minutes until they're nice and crispy.
My velvety custard filling
- Aromatic steeping
- I heat the milk with a split and scraped vanilla pod.
- Gentle mixing
- I beat the yolks with sugar until pale, then stir in the cornstarch.
- Watchful cooking
- I slowly pour the hot milk over my egg mixture while whisking, then put everything back on the heat until it thickens up.
- Silky finish
- Off the heat I mix in butter, cover with plastic wrap touching the surface, and pop it in the fridge.
The final touches
- Tasty filling
- Once everything's properly cooled, I pipe my vanilla cream into the cones using a pastry bag.
- Serving time
- I hand them out right away so everyone can enjoy that amazing crispy-creamy contrast.
 Pin it
My little tricks
I always overlap the pastry plenty to make sure my cones hold together nicely. The cream must be completely chilled before filling—that's non-negotiable. For my sweet-toothed customers, I sometimes add a little caramel drizzle or fresh fruit on top.
Frequently Asked Questions
- → How can I prevent the cones from unrolling when baking?
- Make sure the strips of dough overlap well while wrapping. Dabbing the edge with a little water can help it stick better.
- → Can the cones be made beforehand?
- You can bake the empty cones 1-2 days in advance and store them in an airtight container. Fill them just before serving to keep them crispy.
- → How do I make smooth custard without lumps?
- Keep whisking while cooking and sift the starch before adding it. Gradually mixing the hot milk is also key for a lump-free result.
- → Any tips for filling the cones neatly?
- Use a piping bag with a small tip, and start at the base of the cone, filling as you move upward slowly.
- → How long do the filled cones last?
- Enjoy them within 2-3 hours of filling to keep the pastry crunchy, as it softens when in contact with the cream.
