
 Pin it
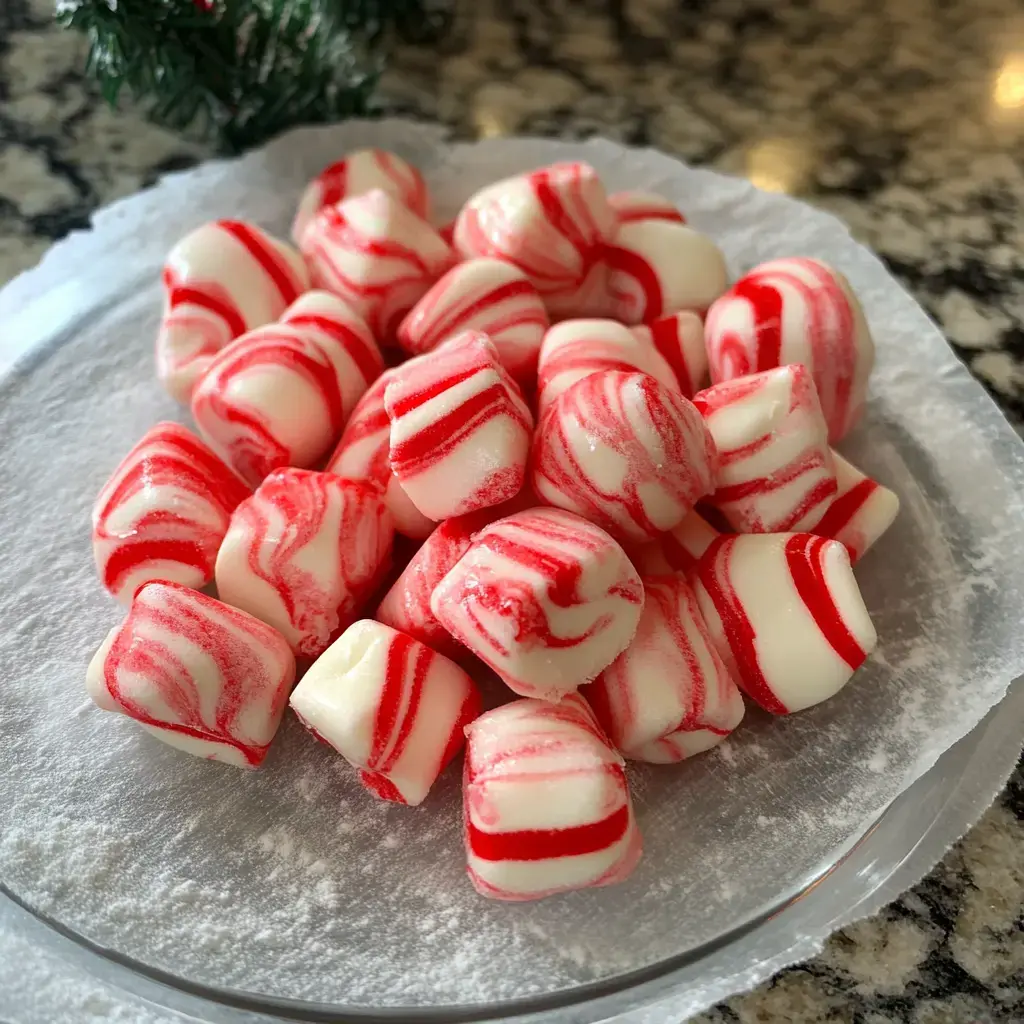
Irresistible Reason to Make This
You'll get that nostalgic, old-school minty treat vibe. Super soft and creamy. The peppermint pops through. Chances are, the ingredients are already in your pantry. Those red and white stripes look like mini peppermint sticks, making them awesome for sharing or adding to dessert trays.Stuff You'll Need
- Red Food Coloring: Gives you those bright stripes
- Peppermint Extract: Delivers that fresh mint taste
- Heavy Cream: Makes everything extra creamy
- Powdered Sugar: Sweetens and smooths the mix
- Butter: Go for unsalted—keeps things rich and velvety
How to Pull This Off
- Seal them up:
- Pop the finished mints in a jar with a lid that fits tight. Keep them stored at room temp where it's cool and dry.
- Final dry:
- Let your mints chill out for a day until they're perfect for melting in your mouth.
- Cut:
- Grab a pizza cutter to slice the ropes. Cut the candies about the size of a nickel.
- Let them dry a bit:
- Lay the candies on some waxed paper. Leave them there for a few hours until they're not tacky anymore.
- Make the shapes:
- Chop little pieces off your twisted ropes. Roll each one in your hands until it looks nice and round.
- Twist time:
- Gently twist the two colored ropes together so you get a candy cane pattern. No need to mash them.
- Rope it up:
- Roll a chunky white rope, then a skinny red one. Put them next to each other.
- Color it:
- Work some red food dye into your reserved dough. Mix until it’s all even—keep adding more if you want a brighter color.
- Divide the mix:
- Take about a quarter of your dough and set it aside for coloring. Leave the bulk of it as is.
- Add more sugar:
- Blend in powdered sugar a scoop at a time until it feels like play clay. Extra sugar fixes stickiness.
- Add the extras:
- Pour in the heavy cream while mixing. Drop in the peppermint extract a bit at a time—add more for a stronger minty punch.
- Soften the butter:
- Let your butter come to room temp. Whip it up in a big bowl so it's light and airy.
- Set up:
- Put waxed paper on your surface. Keep more powdered sugar handy in case dough sticks to your hands.
Why These Mints Stand Out
People have been handing these little sweets out at parties forever and with good reason. They're creamy, a little buttery, and just minty enough. Toss together a few basic things—cream, mint stuff, butter, sugar—and you've got melt-in-your-mouth candy that'll make you smile.Our Festive Spin
We went with classic Christmas colors—bright red and crisp white, like mini candy canes. Sure, you can find all sorts of colors in stores, but red and white really bring the holiday vibe. The bold peppermint is perfect for cold winter days.How We Do Ours
They're super simple to whip up (and fun, too). Cover your counter with waxed paper so there's less mess. Mix up soft butter, cream, and sugar, then toss in that peppermint. Split your dough, color one half, then twist the two colors together. Wait to cut them up until they're a little dry.Keeping Them Tasty
Once you've let them dry and cut them into pieces, stash them in a sealed container. No need to put them in the fridge—they’ll stay fresh, colorful, and super yummy through the holidays.Mess with the Flavors
Feeling creative? Try switching it up with almond for weddings, cinnamon for extra warmth, or even lemon, maple, or vanilla. Press them into molds if you want fun shapes. Every spin gives these candies some new personality.Frequently Asked Questions
- → How can I adjust the mint flavor?
Totally! Start with a tiny amount, like 1/8 teaspoon of extract. Taste your mix, and add drops little by little until you love it. Remember, the peppermint flavor gets stronger as it dries. Most people use between 1/4 and 1/2 teaspoon for a batch, but if you love bold mint, go up to 3/4 teaspoon.
- → Can I use regular grocery food colors?
You sure can! A couple of drops of liquid food coloring works fine. Mix it in, and add more until you like the shade. If the mix gets a little soft, throw in some extra powdered sugar to fix it. Go for festive red, green, or any fun colors to match your theme!
- → How do I keep them from going stale?
Once dry, pop them into a container with a snug lid. If it's warm, keep them in the fridge, and they'll stay yummy for two weeks. At room temp, they'll last about a week. Need to save them longer? Freeze them! They freeze great for up to three months—just let them thaw a bit before munching.
- → Can I make them without regular butter or cream?
Absolutely! Swap regular butter for plant-based sticks and heavy cream for coconut cream. It might feel a little sticky at first—just keep adding in powdered sugar until it's soft like dough. These might take an extra day to fully dry, but they'll still taste amazing! Some say almond milk works, but it makes a softer candy.
- → How long do they need before they're ready?
Leave them out to dry for a whole day—24 hours for best texture. You can shape them after a couple of hours, but the melt-in-your-mouth texture needs patience. If the weather's humid, give them an extra day. Good candy is worth the wait!
Conclusion
- Mint Cream Mints: Simple mix of powdered sugar and peppermint
- Melty Cookies: Sweet, buttery bites that vanish fast
- Mint Chocolate Bark: Crushed mints layered over rich chocolate