
 Pin it
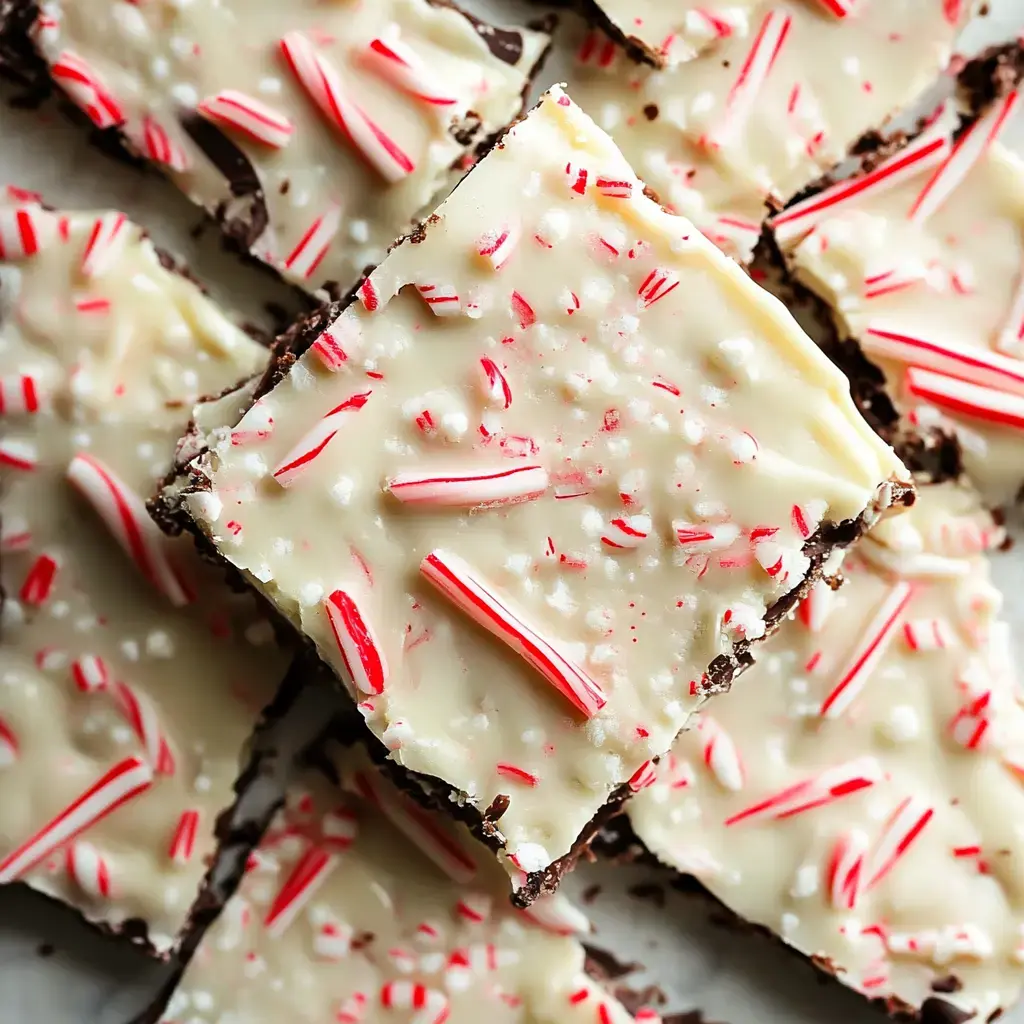
This quick holiday peppermint bark is a breeze. Just five things turn into three sweet layers of chocolate and crunchy candy on top. Looks fancy, super simple. Awesome for sharing or bringing to a party.
Why Give This a Try
It's fun to put together and even more fun to eat. Dark and white chocolate with a pop of mint. Toss crushed candy canes over the top for crunch. Don't even need a mixer or oven. You'll have it ready in about an hour. Kids have a blast pitching in too.
Stuff to Grab
- Candy Canes: 4 or 5, smashed up
- Pan: 8- or 9-inch square works
- White Chocolate: 12 ounces, get the good stuff—Ghirardelli is solid
- Peppermint: About half a spoon of actual extract
- Dark Chocolate: 6 ounces, semi-sweet is great
- Oil: Use a spoon and a half, plain or coconut both work
- Paper: Lining pan? Wax or parchment does the trick
How You Throw It Together
- Save the leftovers:
- Pop everything in a lidded container. Keeps for up to three weeks chilled.
- Chop up and enjoy:
- Lift from the pan. Snap into whatever size chunks you want.
- Let it get solid:
- Stick in the fridge about an hour. If you leave it longer, let it sit out a few before breaking up so it isn't rock hard.
- Sprinkle that candy:
- When chocolate's still melty, add the crushed candy canes up top and press a little so it stays put.
- Final chocolate goes down:
- Melt the last of the white chocolate with oil. Spread over the dark middle quick so it's nice and even.
- Back to the fridge:
- Chill another fifteen minutes so the layers don't mix up. Don't skip this so you get nice stripes.
- Melt your dark stuff:
- Repeat with your dark chocolate and oil, plus a hint of peppermint. Pour that over set white chocolate.
- Start layering:
- Spoon into the pan, spread smooth. Chill about 15 minutes till it's kind of set, not totally hard.
- Get the first batch melted:
- Add half the white chocolate and a drizzle of oil in a bowl. Microwave in bursts, stirring till it’s smooth. Drop in peppermint.
- Prep the pan:
- Line your pan with parchment or wax paper, smoothing out the folds. Makes it pop out easy later.
 Pin it
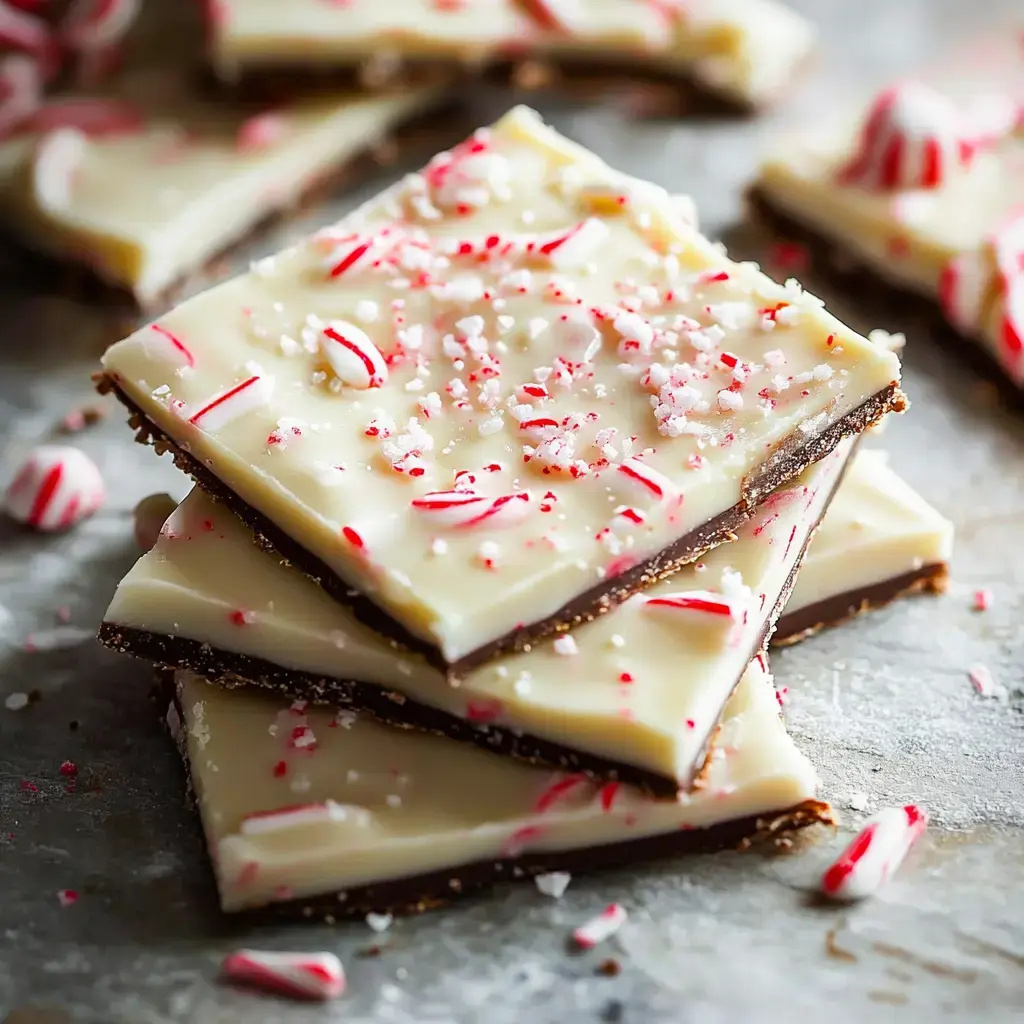
Why Folks Love This
Super simple and really good-looking. You only need a tiny list from the store. Dark and white chocolate make a bold combo. It's a blast with kids—crushing candy canes is the best part. Makes a sweet gift too.
Picking Good Chocolate
Go for chocolate bars, not chips, so everything melts right. Ghirardelli always works. Chocolate chips have extras in 'em that mess up melting. Use dark or semi-sweet however you like. Stay away from cheap white chocolate—it gets weird and grainy.
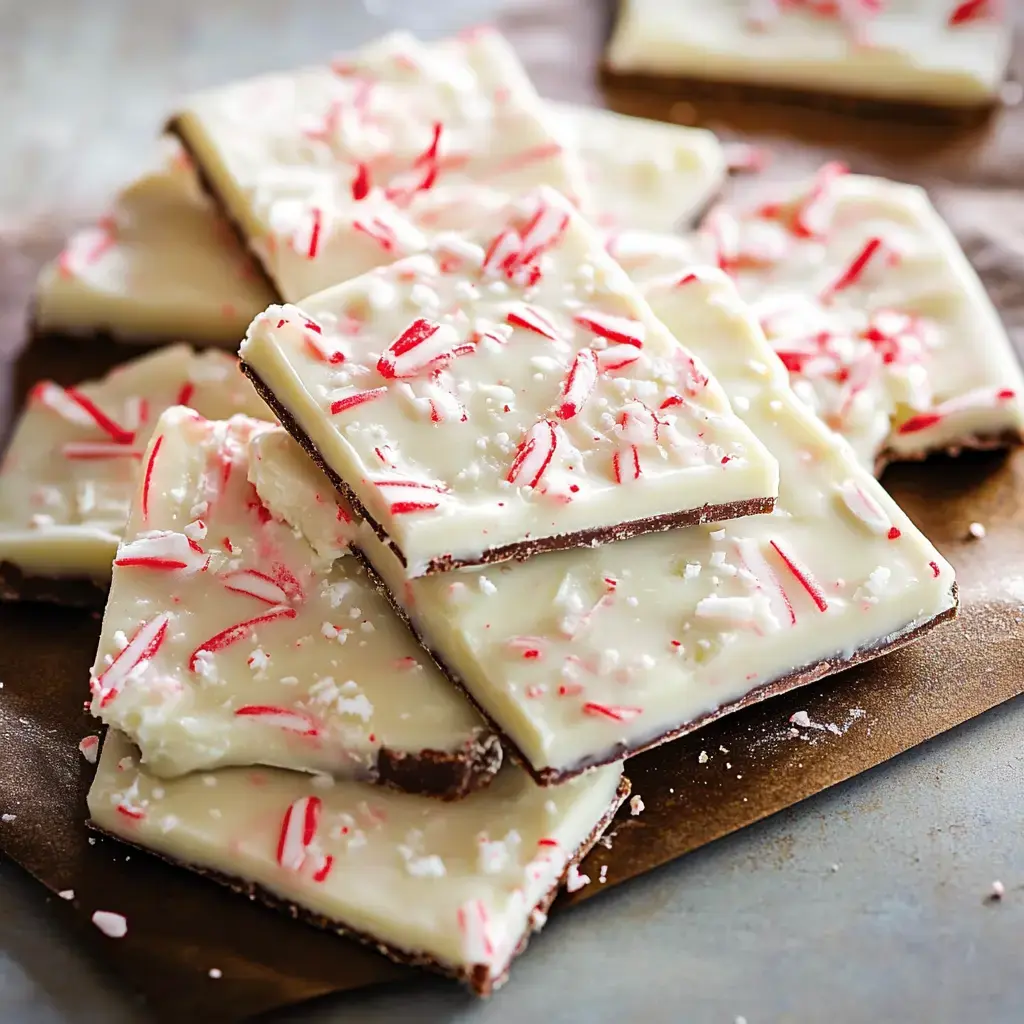
Getting Layers to Look Great
Let each layer sit in the fridge long enough so it's not totally hard or soft. Chill about fifteen minutes. Too soft and they blend, too hard and they don't stick. Want it swirly? Run a knife through before it firms up to make funky lines.
How to Smash Candy Canes
Put your candy canes in a zipped bag and bash them with a rolling pin. Go for tiny bits with some chunkier pieces left—they look best mixed. Skip turning it all to powder. Crush them up last so they're still snappy. Kids love helping, just keep an eye on sharp pieces.
Keeping It Fresh
It stays fine on the counter for a few days. Want it to hang around longer? Stick it in the fridge—good for three weeks. Put wax paper between layers so nothing sticks together. Pretty easy gift in clear bags with a bow. Pull it out of the fridge ten minutes before biting in—tastes better when it's not ice cold.
 Pin it
Frequently Asked Questions
- → Can I use dark chocolate?
Dark chocolate works well! It's less sugary and has a rich flavor. Use quality chocolate, 60-70% cocoa is perfect. Some mix dark with milk chocolate or even use three layers - dark bottom, milk in the middle, white on top. Avoid cheap chocolate that doesn't melt properly. Check labels for cocoa butter as the first ingredient!
- → How do I keep layers together?
Keep the first layer just a little sticky when adding the next. Some people scratch the surface with a fork for better grip. Ensure all layers are poured at similar temperatures. Avoid putting chocolate on frozen layers. Patience helps—rushing can make them separate. If that happens, warm up the edges to stick them back together.
- → No peppermint - what else?
You’ve got options! Vanilla’s a nice twist, like cookies-and-cream. Almond gives it a biscotti vibe. Orange adds a festive punch. Coconut extract with toasted coconut is delicious. Or skip peppermint altogether and top with nuts or fruit. Even coffee's an option—just go slow with flavoring and taste as you go!
- → Can I make it vegan?
Absolutely! Use vegan chocolate chips—plenty of options now. Replace butter with coconut oil. Check candy cane labels, as some have egg whites—look for naturally colored types. Vegan white chocolate is available too! For extra creaminess, mix coconut cream into melted chocolate—it’s rich and no one will notice it’s vegan.
- → How long does it keep?
Store it right, and it lasts three weeks! Use an airtight tin in a cool, dry spot. Separate layers with wax paper. No fridge needed unless it’s really warm where you are. Freezes well, too—just wrap it super tight. Candy cane bits can get sticky, so metal tins are better than plastic containers for storing.
Conclusion
Craving mint? Try a creamy mint mousse, or white chocolate mint fudge for a richer twist.