
 Pin it
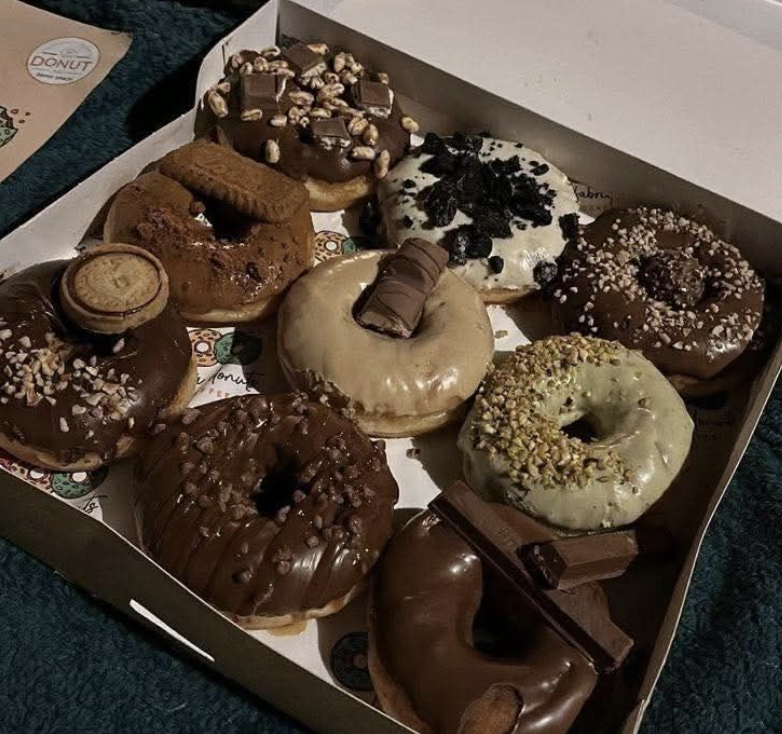
When you're in the mood for something sweet but don't want the mess of deep frying, these oven-baked chocolate donuts hit the spot. They've got a rich, chocolatey taste and come topped with a velvety chocolate glaze that rivals any donut shop favorite. Their cake-like consistency in that classic donut shape makes them totally irresistible whether it's breakfast time, dessert, or just when you need to satisfy your chocolate cravings.
The first time I whipped these up for a family brunch at my sister's place, they vanished quicker than anything else we served. Even my super picky nephew begged me to make another batch before they headed home!
Tasty Components Explained:
- All-purpose flour (1 cup/125g): Forms the base structure; for best results, spoon into your measuring cup then level it off
- Unsweetened cocoa powder (1/4 cup/22g): Gives that deep chocolate taste; Dutch-processed works best for darker color and smoother flavor
- Baking soda (1/2 teaspoon): Makes your donuts rise and keeps them light
- Salt (1/8 teaspoon): Boosts the chocolate flavor and cuts through sweetness
- Buttermilk (1/2 cup/120ml): Keeps everything moist and soft; works with baking soda to help things rise
- Granulated sugar (1/2 cup/100g): Adds sweetness and helps create that perfect soft bite
- Egg (1 large, room temperature): Holds everything together; works better when not cold from the fridge
- Butter (2 tablespoons/30g, melted): Adds that rich taste and soft texture
- Vanilla extract (1 teaspoon): Brings out the chocolate flavor with a nice warm undertone
For the glaze:
- Powdered sugar (1 cup/120g): Makes the glaze silky smooth
- Cocoa powder (3 tablespoons/17g): Adds chocolate flavor while keeping the right texture
- Vanilla extract (1/2 teaspoon): Gives the chocolate glaze extra flavor dimension
- Milk (3-4 tablespoons/45-60ml): Gets the glaze to the right thickness; add more or less as needed
Delicious Creation Process:
- 1. Get Everything Ready
- Turn your oven on to 350°F (175°C). Grab your donut pan and give it a good coating of non-stick spray. Don't forget the middle post of each donut hole. This step really matters since these chocolatey treats tend to stick because they're so moist. No donut pan at home? They're pretty cheap online and worth getting for perfectly shaped goodies every time.
- 2. Blend Dry Stuff
- Take a big bowl and mix your flour, cocoa powder, baking soda, and salt together. Use a whisk to break up any lumps in the cocoa. Mix everything really well so nobody gets a surprise bite of baking soda or salt in their donut.
- 3. Mix Wet Stuff
- In another bowl, throw together your buttermilk, sugar, egg, melted butter, and vanilla. Whisk it all up until it looks kind of frothy. Don't worry if the butter starts to harden a bit from cold buttermilk. Just keep mixing until it looks mostly smooth.
- 4. Make Your Batter
- Now dump your wet mixture into the bowl with all the dry ingredients. Grab a spatula and gently fold everything together. Stop as soon as you don't see any dry flour spots. The batter might look a bit lumpy and that's totally fine. If you mix too much, your donuts will turn out tough instead of fluffy.
- 5. Fill Your Pan
- Put your batter in a piping bag or just use a zip-top bag with one corner cut off. Squeeze the batter into each donut spot in your pan. Only fill them about 3/4 full so they have room to puff up. No piping bag? Just spoon it in carefully and smooth the tops with your spoon.
- 6. Bake Them Up
- Stick your pan on the middle rack of your hot oven and bake for 8-10 minutes. You'll know they're done when you touch the top and it bounces back, or when a toothpick comes out clean. Don't leave them in too long or they'll dry out fast.
- 7. Let Them Cool
- Leave the donuts in the pan for about 5 minutes after baking. This helps them firm up so they don't fall apart. Then flip them onto a wire rack. If they stick a little, run a knife around the edges to help them out.
- 8. Whip Up The Glaze
- While your donuts cool down, mix powdered sugar and cocoa in a bowl. Add the vanilla and 3 tablespoons of milk, then whisk until it's smooth. It should be thick enough to coat a spoon but still drip off slowly. Need it thinner? Just add more milk, a tiny bit at a time.
- 9. Top With Glaze
- Once the donuts are completely cool, dip the tops into your chocolate glaze. Let the extra drip off, then put them glaze-side up on your cooling rack. Want to add sprinkles or other fun stuff? Do it right away while the glaze is still wet. Let them sit for about 15-20 minutes before you dig in.
My grandma always told me chocolate fixes the soul, and I think about her whenever I bake these donuts. My little girl has picked these as her special birthday morning treat three years in a row now. Seeing her happy face covered in chocolate makes my heart so full.
Common Problems Solved
New bakers sometimes run into a few snags with donuts. If yours turn out heavy instead of fluffy, you probably mixed the batter too much or packed too much flour in your measuring cups. Try spooning flour into your cups instead of scooping straight from the bag, which packs it down too tight. Another common problem is donuts sticking to the pan. Always use plenty of non-stick spray, even with so-called non-stick pans.
Fun Twists To Try
These chocolate donuts work great as a starting point for tons of tasty variations. Toss in 1/2 cup mini chocolate chips for extra chocolatey goodness, or swap the chocolate glaze for peanut butter topping to get that classic candy combo flavor. Around the holidays, I love adding crushed candy canes or colorful sprinkles on top. Want something more grown-up? Add a teaspoon of espresso powder to both the batter and glaze. It makes the chocolate taste even deeper and adds a nice coffee kick.
Keeping Them Fresh
These homemade treats taste best right after you make them, but you can keep them in a sealed container at room temp for a couple days. Want to save them longer? Freeze the unglazed donuts in a container with parchment paper between them for up to three months, then let them thaw naturally before adding glaze. You can also mix up the batter the night before, keep it in the fridge in a closed container, and let it warm up a bit before baking in the morning. It's perfect for special breakfasts when you don't want to do all the work right after waking up.
Frequently Asked Questions
- → I don't have a donut pan—what can I use?
If a donut pan isn’t available, try using a mini muffin tray for little treats or a regular muffin tin for bigger bites. Baking time will vary: mini versions take 7–9 minutes, while larger ones may need 12–15 minutes.
- → Can I use something else instead of buttermilk?
Making a buttermilk swap is easy. Mix 1/2 tablespoon of lemon juice or white vinegar into 1/2 cup milk, then wait 5–10 minutes to let it thicken up. Thinned yogurt can work too!
- → What’s the best way to store them?
Keep your donuts fresh in an airtight container at room temp for up to 2 days. For longer storage, pop them in the fridge for up to 5 days. If they’re unglazed, they’ll freeze well for 3 months—add the glaze after thawing.
- → How do I make these dairy-free?
You can swap butter with coconut oil or vegan butter and use non-dairy milk mixed with 1/2 tablespoon vinegar for the buttermilk. For the glaze, almond or oat milk works great.
- → What are some fun topping ideas?
Try adding crushed cookies, chopped nuts, shredded coconut, or freeze-dried berries. Peanut butter or caramel drizzles are fun too, along with mini chocolate chips!
- → Why are my donuts dry?
Dry donuts often happen from overbaking or too much flour. To avoid this, spoon the flour into your measuring cup before leveling it off. And start checking your donuts as soon as the minimum bake time is up—oven temps can differ.