
 Pin it
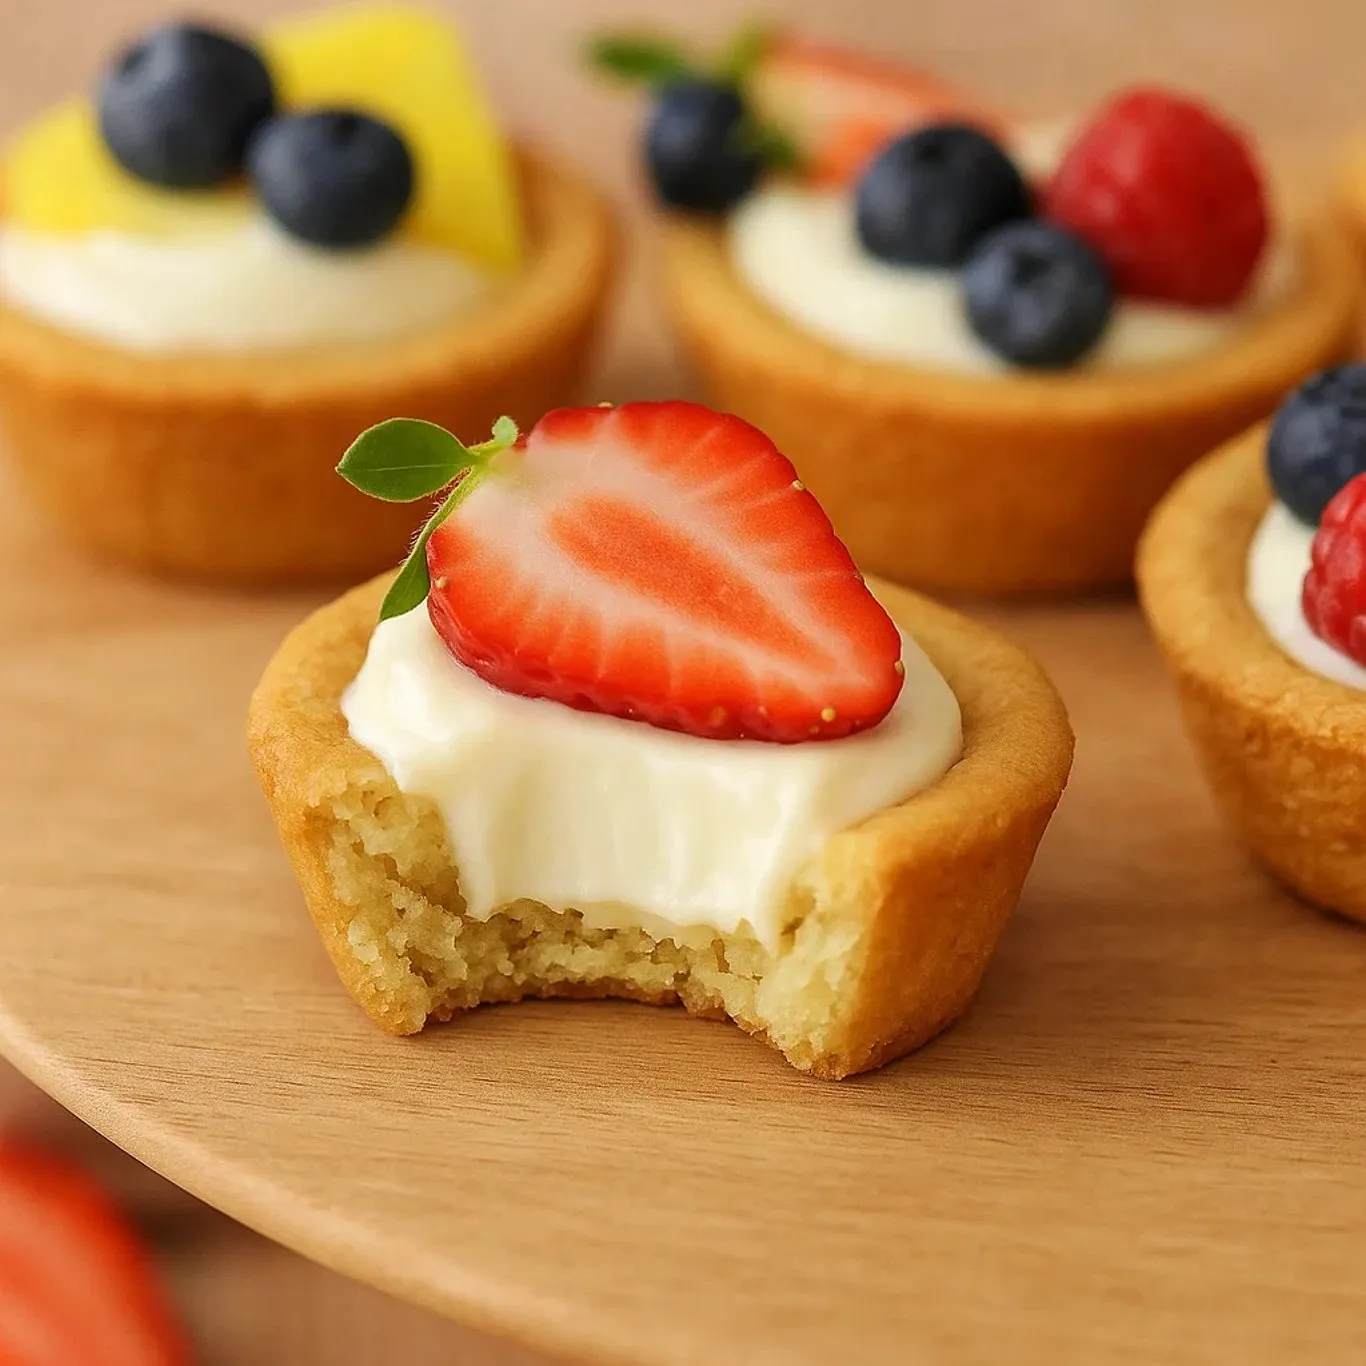
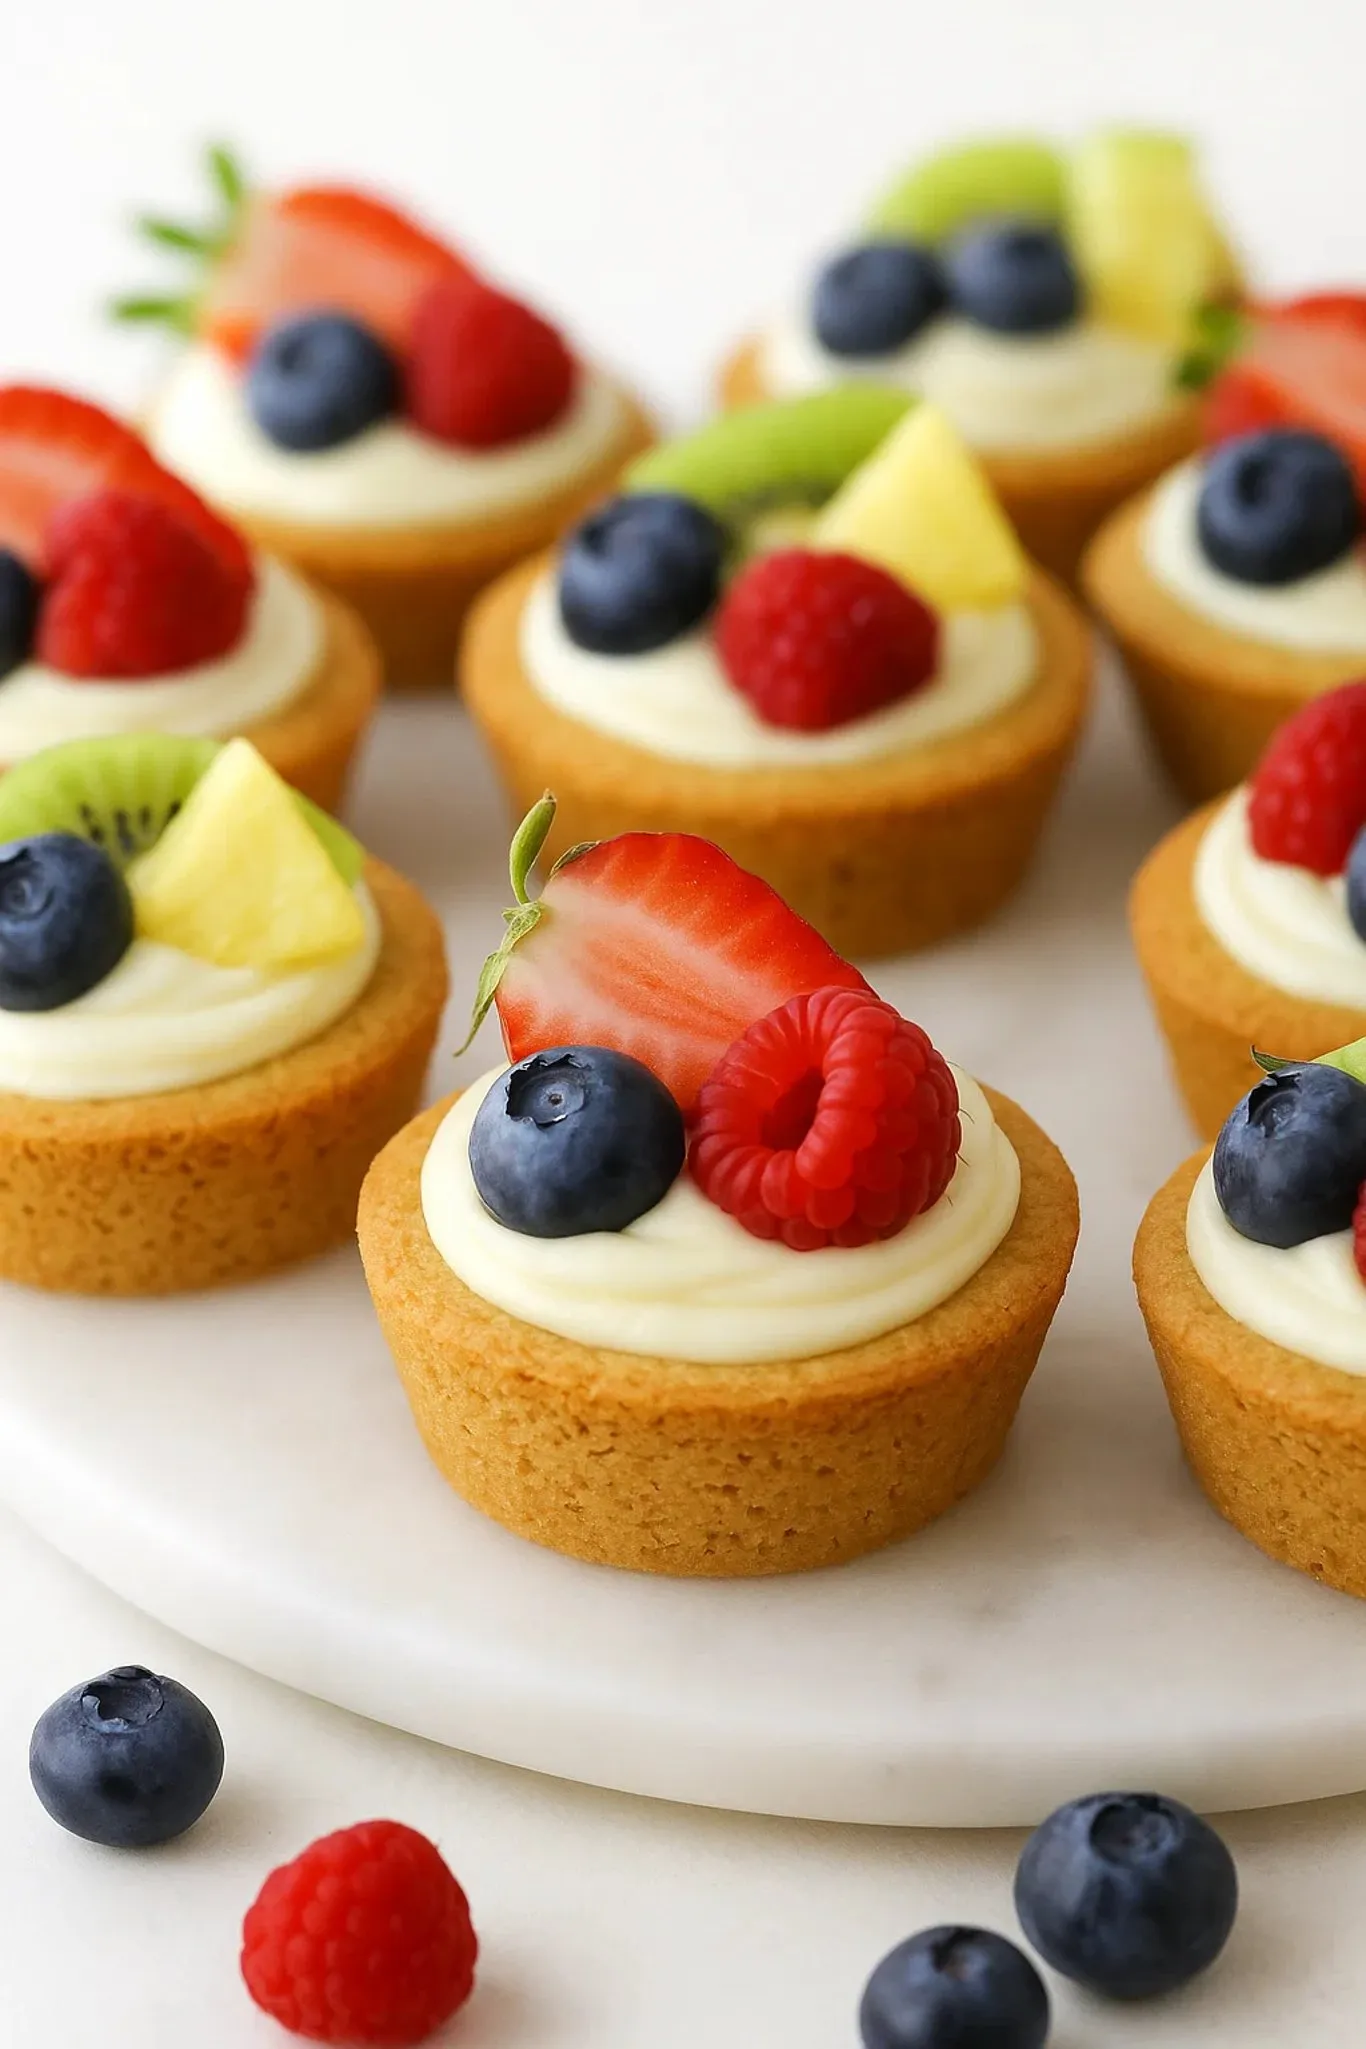
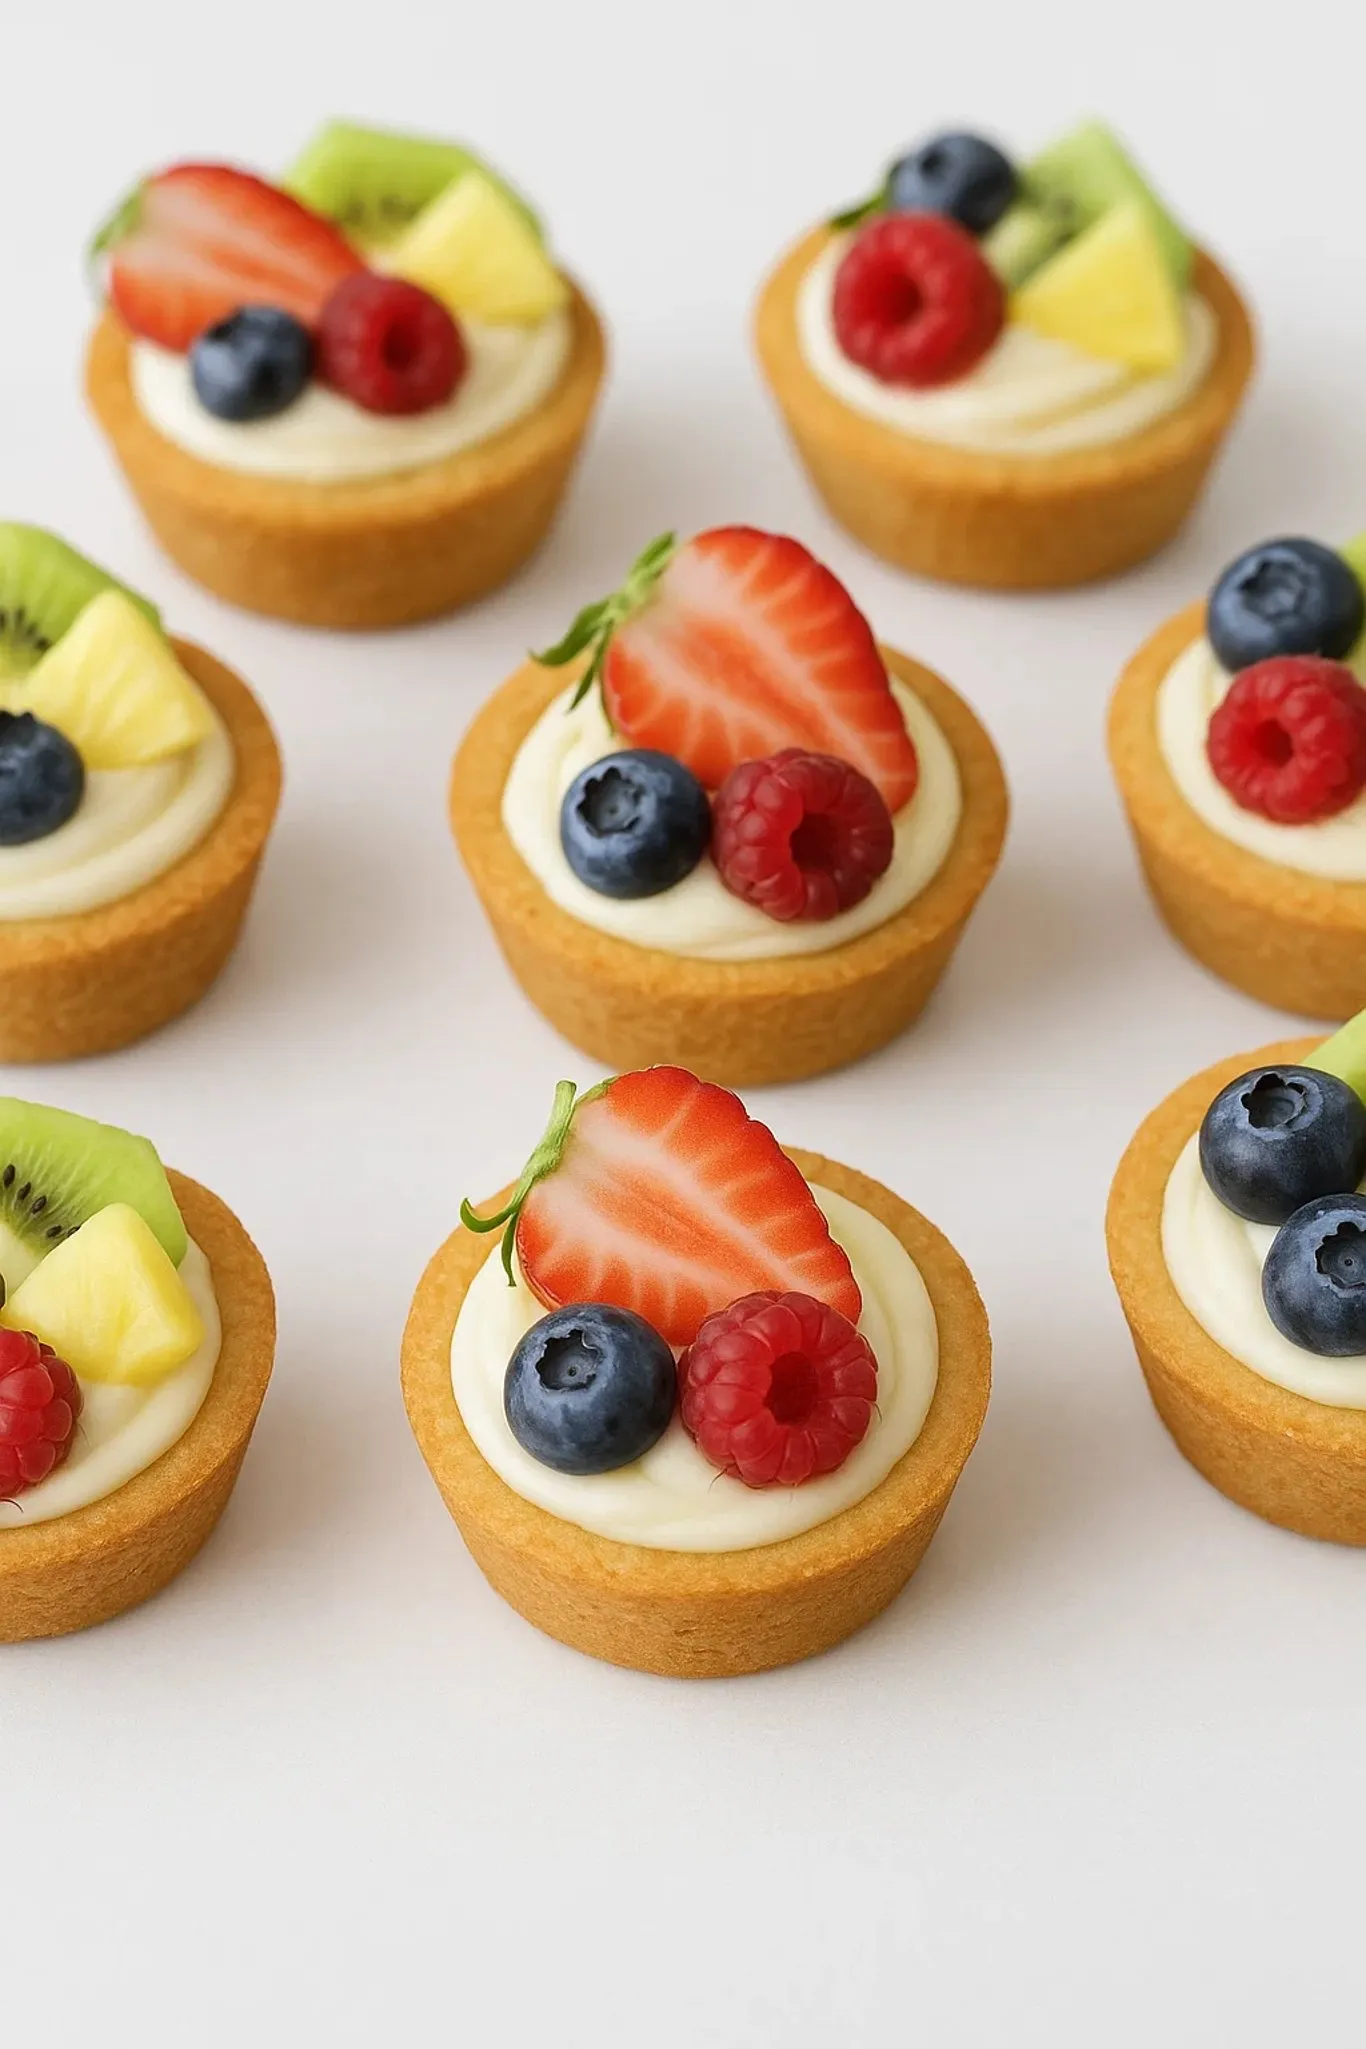
Here’s a treat that really pops. You get a crispy sugar cookie shell, scoop in smooth cheesecake, and crown it with juicy fruit. Every bite brings a cool mix of crunch and creaminess. These are super simple to pull together and always wow at parties, picnics, or just a random get-together when you’re after something that looks fancy but isn’t a pain to make.
The first batch of these vanished before the plates hit the table at my kid’s backyard tea party. The sweet crunch, creamy middle, and fresh fruit always score rave reviews. Folks end up chasing down the last one.
Irresistible Cookie Cup Ingredients
- Vanilla extract: Brings warmth and rounds out the cookie flavor
- Large egg: Keeps things together so your cups hold their shape
- Granulated sugar: Adds sweet crunch to the edges
- Room temperature unsalted butter: Real butter gives a rich taste and no surprise saltiness
- Salt: Keeps everything from getting too sugary
- Cornstarch: Makes these cups fork-tender every time
- Baking soda: Lifts the cookie up, but not so much that it’s cakey
- All-purpose flour: This is where the structure comes from
What Goes In The Filling And On Top
- Fresh fruit: Pick whatever’s bright and best at the market—it gives color and zing
- Vanilla extract: Ties together the flavors of the cookie and fruit
- Powdered sugar: Melts right in for a sweet, velvety center
- Room temperature cream cheese: Your secret to dreamy-smooth filling
Simple Step-By-Step Directions
- Assemble and Garnish:
- Spoon or pipe the creamy cheesecake mixture into each fully-cooled cookie cup, then pile on your favorite fruit however you like.
- Prepare Filling:
- Smash the cream cheese with vanilla and powdered sugar until there’s nothing lumpy—take your time here, smoothness is key.
- Cool and Shape:
- Let the cookie cups rest in the tray for 5 minutes. While still warm, poke down any puffy centers with a wooden spoon handle so you have room for the filling. Shift to a wire rack after.
- Bake the Cups:
- Pop the dough cups in the oven for 7 to 10 minutes. Keep an eye out—they’re perfect when the edges go light gold, even if the middles look slightly gooey.
- Form Cookie Cups:
- Roll about 2 tablespoons of dough into balls, press into cupcake tin wells, and shape up the sides. Make sure the thickness looks even all around.
- Combine Wet and Dry:
- Dump your dry stuff into the bowl with the butter mix. Stir just until it forms dough—don’t overwork, or the cookies turn tough.
- Add Wet Ingredients:
- Crack in that egg with some vanilla. It might look a little weird at first but keep mixing until it all comes together smooth.
- Cream Butter and Sugar:
- Beat the butter and sugar for 2 to 3 minutes so it’s light and fluffy. Air whipped in here is what gives you good texture later.
- Mix Dry Ingredients:
- Whisk flour, cornstarch, salt, and baking soda in a bowl so your rising agents go all through the cookies.
- Prepare the Pan:
- Spray your cupcake tray with nonstick spray, making sure you hit the sides too. Turn your oven to 175°C so you’re ready to go.
 Pin it
The cheesecake part is what ties it all together. My grandma always said the best ones pop with both sweet and tangy notes. Each time I whip these up, I’m back in her kitchen perfecting that creamy filling by her side.
Clever Storage Advice
Once filled, keep these covered and cold right away. The cookies will soften, which some folks even like. Eat them within 3 or 4 days—though they’re usually long gone before then! If you’re planning in advance, keep cookie shells and filling in separate containers and combine when you’re ready to serve for ultimate freshness.
Easy Seasonal Swaps
This one’s a chameleon. In hot weather, go wild with berries, peaches, or cherries. When autumn hits, apples or pears (sprinkled with cinnamon) are super cozy. Winter’s nice with orange bits or pops of pomegranate. Grab strawberries and rhubarb when spring comes around. Red and green fruit combos even work for themed events.
How To Serve
Set these out for a dessert spread or go full-on fancy and serve on a plate with a swirl of berry sauce and a snip of mint. Coffee or a glass of sweet wine is perfect with them. Want to class it up? Make ’em bigger in ramekins and hand out forks instead of fingers.
 Pin it
Frequently Asked Questions
- → Can I prepare the cheesecake cups in advance?
Definitely! Bake the cookie bases and mix up the cheesecake filling 1-2 days before. Store the baked cookies in a sealed container at room temperature, and refrigerate the filling. Add fresh fruits and assemble just before serving to keep them at their best.
- → What fruits are ideal as toppings?
Go for hardy fruits like strawberries, blueberries, or kiwi since they look great and won’t make the cups soggy. Grapes, peaches, and mandarin slices also work well. Avoid overly juicy fruits to preserve texture.
- → Can these be frozen?
Yes! Chill the cookie cups without fruit toppings for up to a month in the freezer. Let them thaw in the fridge before adding fresh fruit. Plain cookie cups can stay frozen airtight for three months.
- → How do I avoid cracks in the cookie base?
Press dough evenly into the pan and don’t overbake. Remove them as soon as they get lightly golden. Let them cool in the pan for a few minutes, reshape gently if needed while still warm, then transfer to a rack.
- → Can I make smaller cheesecake cups?
Sure! Use a mini muffin pan. Reduce dough to a tablespoon per cup and bake for 5-7 minutes. Add a small dollop of filling. These are perfect little bites for crowds.
- → What’s a good substitute for cream cheese?
Mascarpone cheese gives a silky texture. For a lighter twist, mix plain Greek yogurt with cream cheese in equal amounts. Plant-based cream cheese alternatives are great for dairy-free options, too.