
 Pin it
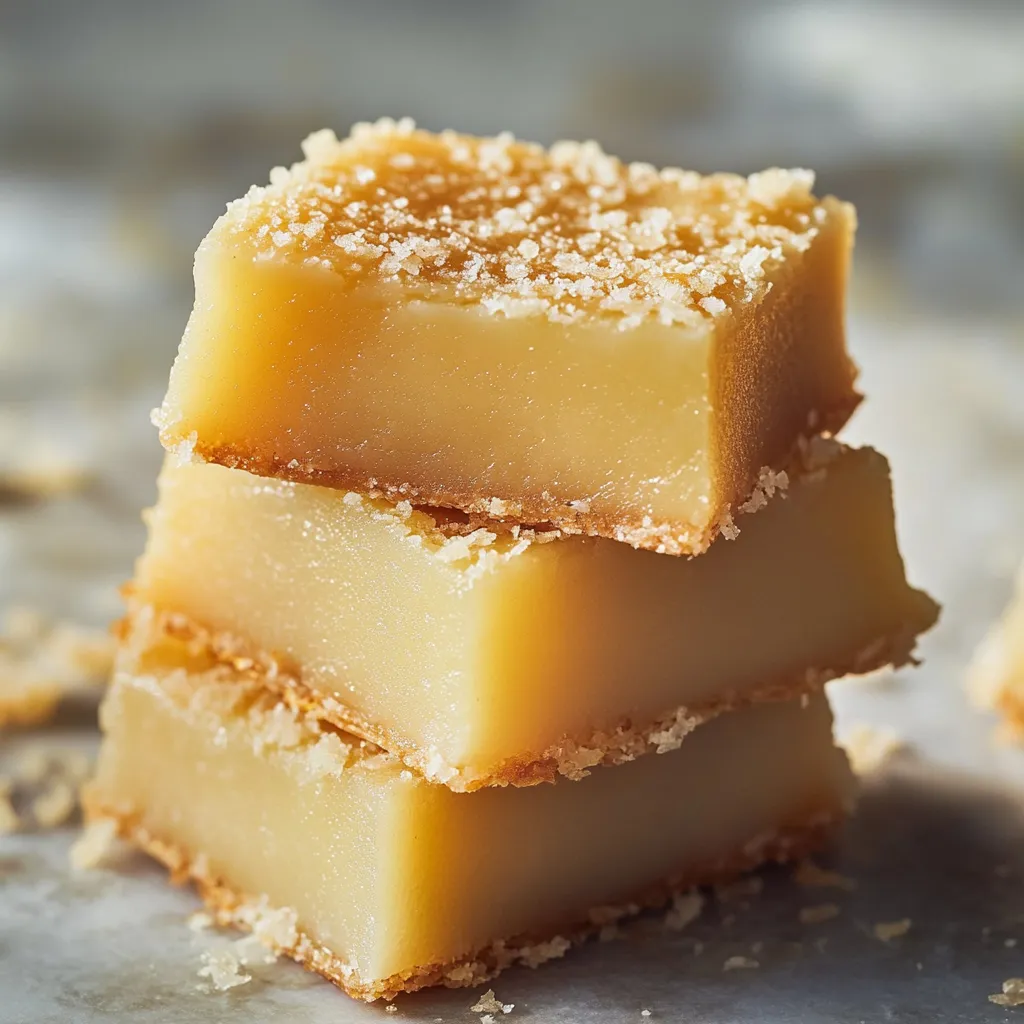
Every mouthful of Hawaiian butter mochi brings sheer delight - soft and stretchy inside with a crispy, golden coconut exterior. This cherished dessert from the islands turns basic cupboard staples into an addictive sweet treat with just the right mix of texture and sweetness.
These butter mochi squares vanished in seconds at our block party luau. Everyone grabbed extras thanks to the crunchy coconut top and stretchy middle - even folks who'd never tried mochi before couldn't get enough.
Must-Have Components
- Mochiko Sweet Rice Flour: 16 oz/454g box, crucial for authentic mochi chew
- Butter: 1 cup/226g unsalted, melted, forms crunchy borders
- Sugar: 2 cups/400g granulated, delivers proper sweetness
- Milk: 1 cup/240ml whole, contributes smooth richness
- Eggs: 4 large, room temperature, holds everything together
- Coconut Milk: 13.5 oz/400ml can unsweetened, adds island zing
- Baking Powder: 2 teaspoons, creates slight rise
- Vanilla Extract: 1 tablespoon pure, boosts taste profile
- Salt: 1 teaspoon kosher, cuts through sweetness
- Coconut: 1 cup/85g unsweetened shredded, builds distinctive topping
- Sea Salt: 1/2 teaspoon flaky (optional), finishing touch
Cooking Approach
- Getting Ready:
- Heat oven to 350°F (175°C). Generously butter a 9x13-inch metal baking dish.
- Blend Dry Stuff:
- Stir mochiko, sugar, baking powder, and salt together until smooth.
- Create Wet Mix:
- Beat eggs thoroughly, then mix in milk and vanilla until combined.
- Join Everything:
- Add wet stuff to dry ingredients, stirring well. Don't worry about overmixing with mochiko.
- Finishing Touches:
- Stir in melted butter and coconut milk until silky. Pour into pan, tap to pop air bubbles. Sprinkle coconut and optional sea salt on top.
 Pin it
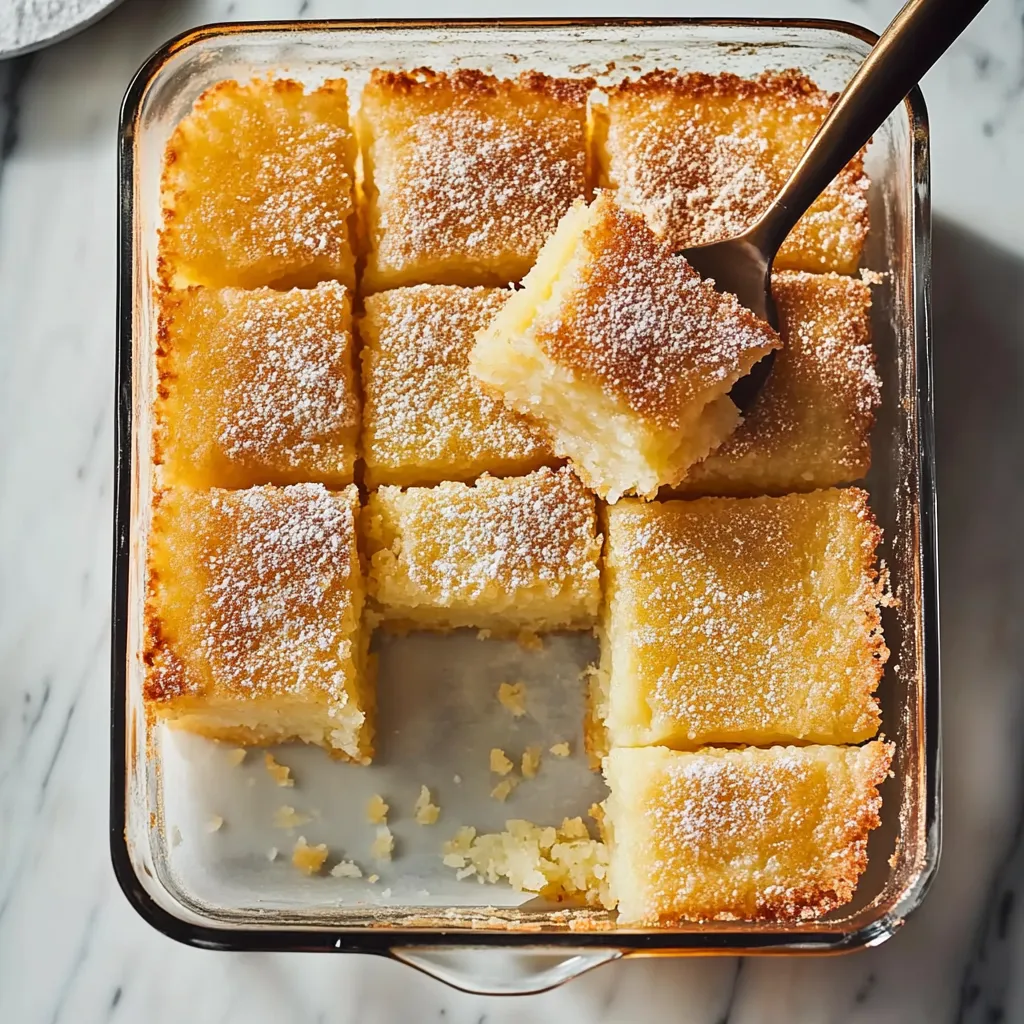
In my family, the corner bits always get snatched up first since they've got those extra chewy edges plus the soft middle. I've started cutting those pieces bigger to avoid arguments.
Oven Watch
Look for golden brown color with slight movement in the middle. When you gently shake the pan, it should wiggle a bit which shows it's perfectly done.
Rest Time
Cool fully on a wire rack for one hour before slicing. This waiting period lets the texture fully set and helps you get clean cuts.
Setup Advice
Get all ingredients ready and laid out before you start. This neat approach makes the whole process run smoothly from beginning to end.
Serving Ideas
Slice into big squares when serving. While they're fantastic on their own, fresh tropical fruits make a wonderful side addition.
Twist Options
Try adding a splash of almond or coconut extract for different flavor notes while keeping the classic stretchy mochi feel.
Keeping Fresh
Keep in an airtight box at room temp for up to three days. The texture changes but stays wonderfully chewy throughout.
 Pin it
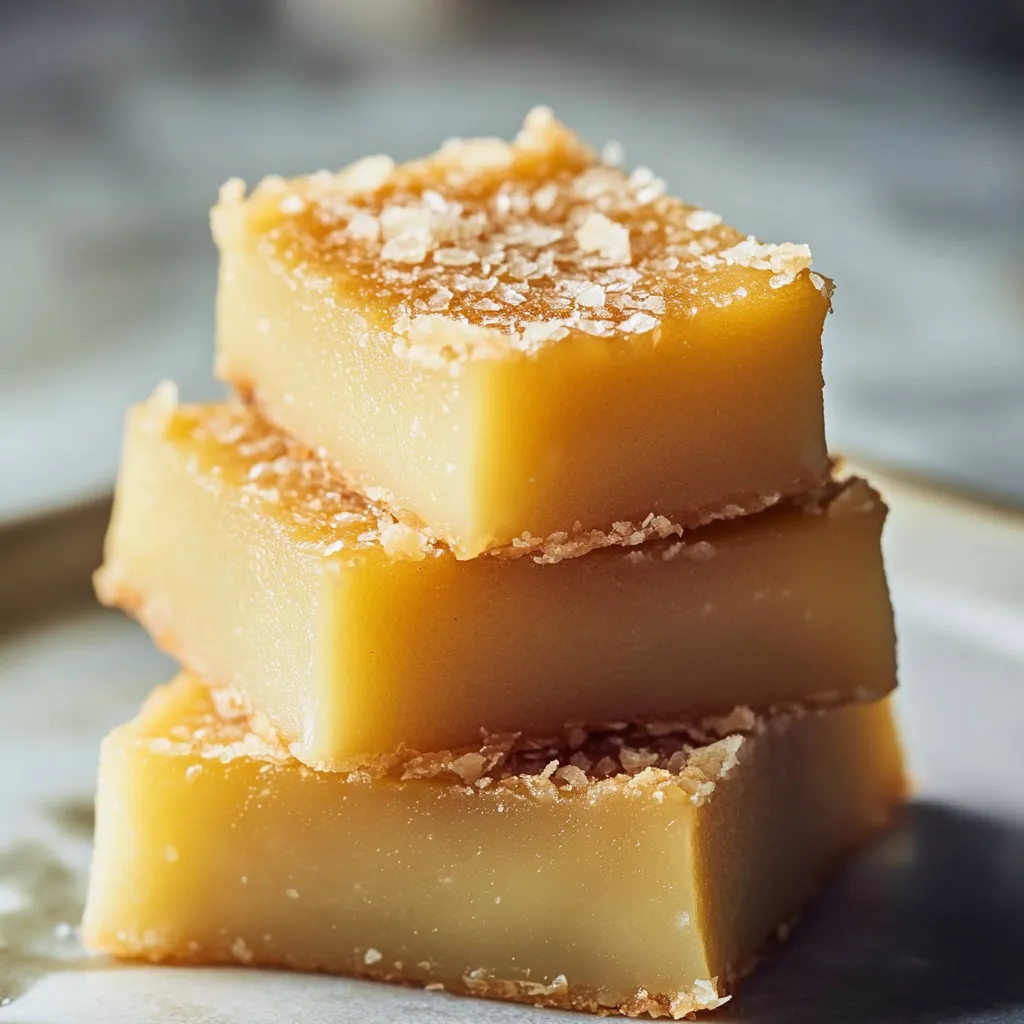
I've spent years tweaking this butter mochi recipe to get it just right - now it reliably creates moments of joy with every stretchy bite. The way it showcases traditional Hawaiian flavors makes it a special addition to any get-together, bringing authentic island comfort in each square.
Frequently Asked Questions
- → What’s mochiko flour, and where can I get it?
- Mochiko is a type of sticky rice flour, often called sweet rice flour. Try looking in Asian grocery stores or the international aisle of your supermarket.
- → Why is cutting mochi easier with a plastic knife?
- Since mochi sticks a lot, using a plastic knife gives you smooth cuts without it clinging to the blade.
- → How do I make this dairy-free?
- Use coconut oil instead of butter and extra coconut milk instead of regular milk for a delicious dairy-free version.
- → How can I keep butter mochi from drying out?
- Put it in an airtight container. It’ll stay good for three days on your counter or up to a week in the fridge.
- → Why are there cracks on my mochi's surface?
- Small cracks are fine and don’t change the taste. To avoid them, ensure your oven’s set at the right temp, and let the dessert cool slowly after baking.