
 Pin it
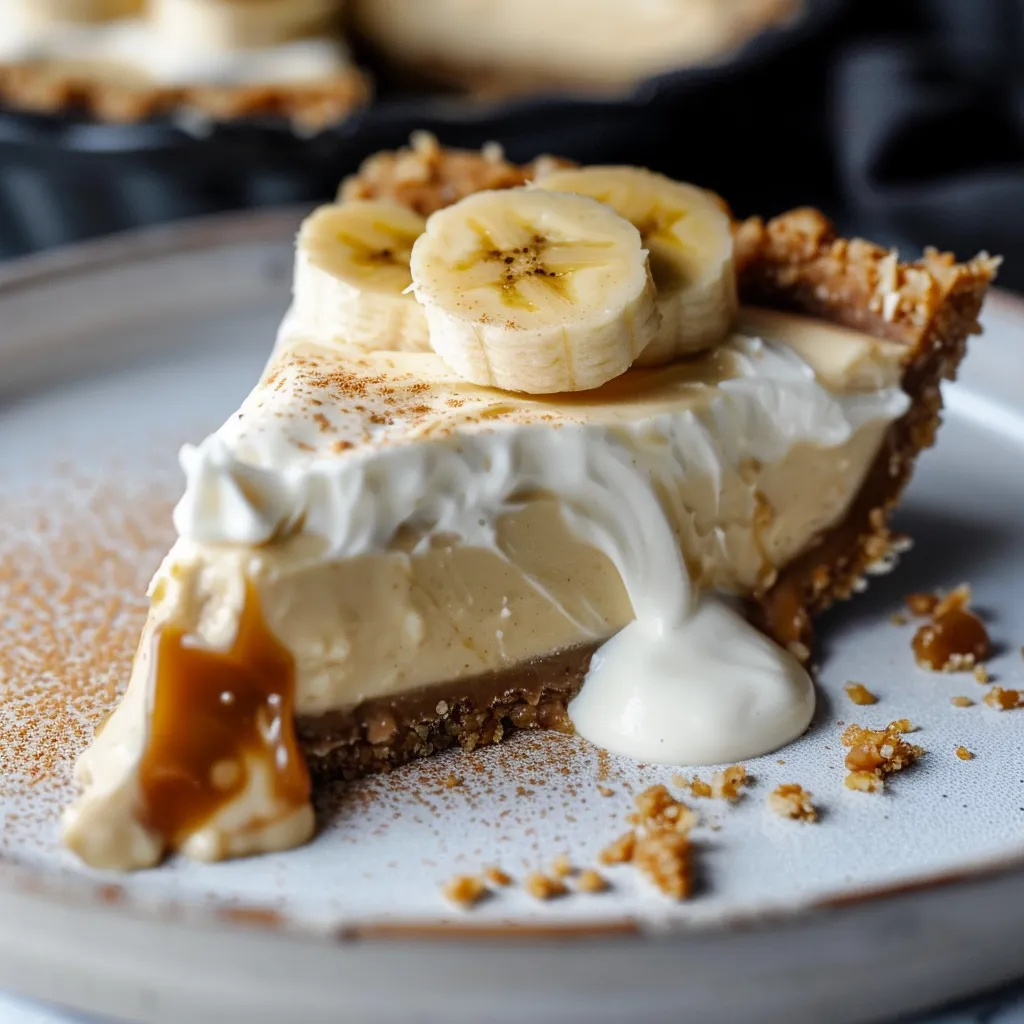
This no-bake banana coconut cream tart hits the sweet spot if you want a decadent vegan treat but prefer to stick to raw eats. You'll get all the flavor with none of the heat from your oven.
I whipped this up on one of those blazing summer days when I just wanted something cold and sweet, but turning on the oven was out of the question. Ever since then, it’s become the go-to treat at family gatherings—even the hardcore non-raw folks dig it.
Ingredients
- For the base
- One cup unsweetened shredded coconut for a light tropical vibe
- One cup rolled oats, nice and chunky—they make everything hold together
- One cup pitted Medjool dates (about twelve), for natural sweetness
- One cup walnuts for crunch and healthy fats
- Quarter teaspoon fine sea salt just to make the flavors pop
- For the filling
- Two to three tablespoons almond milk (or your favorite plant milk)
- Three tablespoons fresh lemon juice for a citrusy punch
- Big ripe banana for that classic flavor
- One and a quarter cups raw cashews, soaked and drained
- Pinch of fine sea salt to keep things from being too sweet
- One teaspoon vanilla extract for an extra cozy note
- One third cup melted virgin coconut oil for a creamy texture
- Quarter cup pure maple syrup for extra sweetness
Step-by-Step Directions
- Freeze it up:
- Cover with foil or a reusable wrap, plop in the freezer on a flat spot. Let it become firm for at least 5 or 6 hours, or leave it overnight. Before slicing, let it chill out on the counter for about 10 minutes.
- Prep the filling:
- Add melted coconut oil, lemon juice, bananas, drained cashews, salt, vanilla, maple syrup, and plant milk to your blender. Start slow, then crank up the speed till it's super smooth and pudding-like. If a bubble forms, stop to stir. Scrape that filling onto your crust and spread it out nice and even.
- Make the crust:
- Toss walnuts and oats into a food processor with an S-blade. Pulse until it looks chunky. Add in your coconut flakes, dates, and salt. Whiz again until it mashes into a sticky dough. Dump this into your prepped pan. Press it from the middle out and up the sides, aiming for about 2 inches high around the edge.
- Set up your pan:
- Grab a 9-inch tart pan, grease with coconut oil. Criss-cross two strips of baking paper on the base and up the sides. The oil helps the paper to stick. This step helps you pull your tart out easily later.
Seriously, cashews are magic here. After soaking, they're unbelievably smooth and rich. I remember the first time my in-laws tried this, nobody believed it was dairy-free or raw—it fooled everyone.
 Pin it
Storage
Keep your tart frozen in an airtight container for up to two weeks. Let it thaw on the counter for about 10 minutes before you dig in so it's creamy but still a little frosty. Don’t let it sit out over an hour since it’ll soften up pretty fast.
Switch It Up
Run out of walnuts? Try almonds or pecans for the crust. Want to change the filling? Swapping in mango or strawberries gives you a whole new twist. Or stir in some raw cacao to go all out chocolate mode.
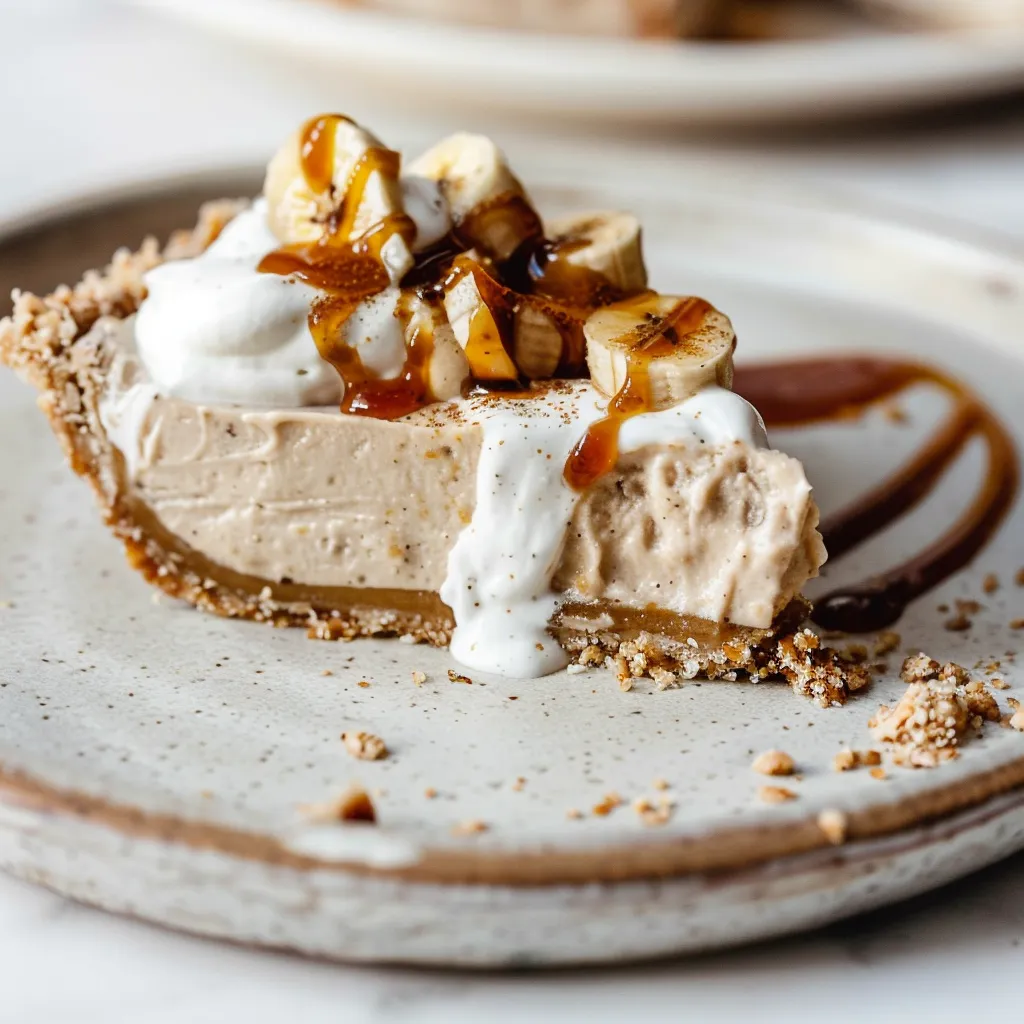
Tasty Toppings
Level up by making coconut whipped cream—just whip the solid part from a chilled can of coconut milk with a splash of maple syrup and vanilla. Or make almond butter caramel: heat coconut cream with coconut sugar on low, stir in some almond butter and vanilla, and boom—a showstopper dessert.
Frequently Asked Questions
- → How can I make the tart base?
In a blender, combine nuts, oats, shredded coconut, dates, and a bit of salt. Blend into a sticky dough and press it firmly into a prepared tart pan.
- → Can I swap cashews in the filling?
Absolutely! You could use other nuts like macadamias or almonds, although cashews create an extra creamy texture.
- → Should I freeze the tart before serving?
Yes, freezing for about 5–6 hours or overnight helps the tart set properly, making it easier to slice and serve.
- → How do I whip coconut cream perfectly?
Chill a can of coconut milk overnight so the cream separates. Use only the solid part, then whip it with some maple syrup, vanilla, and a pinch of salt until light and fluffy.
- → Why line the pan with parchment paper?
Parchment paper makes it easy to lift the tart out of the pan. Just grab the edges and gently pull upward to remove without any hassle.
- → Is it okay to prep the caramel early?
Of course! You can make the caramel a day ahead. Just store it in the fridge and gently warm it up before using.