
 Pin it
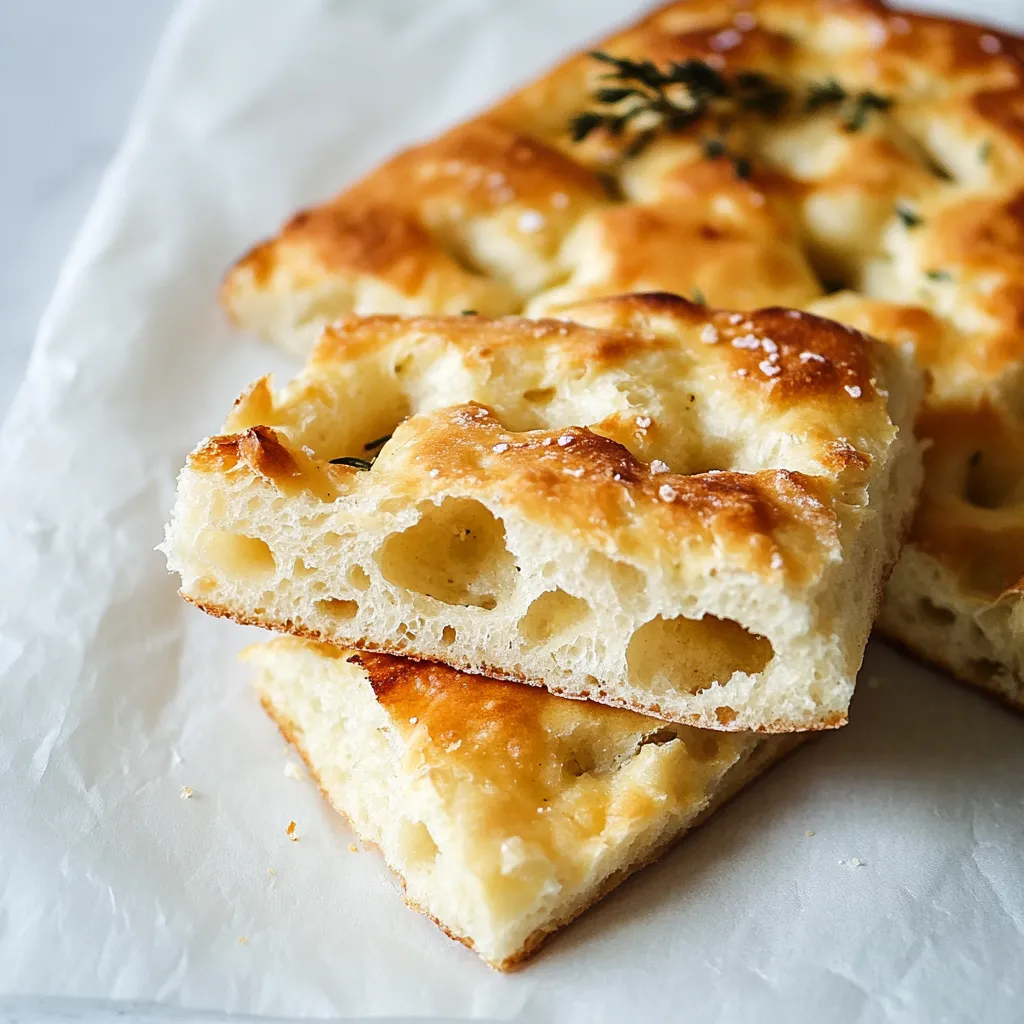
The scent of homemade focaccia filling my kitchen takes me back to wandering through small Italian towns. This simple bread, known for its poked surface and bronze exterior, has become what I always make for family meals. It never stays around long after it comes out hot.
I've tried making this bread many times, and I've found letting it rise slowly gives you those fantastic bubbles that make focaccia so good. These days my neighbors show up when they can tell I'm baking, pulled in by the smell they can't resist.
Key Ingredients Breakdown
- Bread Flour: Go for unbleached bread flour to get that stretchy texture. It's got more protein which helps make those air bubbles
- Extra Virgin Olive Oil: Don't cheap out here - the taste comes through in every mouthful
- Active Dry Yeast: Keep it in something airtight in your fridge so it stays good longer
- Sea Salt: Use the chunky kind for both taste and that nice crunch on top
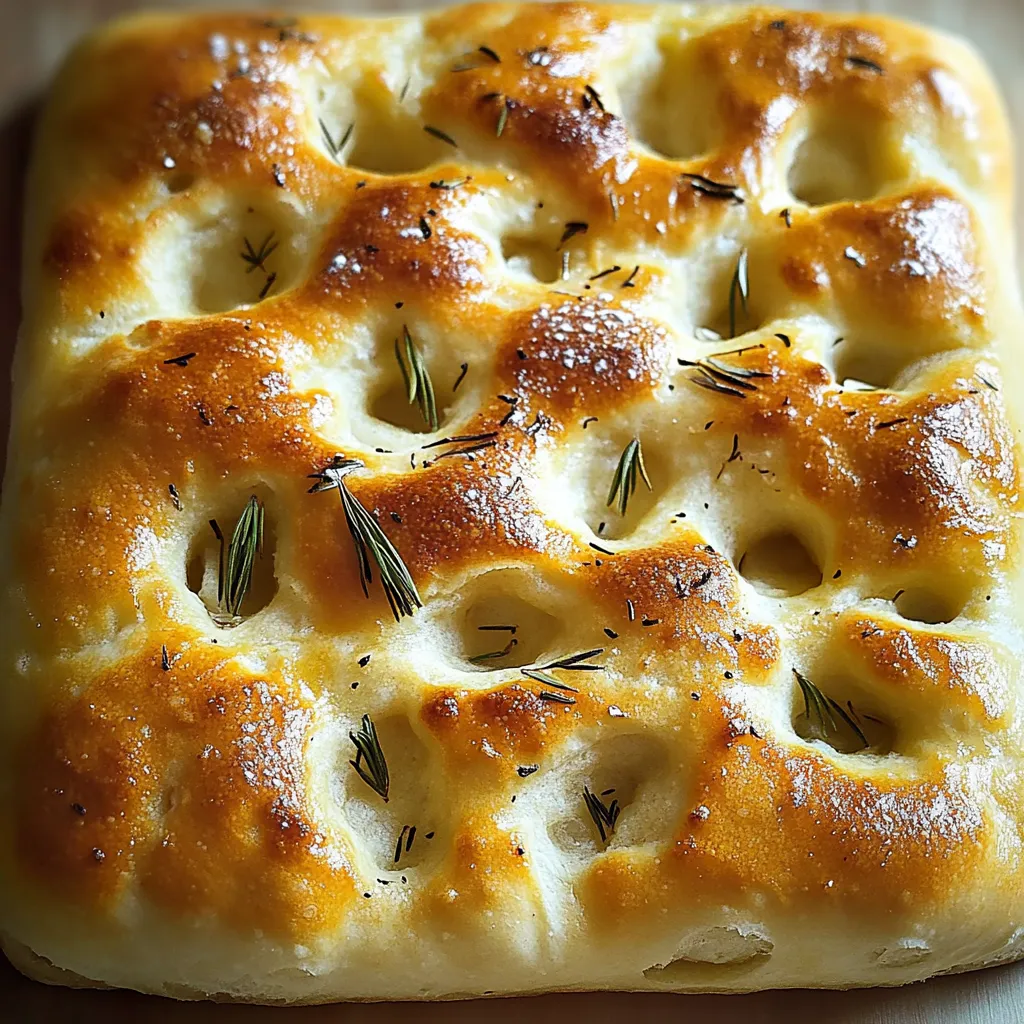
- Fresh Rosemary: Look for bright, strong-smelling stems with no dark spots
Simple Cooking Process
- Step 1: Making Your Base (25 minutes):
- First, wake up your yeast in water that's warm like a nice bath. In another bowl, combine flour and salt, then dig a hole in the middle. Add the oil first, then your yeast mix, stirring carefully to keep flour from going everywhere. Keep kneading until the dough feels soft like your earlobe when you pinch it.
- Step 2: First Growing Period (1-2 hours):
- Oil your bowl well - this makes your dough tastier as it grows. Cover with a wet dish towel instead of plastic. Put it in your oven with just the light switched on for perfect warmth. You'll know it's ready when it's twice as big and full of air pockets.
- Step 3: Flattening and Poking (15 minutes):
- Oil your pan until it's slick. Carefully pull the dough out like you're smoothing a blanket, letting it rest when it fights back. Make deep finger holes all over, pushing almost to the bottom. Let the dough puff back up slightly between pokes.
- Step 4: Last Rise and Cooking (45 minutes):
- Watch the holes slowly fill out during this final rest. Pour plenty of olive oil into each dent. Throw salt from up high so it lands evenly. Bake until the top turns the color of amber honey.
 Pin it
When I was little, my nonna always said good focaccia should have "golden pools" - those oil-filled dents that make every bite amazing.
Flavor Combos
Adding fresh herbs, small tomatoes, and olives turns this bread into something you can eat on its own. In hot weather, I put thin slices of lemon and fresh rosemary on top.
Prep Ahead Options
You can let your dough sit in the fridge overnight for an even deeper flavor. Just remember to warm it up before you shape it.
How To Enjoy It
Pull the focaccia apart with your hands instead of using a knife - those uneven chunks are perfect for soaking up oil or sauce.
Keeping It Fresh
Put leftover bread in a cloth towel first, then stick it in a paper bag. This way the outside stays crisp while the inside stays soft.
 Pin it
After baking focaccia for years, I've learned you can't rush it. This bread might look basic, but it's the small things - how you drizzle the oil or make those finger dents - that turn simple stuff into something amazing. Each time I bake it, I understand why people have loved this humble bread for so many years.
Frequently Asked Questions
- → Can I bake this with all-purpose flour?
- Sure can! While bread flour gives it a chewier bite, all-purpose flour also works well.
- → How can I tell if the dough is fully risen?
- Once it doubles in size—usually takes 1-2 hours in a cozy, warm spot—it’s ready.
- → What else can I put on top?
- Feel free to add toppings like sliced olives, caramelized onions, or juicy cherry tomatoes!
- → What’s the reason for pressing dimples into the dough?
- The dimples help hold olive oil and create the unique bumpy focaccia look.
- → What’s the best way to keep leftovers fresh?
- Pop it into an airtight container and store on your counter for 2 days, or freeze it for up to a month.