
 Pin it
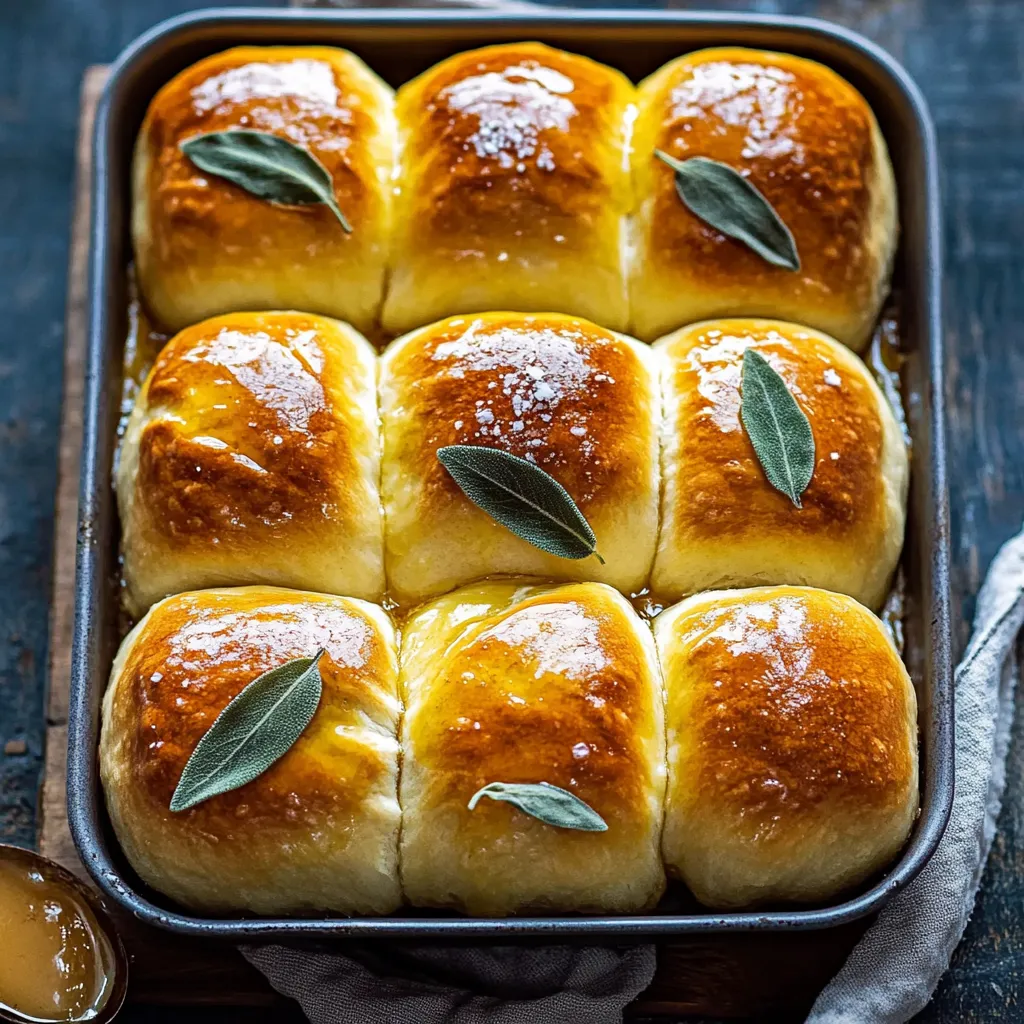
Give your bread selection a wow factor with these Buttery Sage Honey Rolls. The subtle sweetness from honey paired with fragrant sage turns ordinary dinner rolls into something magical - fancy enough for holidays but easy enough for weekend baking projects.
I used to make plain dinner rolls until I stumbled on this flavor combo. Now my family can't get enough! When these babies start baking, the buttery herb smell brings everyone wandering into the kitchen before dinner's even ready.
Key Ingredients Breakdown
- All-purpose flour: Go with unbleached for better taste
- Instant yeast: Make sure it's not expired for proper rising
- Salted butter: European brands give the richest results
- Fresh sage leaves: Don't substitute dried for the real herbal kick
- Local honey: Brings gentle flower hints to each bite
- Large eggs: Take them out early so they're not cold from the fridge
- Sea salt: The flaky kind makes the perfect topping
Simple Preparation Guide
- Making Your Base:
- Mix your dry stuff first. Slowly add your wet ingredients. Keep mixing until everything looks smooth. You want that stretchy texture that shows the gluten's working. Let it sit and grow.
- Flavored Butter Mix:
- Cook sage until it gets crispy. Let it cool completely, then chop it up. Mix with your soft butter. Slowly stir in honey. Add salt to your liking.
- Working the Dough:
- Be gentle with your dough. Keep your counter lightly dusted with flour. Roll everything out evenly. Spread your butter mixture all over. Cut into even strips.
- Forming Your Rolls:
- Roll each strip up tight. Put them in your pan with space between. They'll need room to grow bigger. Cover them loosely while they rise. Watch until they puff up nicely.
- Baking to Perfection:
- Get your oven nice and hot first. Brush tops with beaten egg. Watch for that golden color. Check the middle roll to make sure they're done. Brush with more butter while they're hot.
 Pin it
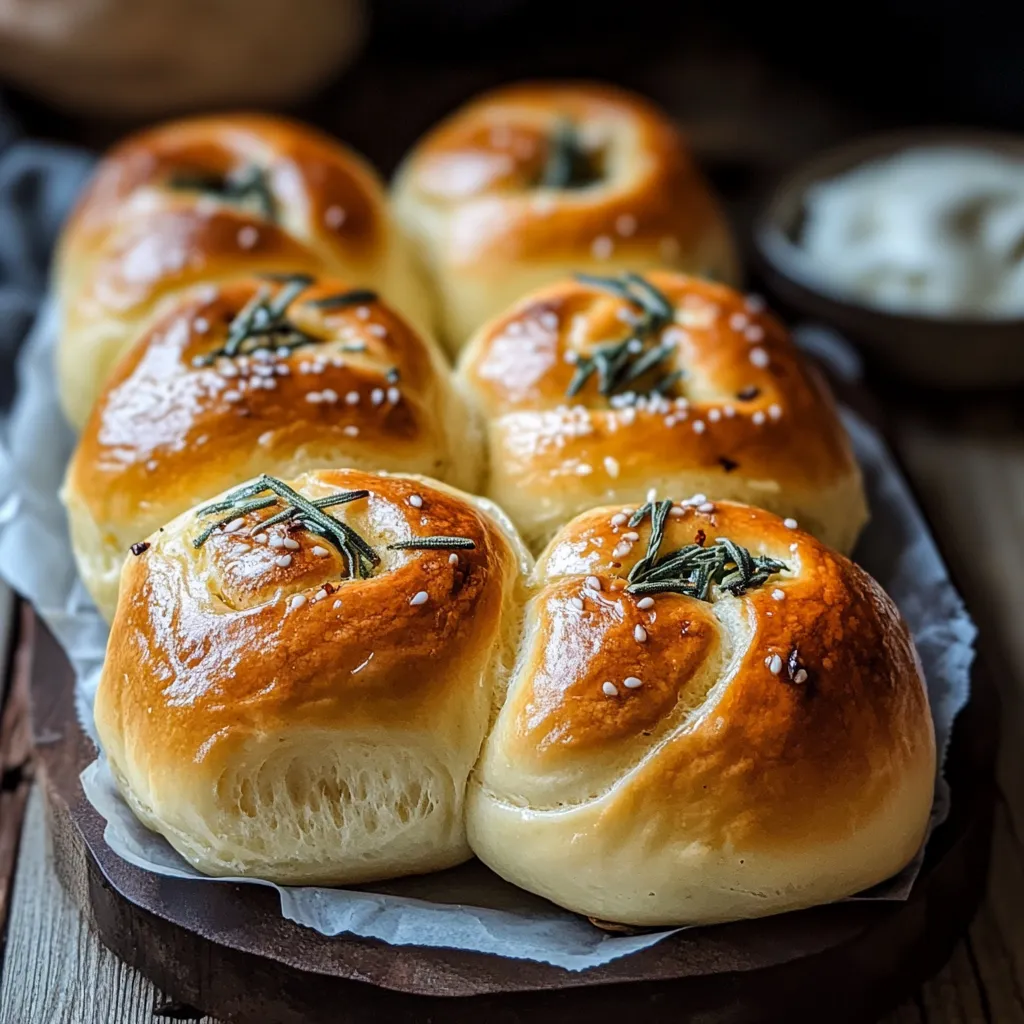
I took my grandma's classic brioche and jazzed it up with honey and sage for something you won't forget after the first bite.
Getting Temperatures Right
After making tons of these rolls, I've learned that watching your dough temperature really matters. I keep everything at room temp and check that my milk hits about 110°F - warm enough to wake up the yeast but not so hot it kills it. Your kitchen's warmth can really change how fast things rise too.
Prep Them Early
These rolls are perfect for making ahead. I often shape them the day before and stick them in the fridge overnight. The slow, cold rising actually makes them taste better! Just pull them out about 30 minutes before final rising and baking.
Keeping Them Fresh
Nothing beats them fresh from the oven, but you can wrap extras tightly and freeze them for up to three months. When I want to use them, I wrap them in foil, warm them in a 300°F oven until they're heated through, then brush on some fresh honey butter.
Pairing Suggestions
These rolls turn any regular meal into something special. They're great with holiday dinners, but we also love them with Sunday family meals and brunches. Try splitting and toasting them for morning sandwiches - they taste amazing with eggs and ham.
Fixing Common Problems
When your dough feels too sticky, don't dump in loads of extra flour. I've found that slightly sticky dough makes for softer, fluffier rolls. Just use the minimum flour needed so you can handle it without it sticking to everything.
Changing With The Seasons
In summer months, I sometimes swap in fresh rosemary instead of sage, while during winter holidays a bit of orange zest mixed into the honey butter works wonders. The basic recipe works great with all kinds of creative twists.
 Pin it
These Buttery Sage Honey Rolls have become our go-to bread that everyone asks for at gatherings. The mix of rich brioche, sweet honey, and woodsy sage creates something truly mouthwatering that makes any meal feel special. Whether you're hosting a big holiday dinner or just Sunday lunch, these rolls always bring that cozy, homemade feeling to your table.
Frequently Asked Questions
- → Can I make these rolls early?
- Sure, you can prep the dough and shape the rolls, then chill them overnight to bake fresh in the morning.
- → Why let the dough rest for a bit?
- It’s to let the flour soak up moisture and help the dough stretch better, making the rolls softer.
- → Can these be frozen?
- Absolutely, store them in the freezer for up to three months. Defrost them overnight and warm them before serving.
- → What if I don't own a stand mixer?
- No problem! Just knead the dough by hand for about 8-10 minutes until it’s smooth and stretchy.
- → Why fry the sage?
- It boosts the sage's flavor and makes the butter mixture taste even more amazing, with a slight crispiness.