
 Pin it
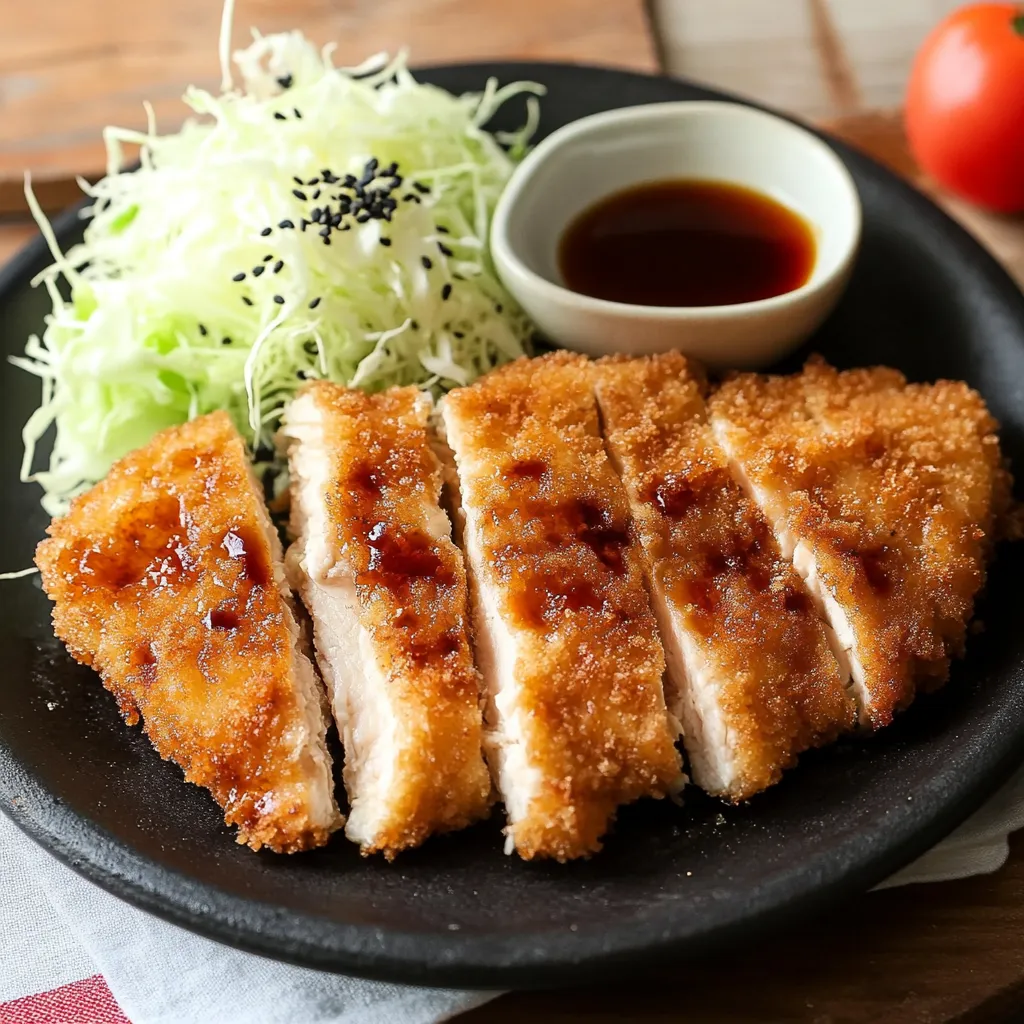
Crispy outside, juicy inside—that's what makes Chicken Katsu so amazing. This Japanese favorite turns plain chicken breast into something incredible that tastes even better than what you'd get at your favorite restaurant.
I stumbled on this dish while learning about Japanese cooking at home, and now it's my go-to way to make boring chicken breast taste fantastic. When you hear that first bite crackle, you'll know you've nailed it.
Carefully Selected Ingredients
- Boneless, skinless chicken breast: Pick a nice 270g piece of fresh chicken. Cut away any fatty bits before you start.
- Diamond Crystal kosher salt: Works best because its flakes aren't too dense, giving you just the right amount of seasoning.
- Freshly ground black pepper: Adds a bit of kick. Always grind it fresh for better taste.
- All-purpose flour: Forms a thin layer that helps everything else stick to your chicken.
- Panko (Japanese breadcrumbs): These light, fluffy crumbs make your chicken extra crunchy. Use them when they're fresh.
- Large egg: Holds your coating together. Should weigh about 50g after cracking.
- Neutral oil (for the egg mixture): A tiny bit helps your egg coat smoothly without getting too thick.
- Neutral oil (for frying): Go with vegetable or canola oil since they can handle high heat. Pour enough to reach 1½ inches in your pan.
- Tonkatsu sauce: This sweet-tangy sauce pairs perfectly with the crunchy chicken.
- Shredded green cabbage (optional): Gives you something fresh and crisp on the side. Makes the meal feel more complete.
- Japanese sesame dressing (optional): Rich and nutty, it's great drizzled over that cabbage.
- Tomato wedges (optional): Some juicy tomato slices can cut through the richness and wake up your taste buds.
Step-by-Step Cooking Guide
- Butterfly the Chicken
- Put your hand flat on the chicken breast and cut sideways through it, opening it up like a book.
- Seasoning
- Sprinkle salt and pepper on both sides, then wait 10 minutes so flavors can sink in evenly.
- Breading Station
- Get three shallow dishes ready with flour, beaten eggs mixed with a splash of oil, and panko.
- Coating Process
- Roll chicken in flour, shake off extra. Dunk in egg mix, let drip. Press firmly into panko until fully covered. Wait 5 minutes so coating sets.
- Frying Process
- Warm oil to exactly 350°F (175°C) using a thermometer to check. Slide chicken in gently—it should bubble right away but not too wildly. Cook 4-5 minutes each side until it turns golden brown.
- Resting
- Put it on a wire rack instead of paper towels so it stays crunchy all around.
 Pin it
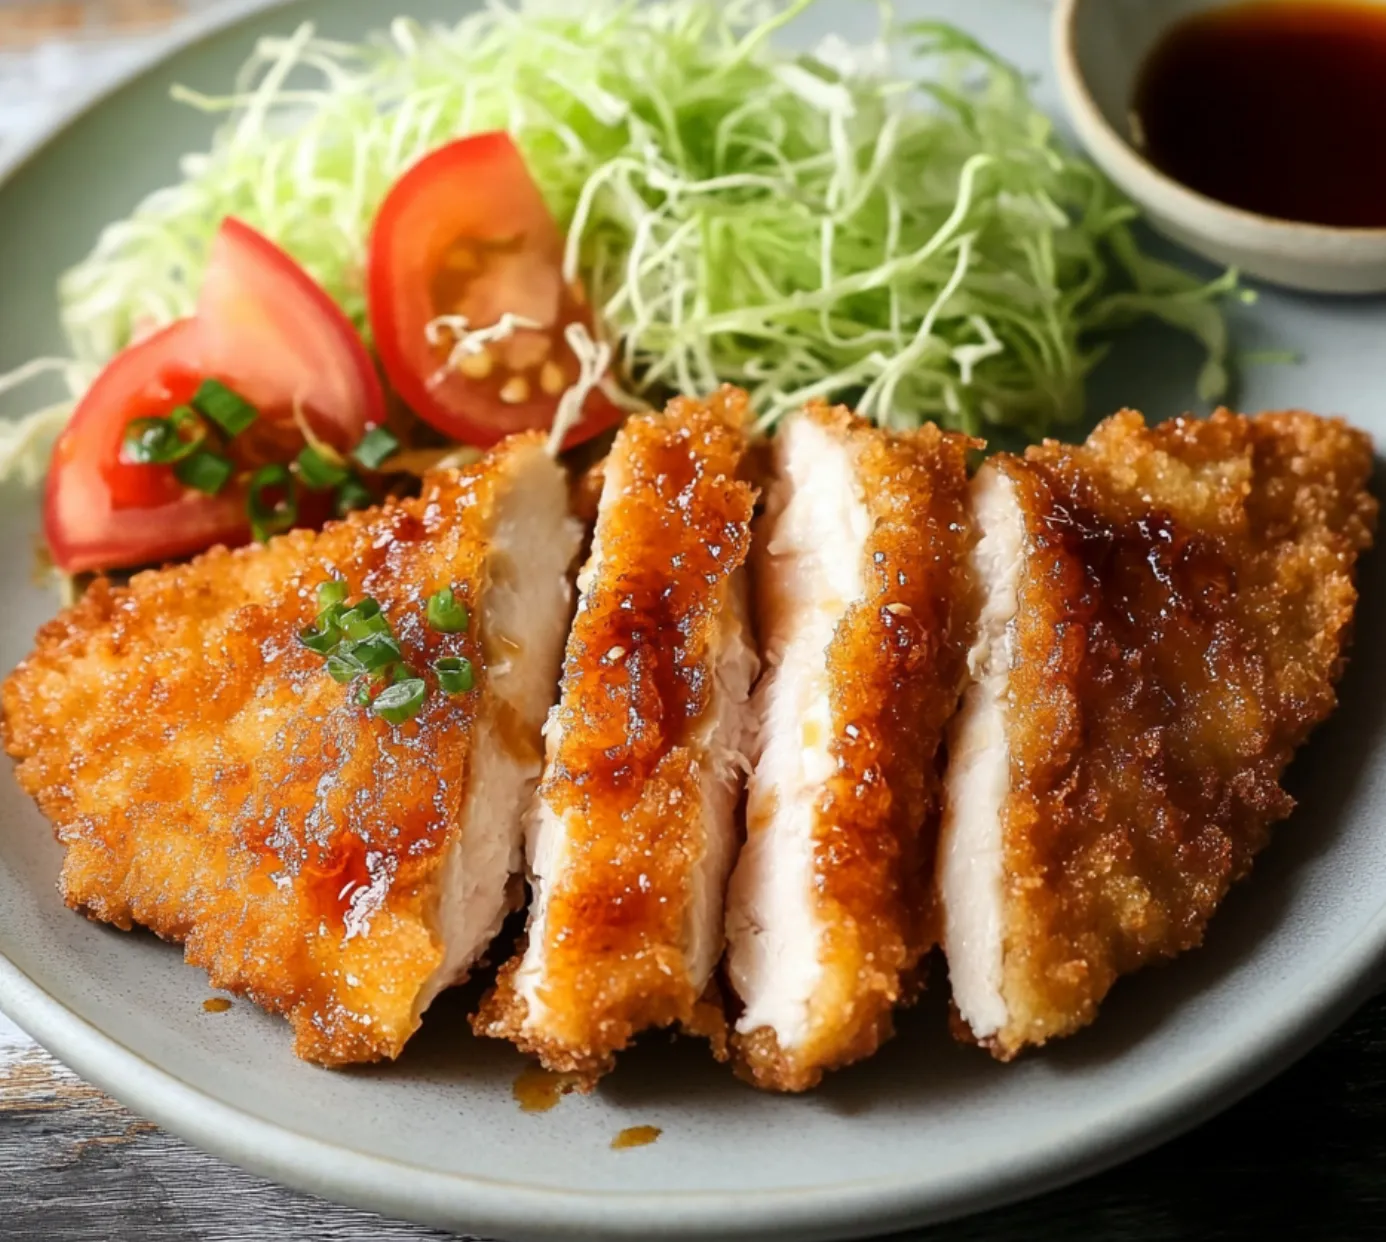
My friend from Japan told me good katsu should make a special crackling sound when you cut it—that noise means you've got the perfect crust. Her trick was pressing the panko on twice to make it extra crunchy.
Key Cooking Pointers
- Temperature Management: Watch your oil temp carefully—too hot and you'll burn the outside while the inside stays raw. Too cool and your coating gets soggy and oily.
- Breading Technique: Try using your left hand for dry stuff (flour, panko) and right hand for egg. This keeps your fingers from getting all gunked up with breadcrumbs.
Smart Storage
Let it cool all the way before putting in the fridge or freezer to keep it crispy. When reheating, use your oven instead of microwave to bring back the crunch.
Presentation Tricks
Cut your katsu slightly on the diagonal to show it off better, and eat it right away while it's still super crispy.
Tasty Sauce Options
You can grab ready-made tonkatsu sauce at the store, but mixing Worcestershire sauce, ketchup, and soy sauce makes a tasty homemade version too.
After making katsu countless times, I've learned that taking your time leads to the best results. Getting the oil just right, breading with care, and letting it rest properly will make this simple dish amazing. The real magic of great katsu is in the balance—crunchy outside, moist inside, and that wonderful sound when you take a bite that makes everyone at your table happy.
 Pin it
Frequently Asked Questions
- → Can I cook chicken katsu in the oven?
- Absolutely! You can bake it for less oil while keeping the crispy coating intact.
- → How should I store and reheat chicken katsu?
- Store in a sealed container for up to 2 days in the fridge or freeze for a month. Reheat at 350°F for 15-20 minutes if chilled, or 30 minutes if frozen.
- → What’s the point of adding oil to the eggs?
- It makes the breading stick better to the chicken and keeps the meat juicy while frying.
- → What’s the right temperature for frying katsu?
- Aim for 340°F (170°C) to achieve crispy outsides and fully cooked chicken.
- → What goes well with chicken katsu?
- Crisp shredded cabbage, sweet-tonkatsu sauce, and rice are perfect sides. Try sesame dressing for added flavor.