 Pin it
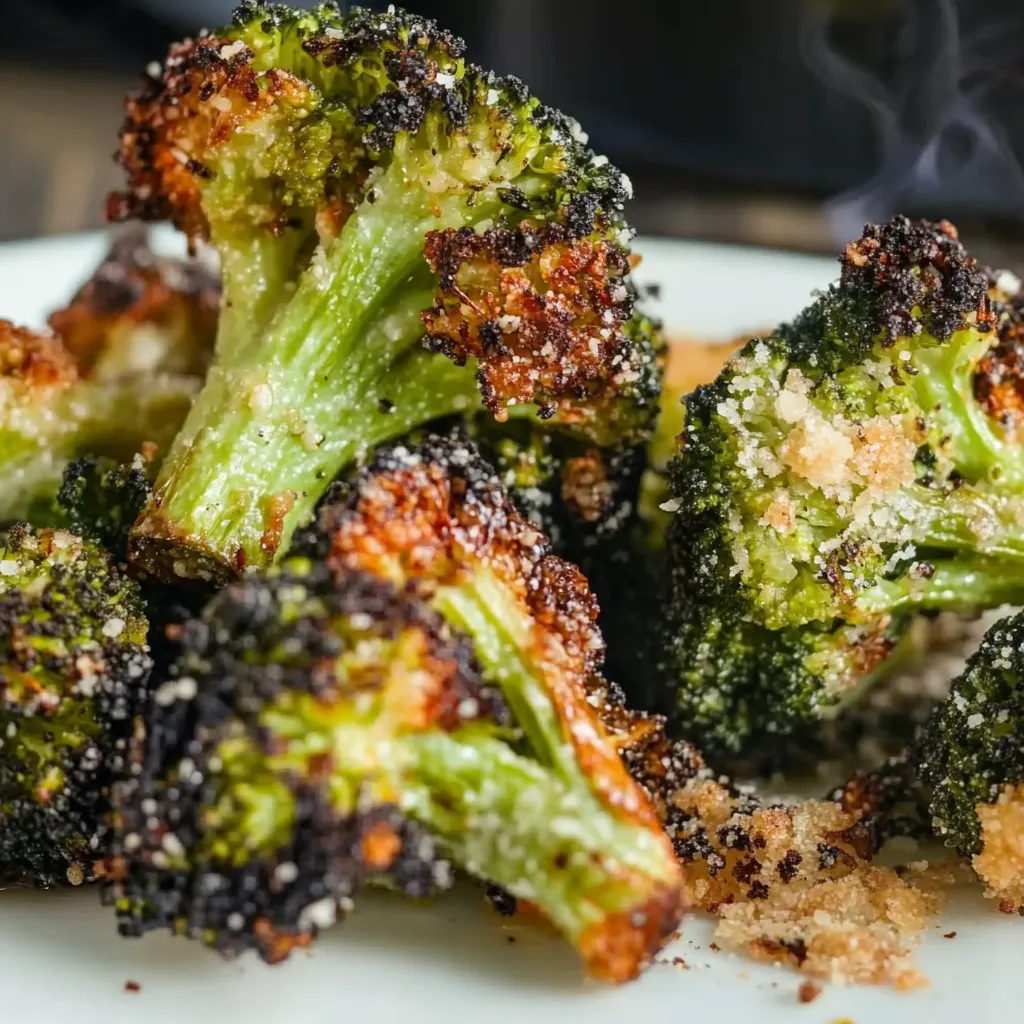
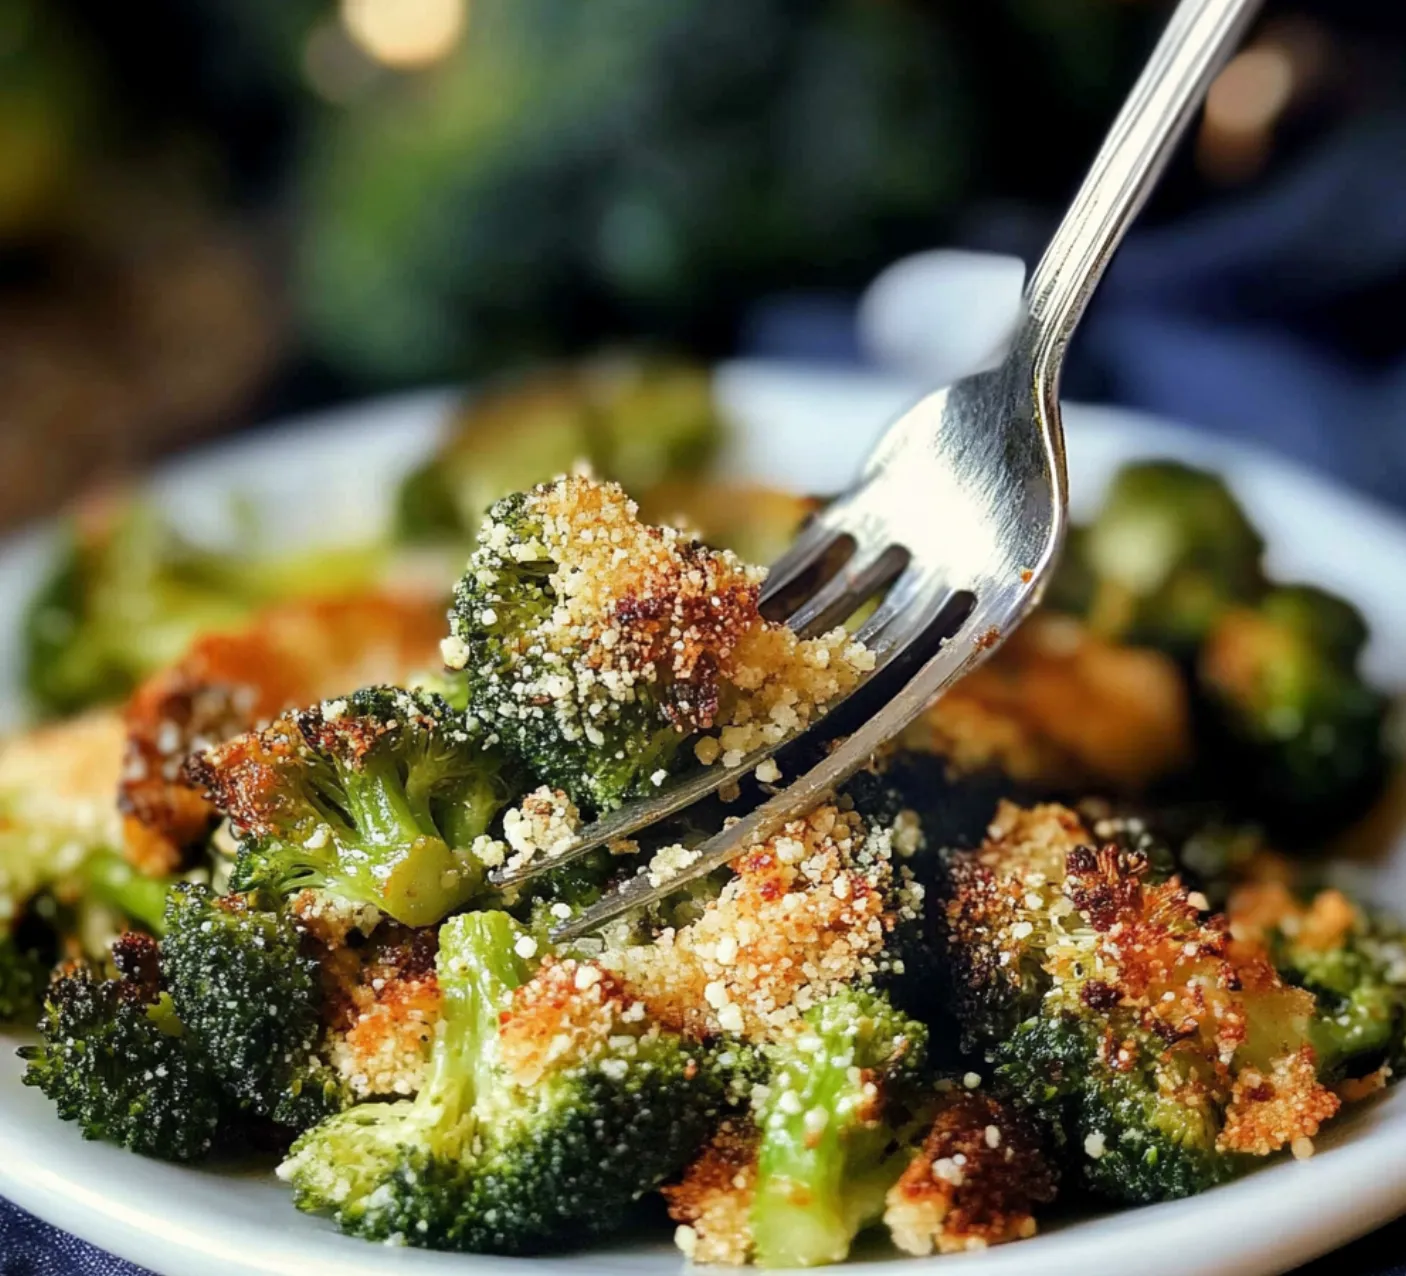
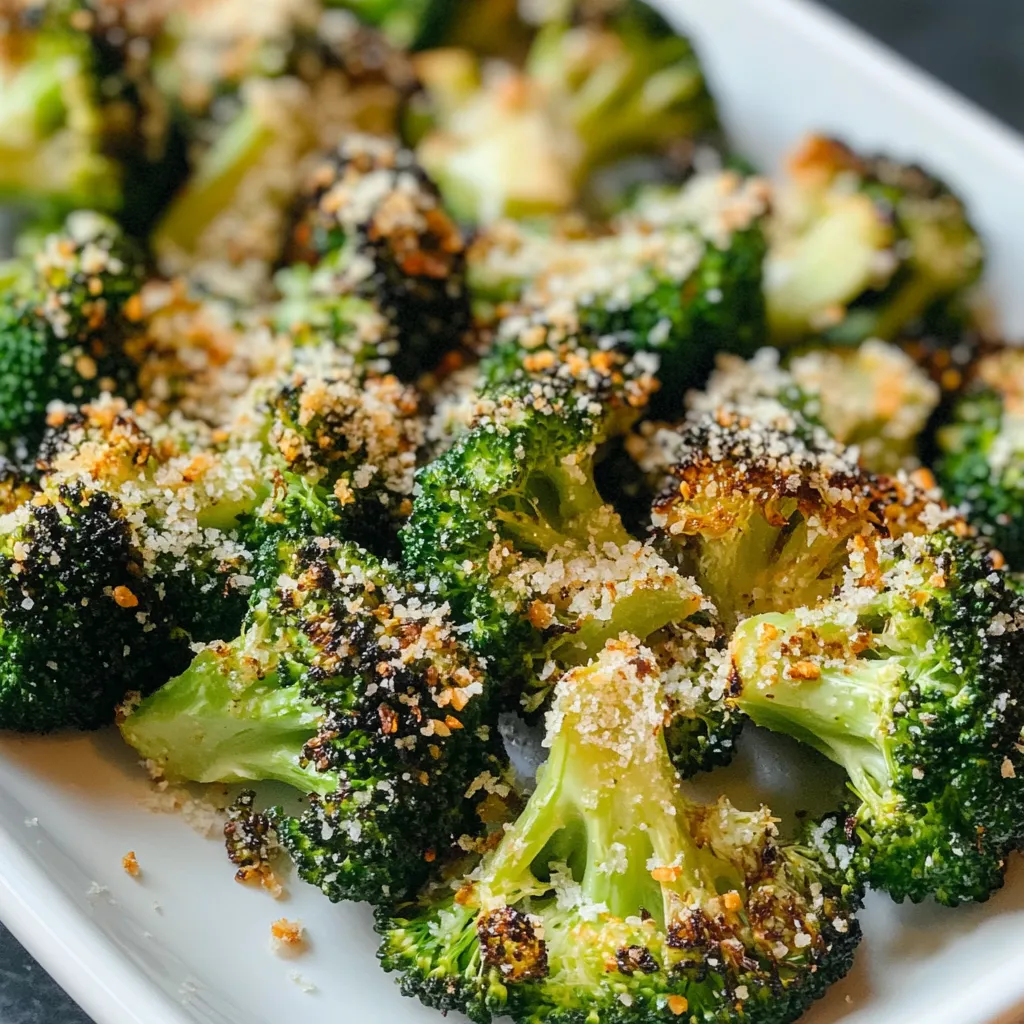
Turning plain broccoli into a mouthwatering side couldn't be easier. This simple roasting trick gives you crispy edges and soft stems loaded with garlic and parmesan flavors. When you crank up the heat, broccoli gets naturally sweeter while developing that gorgeous golden crust that'll make it the highlight of your dinner.
I first tried making this out of sheer need to get my family to eat more veggies. The minute those crunchy, garlicky pieces came out of the oven, I tossed my steamer basket for good.
Smart Ingredient Choices
- Broccoli: Go for bright green heads with compact florets and strong stems - skip any with yellow spots or mushy parts.
- Parmesan Cheese: Grate it yourself - the stuff in containers won't melt or crisp right.
- Olive Oil: Grab a good quality extra virgin for better taste and browning.
- Fresh Garlic: Pick firm, heavy bulbs with tight cloves - avoid any that have sprouted or dried out.
- Italian Seasoning: A nice mix will bring out those Mediterranean notes.
- Garlic Powder: Gives you an extra hit of savory flavor that works with the fresh stuff.
- Kosher Salt: Its bigger grains pull moisture out so everything crisps better.
Making Your Mouthwatering Roasted Broccoli
- Step 1 - Get Your Gear Ready:
- Put your oven rack lower down for better air flow. Cover your baking sheet with parchment for less mess and better browning. Have everything measured before you start.
- Step 2 - Cut Your Broccoli Right:
- Slice florets into same-sized chunks so they cook evenly. Dry them completely with towels for extra crispiness. Cut stems into matching pieces - they taste just as good as the tops.
- Step 3 - Add Flavors Carefully:
- Mix with oil first to coat everything well. Sprinkle seasonings bit by bit while mixing for even coverage. Use your fingers to rub seasonings into all the little nooks.
- Step 4 - Set It Up Smart:
- Leave space between pieces to stop them from steaming. Put cut sides facing down for more caramelization. Keep everything in one layer - crowding makes soggy broccoli.
- Step 5 - Watch While Cooking:
- Check after the first 10 minutes. Turn the pan and flip pieces for even color. Look for golden edges and test if stems are tender enough.
 Pin it
When I was little, my mom always taught me to use the whole veggie. Now I smile watching my kids gobble up these crunchy stems, carrying on those kitchen traditions.
I'm always surprised by how this broccoli fits in anywhere. It works just as well next to a quick weeknight pasta as it does at a fancy dinner.
This recipe has saved our busy household countless times. We use leftover roasted pieces in egg dishes, grain bowls, or cold lunch salads the next day.
We change this dish with the seasons too. In hot summer months, I often cook it in a cast iron pan on the barbecue so we don't heat up the house.
Having friends over got way simpler once I learned I could partly roast the broccoli early and finish it right before we eat.
 Pin it
After making this roasted broccoli hundreds of times, I still can't get over how such a basic cooking method creates something everyone fights over. It's become more than just food we eat - it's a reminder that good cooking isn't about fancy techniques or weird ingredients, just paying attention and treating your ingredients right.
Frequently Asked Questions
- → Why put the rack lower in the oven?
- It helps brown the broccoli better while stopping the tops from burning.
- → Why turn the broccoli during roasting?
- Turning it helps both sides cook evenly without burning.
- → How do I check if it’s ready?
- The edges should be browned, and a knife will slide through the stem easily.
- → Can I prepare this ahead?
- It’s best eaten fresh while crispy, but reheating leftovers works too.
- → Why use both garlic types?
- Fresh garlic adds bold flavor, while garlic powder gives even coverage.
